Why Trickle Charger Stops Charging: Simple Troubleshooting Guide
If you’re wondering why trickle charger keeps turning off, you’re not alone! Many people experience this, especially when they’re first getting familiar with these handy devices. It can be frustrating when your battery isn’t getting the charge it needs. Don’t worry, though; this is a common issue with easy solutions. We’ll explore the main causes and provide clear, step-by-step instructions to get your trickle charger working like a charm. Prepare to become a trickle charger expert!
Common Reasons a Trickle Charger Shuts Off
One of the most frequent reasons a trickle charger stops working is a problem with the battery or the charger itself. These chargers are usually programmed with safety features that cause them to shut down under certain conditions. These conditions protect both your battery and the charger from damage. Several factors, from simple issues like loose connections to more complex ones like internal battery issues, might lead to your trickle charger stopping.
Battery Voltage Issues
Battery voltage is a fundamental element in how a trickle charger functions. A trickle charger is designed to provide a low, continuous current to keep a battery at its peak charge. It’s often set to a specific voltage level based on the battery type it’s designed for. If the charger detects a voltage that is too low, it may interpret this as a sign that the battery is damaged, and shut down to prevent further harm. Similarly, if the voltage is too high, the charger may stop to prevent overcharging. This voltage monitoring is essential for the charger to maintain battery health.
- Low Voltage Detection: Trickle chargers often have a minimum voltage threshold. If a battery’s voltage drops below this threshold (often around 10-11 volts for a 12-volt system), the charger might shut off. This feature protects against charging a severely discharged or damaged battery, which could potentially cause problems.
- Overvoltage Protection: Chargers also have an upper voltage limit. If the battery voltage rises above a certain point, the charger will switch off to avoid overcharging. This could be due to internal battery issues.
- Battery Chemistry Compatibility: Different types of batteries (lead-acid, AGM, gel) have slightly different voltage requirements. Make sure your charger is compatible with your battery type. A mismatch can lead to incorrect charging voltages and premature shut-off.
- Voltage Fluctuations: If the charger detects sudden drops or spikes in voltage, it could trigger a shut-off mechanism. This is meant to protect the charger from power surges or voltage instability within the battery.
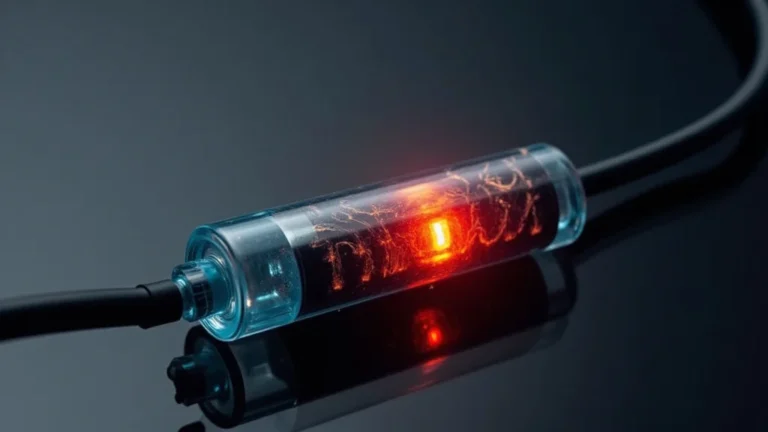
Overheating Issues in Trickle Chargers
Overheating is another significant cause of a trickle charger shutting off. Trickle chargers, like all electronic devices, generate heat during operation. If the internal components get too hot, the charger might automatically shut down to prevent damage. This is a crucial safety measure to maintain the charger’s functionality. Various factors contribute to overheating, including high ambient temperatures, internal component failures, and blocked ventilation. Understanding the sources of heat and implementing preventative measures can significantly improve your charger’s reliability and lifespan.
- Ambient Temperature: A trickle charger placed in a hot environment (like direct sunlight or a poorly ventilated space) is more likely to overheat. High temperatures reduce the efficiency of electronic components and increase the likelihood of the thermal protection shutting down the charger.
- Internal Component Failure: Faulty components within the charger, like diodes or transistors, can generate excessive heat. This can be caused by the age of the charger, manufacturing defects, or exposure to voltage spikes.
- Ventilation Problems: Many trickle chargers have vents to allow heat to dissipate. Blocking these vents, or placing the charger in an enclosed space without adequate airflow, can cause heat to build up. This buildup can trigger the thermal protection and cause the charger to switch off.
- High Current Draw: If the charger attempts to supply too much current to the battery, it can lead to overheating. This might occur if the battery is severely discharged or has internal problems. The charger will usually shut down before it becomes too damaged.
The Charger’s Safety Features
Trickle chargers have various safety features designed to protect both the battery and the charger itself. These safeguards can trigger a shut-off in several situations. Understanding these safety mechanisms helps pinpoint why your charger might be stopping. These features are essential for the safe and effective operation of the charger, preventing potentially dangerous conditions like overcharging, overheating, and short circuits. These protective circuits improve the device’s efficiency and safety.
- Overcharge Protection: One primary safety feature is overcharge protection. Once the battery reaches its full charge, the charger stops delivering current. Some chargers do this by switching to a “float” mode, where they maintain a low current to keep the battery topped up, while others shut off completely.
- Short Circuit Protection: If the charger detects a short circuit, usually caused by improper connections or a faulty battery, it will instantly shut down to prevent damage to the charger and the battery, and to reduce the risk of fire. This is one of the most important safety mechanisms.
- Reverse Polarity Protection: Many chargers also include reverse polarity protection. If the charger leads are connected incorrectly (positive to negative and vice versa), the charger will not operate. This prevents damage to the charger and the battery.
- Thermal Protection: As mentioned, thermal protection is another critical safety feature. If the internal temperature of the charger gets too high, the charger shuts off to prevent damage. This is especially useful in hotter environments.
Step-by-Step Guide to Diagnosing the Problem
When your trickle charger keeps turning off, it’s time to troubleshoot. A systematic approach helps you to pinpoint the root cause without confusion. Following a specific series of checks, from the simple to the complex, is usually the best approach. Begin by examining the connections and surroundings, then move on to checking the battery itself. These procedures can save time and prevent more serious problems.
Check the Connections
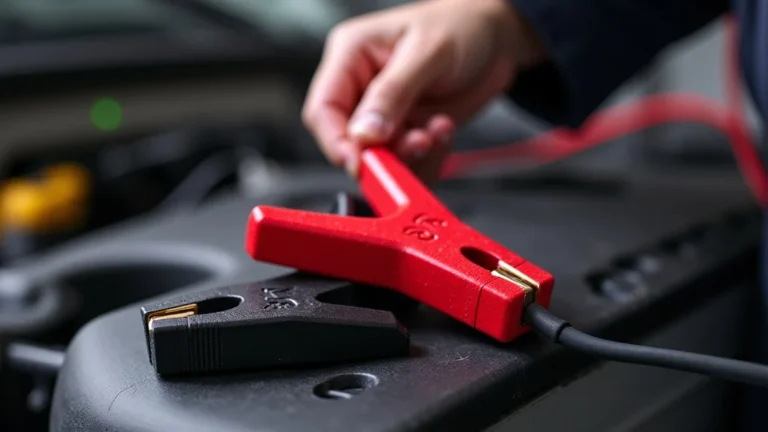
Begin by verifying the connections between the charger and the battery. Loose or corroded connections can interrupt the charging process, leading the charger to shut down. This is usually a simple fix, but it’s often the underlying issue. Proper connections ensure a smooth flow of electricity, and the charger can effectively do its job. A thorough inspection of the cable and connections is the first step in troubleshooting.
- Inspect the Clamps: Examine the clamps that connect to the battery terminals. Make sure they’re clean, firmly attached, and make solid contact. Corrosion or loose clamps can disrupt the charging process.
- Cable Condition: Check the entire length of the charger cable for any signs of damage, such as cuts, frays, or exposed wires. Damaged cables can cause shorts or prevent the flow of current.
- Terminal Corrosion: Clean the battery terminals if you see any corrosion. Use a wire brush or a baking soda solution to remove it. Corrosion increases resistance and hampers charging.
- Connection Points: Make sure the charger cable is properly connected to both the battery terminals and the charger itself. A loose connection at any point can trigger a shutdown.
Battery Inspection and Testing
After checking the connections, the next step is to inspect the battery itself. A faulty or damaged battery can be the root of the problem. A visual and voltage check provides insights into the battery’s health and performance. This step helps determine whether the battery is able to accept a charge and if it holds voltage. The steps outlined below help identify problems that can prevent a charger from working.
- Visual Inspection: Check the battery for any signs of damage, such as swelling, cracks, or leaks. These are common indicators of internal battery problems.
- Voltage Measurement: Use a multimeter to measure the battery voltage before connecting the charger. This helps establish a baseline reading. Compare the reading to the battery’s specified voltage (e.g., 12 volts).
- Load Testing: If possible, perform a load test on the battery. This test simulates the battery’s performance under load, revealing its ability to maintain voltage.
- Battery Age: Older batteries are more likely to fail. Consider the battery’s age and its history of use and maintenance.
Charger Inspection and Reset
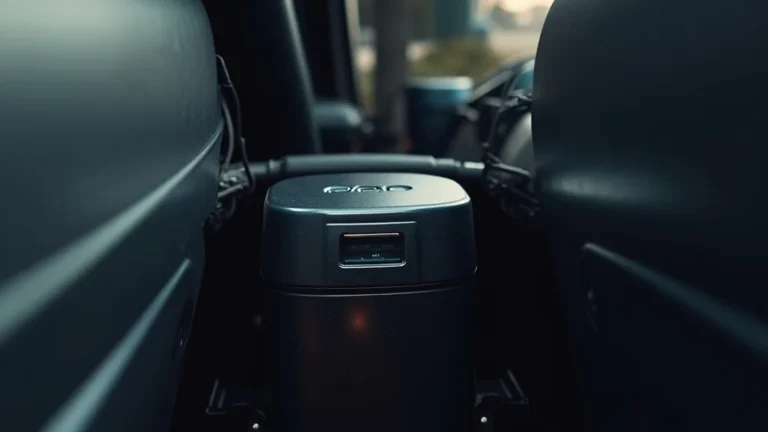
Check the charger itself for any visible damage or issues. Inspecting the charger’s housing, the power cord, and the indicator lights offers insights into its functionality. Additionally, resetting the charger might resolve minor glitches and reset its functions. This check will help ensure the charger operates properly, and that its safety features are correctly working. Always disconnect the charger from the power source before performing any inspection or reset steps.
- Visual Inspection of the Charger: Examine the charger’s exterior for any physical damage, such as cracks or broken components. Check the power cord and the indicator lights.
- Check Indicator Lights: Observe the indicator lights on the charger. They offer information about the charging status and possible error conditions. Refer to the charger’s manual to understand the meaning of each light.
- Charger Reset: Many chargers have a reset function. Consult the charger manual to find out how to reset your charger. Resetting the charger can clear any temporary errors and restore its normal operation.
- Manual: Always consult the charger’s manual. The manual contains specific troubleshooting tips, error codes, and instructions that are specific to your model.
Practical Examples and Scenarios
Understanding real-world examples can provide practical context and insight into why trickle chargers shut off. Case studies and sample scenarios help you link the concepts to real-world issues and see the impact of common problems.
- Case Study 1: The ATV Battery: A person’s ATV battery was frequently dying. They connected a trickle charger, but the charger kept shutting off after a few hours. The owner initially thought the charger was faulty. After performing a diagnostic, they realized the battery had significant sulfation (sulfur crystals). The battery was not able to accept the charge properly, causing the charger to shut down. Replacing the battery resolved the issue.
- Case Study 2: The Car That Sat: A car was left unused for several months. The car’s battery died. When the owner connected a trickle charger, it quickly shut off. Upon inspection, the battery voltage was extremely low. The battery had discharged to the point where the charger’s protection circuits were triggered. A more powerful charger was used to revive the battery, and after some time, the trickle charger worked.
The following are examples of how the problems might present themselves:
- Scenario 1: You connect your trickle charger to your car battery, but it turns off after a few minutes, even though the battery isn’t fully charged. After checking, you find that the charger’s clamp isn’t making good contact with the battery terminal. Cleaning the terminal and ensuring a secure connection fixes the problem.
- Scenario 2: You’ve been using your trickle charger on a motorcycle battery. One day, the charger shuts off immediately after you connect it. Upon inspection, you find that the charger is very warm. The charger has overheated due to insufficient ventilation. Moving the charger to a better-ventilated area solves the issue.
How to Prevent Trickle Charger Shut-Offs
Preventative steps play a role in maintaining the function of your trickle charger and protecting your battery. Regular maintenance, proper usage, and smart storage practices can drastically reduce the chances of your charger shutting off. Following these steps helps prolong the life of both your trickle charger and your battery, saving you from future problems.
Regular Maintenance Tips
Regular maintenance is essential to ensure your trickle charger functions reliably. Cleaning and inspecting the charger regularly can help identify potential issues before they become major problems. Proper maintenance extends the lifespan of the charger and keeps it performing at its best, reducing downtime.
- Clean the Charger: Regularly clean the charger’s exterior to remove dust and debris. Use a dry cloth to wipe the charger down.
- Cable Inspection: Frequently check the charger cables for any wear, cuts, or fraying. Replace damaged cables immediately.
- Ventilation Check: Make sure the charger’s ventilation openings are free from obstructions. This helps with heat dissipation.
- Storage Considerations: When not in use, store the charger in a cool, dry place. Extreme temperatures and humidity can damage the charger.
Best Practices for Trickle Charger Use
Utilizing your trickle charger in the correct manner helps prevent issues and maximizes the charger’s efficiency. Understanding when and how to connect, charge, and disconnect your charger is essential. Safe usage and proper handling ensure that your charger operates as intended and minimizes the risk of shutdowns and other problems.
- Proper Connection: Always connect the charger clamps to the correct terminals (positive to positive, negative to negative). Improper connections can cause shorts.
- Charge Environment: Use the charger in a well-ventilated area. Avoid charging batteries in enclosed spaces.
- Battery Monitoring: Regularly check the battery voltage while charging. Note any unusual behavior.
- Disconnecting: After charging is complete, disconnect the charger before starting or using the battery.
Storage and Environmental Considerations
Where you store your trickle charger and the environment in which it operates can influence its performance. Protecting the charger from extreme conditions, such as high temperatures and moisture, is essential for a long lifespan. These factors can cause premature failure. Proper care ensures reliability and helps avoid unexpected shutdowns.
- Temperature Control: Avoid storing and operating the charger in extreme temperatures. Heat can damage internal components.
- Moisture Control: Protect the charger from moisture and humidity. Store the charger in a dry place.
- Sunlight Avoidance: Prevent direct sunlight exposure. Prolonged exposure to sunlight can degrade plastic components.
- Ventilation in Use: When charging, ensure good airflow around the charger. Avoid placing the charger in enclosed spaces or areas with poor ventilation.
| Feature | Trickle Charger | Smart Charger |
|---|---|---|
| Charging Method | Constant current, low charge rate | Multiple stages, adjusts charge based on battery needs |
| Voltage Monitoring | Limited voltage monitoring | Advanced voltage and condition monitoring |
| Overcharge Protection | Basic; may shut off when full | Advanced; monitors battery and prevents damage |
| Battery Types | Typically for lead-acid batteries | Can handle multiple battery types (AGM, gel, lithium) |
Frequently Asked Questions
Question: Why does my trickle charger shut off quickly after I connect it?
Answer: This often indicates a problem with the battery, such as very low voltage, or internal damage. The charger’s safety features might be activating to prevent further harm.
Question: Can I leave a trickle charger connected all the time?
Answer: Yes, most modern trickle chargers are designed to be left connected for extended periods. They will switch to a maintenance or float mode when the battery is fully charged.
Question: What should I do if my charger gets too hot?
Answer: Immediately disconnect the charger and let it cool down. Make sure it’s in a well-ventilated area. If overheating is frequent, the charger may be faulty and need replacing.
Question: How do I know if my trickle charger is working?
Answer: Check the indicator lights on the charger. They typically show the charging status. You can also use a multimeter to check the battery voltage to confirm that it’s increasing during charging.
Question: Can I use a trickle charger on a lithium-ion battery?
Answer: No, most trickle chargers are not suitable for lithium-ion batteries. Lithium-ion batteries require a specific charging profile. Using the wrong charger can damage the battery.
Final Thoughts
So, we’ve explored the reasons why why trickle charger keeps turning off, from simple connection problems to more complex internal issues within the battery or charger. You’ve learned about essential safety features and gained a step-by-step diagnostic process. Remember, checking connections, inspecting the battery, and reviewing the charger itself are usually the first steps to take. Proper use, regular maintenance, and mindful storage are key to preventing problems.
Now, go forth and troubleshoot! With the knowledge you’ve acquired, you can usually keep your battery charged and your devices running. Do a quick check, apply what you’ve learned, and most of the time, you’ll have your charger back in action. Feel empowered to keep your devices charged!