Jump Starter Not Working Problems and Troubleshooting Guide
Having a jump starter not working can be frustrating! It’s often a common issue, especially if you’re new to car maintenance. Don’t worry, many things can cause this, and usually, there’s a simple fix. We’ll explore the main causes and provide a straightforward, step-by-step guide to get your jump starter back in action. From basic checks to more in-depth solutions, we’ll cover everything you need to know. Get ready to troubleshoot and learn how to get your car started again!
Common Reasons Your Jump Starter Fails
A jump starter’s purpose is simple: to provide a quick boost to your car’s battery when it’s too weak to start the engine. However, the system contains many components, any one of which can fail. It’s like a chain; if one link breaks, the whole thing doesn’t work. Some problems are easy to spot, like a dead battery in the jump starter itself. Others, like internal circuit failures, require more investigation. When your jump starter fails, it leaves you stranded, and it is usually a sign of a deeper issue with the starter itself or your car’s electrical system. So, it’s essential to understand the typical problems.
Power Source Issues
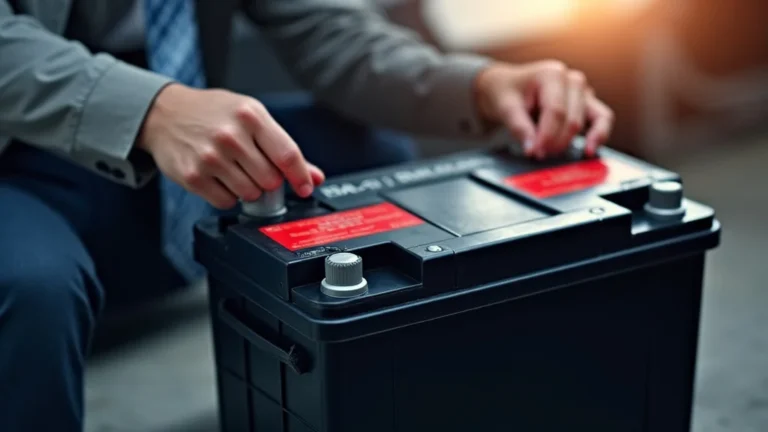
One of the most common reasons a jump starter fails to work is related to its power source. Jump starters rely on internal batteries or external power connections to deliver the necessary current. If the battery is dead or the power cable is faulty, the jump starter won’t provide the boost needed to start your car. Always check the battery level of your jump starter regularly, especially before you need it. A fully charged jump starter is a reliable jump starter. You may also be experiencing problems with your car battery.
- Dead Internal Battery: Many jump starters use lithium-ion batteries. These batteries can lose their charge over time if not used and recharged regularly. If the internal battery is completely drained, the jump starter will not function. Make sure to recharge it after use and periodically, even if you haven’t used it.
- Faulty Charging Cable: If your jump starter has an external charging port, inspect the charging cable for damage. The cable might be frayed, or the connectors might be loose or corroded. This prevents the jump starter from getting a full charge and working correctly.
- Battery Cell Damage: Overcharging or using a jump starter in extreme temperatures can damage the battery cells. This can lead to decreased capacity or complete failure, preventing the jump starter from providing enough power.
- Improper Charging: Using the wrong charger or charging for too long can damage the internal battery. Always use the charger that came with your jump starter or a compatible one with the correct voltage and amperage.
Connection Problems
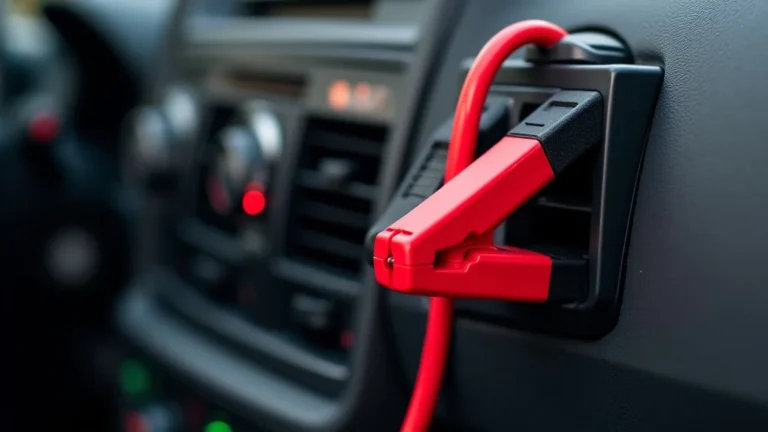
Besides power source issues, connection problems are common culprits when a jump starter isn’t working. The jumper cables must make a solid connection to the car’s battery terminals. If the clamps are corroded, loose, or improperly attached, the current flow is interrupted. Bad connections prevent the jump starter from doing its job, no matter how much power it has. Always inspect the clamps and terminals before attempting a jump start.
- Corroded Clamps: Corroded clamps will prevent a good electrical connection. Corrosion can build up over time due to exposure to moisture and battery acid. Clean the clamps with a wire brush or baking soda solution. Make sure the clamps have a strong, secure grip on the battery terminals.
- Loose Connections: Check that the clamps are securely attached to the battery terminals. If the clamps are loose, the jump starter may not deliver the necessary current. Apply firm pressure to ensure a tight grip.
- Reverse Polarity: Connecting the jumper cables in reverse polarity (positive to negative and vice versa) can damage the jump starter and your car’s electrical system. Always double-check the positive (+) and negative (-) terminals before connecting the cables.
- Damaged Cables: Inspect the jumper cables for any signs of damage, such as cuts, fraying, or exposed wires. Damaged cables can cause shorts or prevent the current from flowing correctly. Replace any damaged cables immediately.
Internal Component Failures
Beyond the power and connection concerns, a jump starter’s internal components can also cause it to fail. Jump starters are complex devices with various electronic components. These parts can malfunction due to age, overuse, or manufacturing defects. Problems with the circuit board, safety features, or internal wiring can lead to the jump starter not working correctly. The complexity of these internal issues might require professional repair or replacement of the jump starter.
- Circuit Board Issues: The circuit board is the heart of a jump starter. Problems, like cracked solder joints or component failures, can disrupt the power flow. These issues can be caused by vibration, heat, or manufacturing defects.
- Internal Wiring Problems: Wires can become loose, corroded, or damaged over time, especially with frequent use or harsh conditions. This can create a break in the circuit and prevent the jump starter from working. Inspect all internal wiring if possible.
- Safety Feature Failures: Many jump starters have safety features like overcharge protection, reverse polarity protection, and over-current protection. If these fail, the jump starter may not function correctly. For instance, the reverse polarity protection might prevent the jump starter from delivering power if the cables are incorrectly connected.
- Component Wear and Tear: Components, such as capacitors, resistors, and transistors, wear out over time. This can lead to a gradual reduction in the jump starter’s performance or complete failure.
Troubleshooting Your Jump Starter
When you encounter a jump starter not working, systematic troubleshooting is key to resolving the issue. This involves checking the most common failure points first, then moving on to more complex diagnostics. By following these steps, you can pinpoint the problem and determine the best course of action. This ensures you’ll get your jump starter back up and ready to use without unnecessary delays.
Initial Checks
The first step in troubleshooting involves quick, straightforward checks. These preliminary steps help to identify the most obvious problems, saving time and effort. Simple inspections can often reveal the cause of the issue, like a dead battery or loose connections. Begin with these initial checks before moving to more complex diagnostics.
- Battery Level: The battery is often the first place to start. Most jump starters have indicator lights. Check the battery level indicator to see if the jump starter is charged. If the lights show low or no charge, recharge it immediately.
- Connection Inspection: Examine the clamps and cables for damage. Check that the clamps are securely connected to the terminals on the jump starter and the car battery. Look for corrosion or any signs of damage, such as frayed wires or cracks.
- Power Button and Indicators: Check the power button. Make sure the jump starter is turned on. Look for any indicator lights that may provide clues about the jump starter’s status. For example, a flashing light might indicate an error.
- User Manual: Consult the user manual. The manual may include troubleshooting tips specific to your jump starter model. It might also have instructions on interpreting the indicator lights or performing any specific reset procedures.
Step-by-Step Diagnostic Procedures
After initial checks, move on to a step-by-step diagnostic process. This will help you systematically eliminate potential problems. Focus on the most likely issues first, and then proceed to more complex steps. Take your time, be thorough, and carefully follow each step to find the fault.
- Recharge the Jump Starter: Connect the jump starter to a power source and fully recharge it. Follow the manufacturer’s instructions for charging. Let it charge for the recommended time, and then check the battery level indicators to confirm it’s fully charged. Try to use it again after.
- Clean the Clamps: If there’s corrosion, clean the clamps. Use a wire brush or a baking soda and water solution to remove any rust. Ensure the clamps have a clean, solid contact surface. Clean battery terminals as well to ensure a good connection.
- Check Cable Connections: Carefully inspect the connections between the clamps and the cables. Ensure they are secure and not loose. If there are any loose connections, tighten them or replace the cables if needed.
- Test with Another Battery: If possible, test the jump starter by connecting it to another car battery or a known good power source to check if it works. This helps determine whether the problem is with the jump starter or the car battery.
- Inspect the Fuse: Many jump starters have a fuse to protect against overcurrent. Check the fuse for damage or if it has blown.
Advanced Troubleshooting Techniques
If the standard troubleshooting steps don’t resolve the problem, move to more advanced techniques. These can require a multimeter or other tools. These techniques are necessary to identify more complex issues, like internal circuit failures or component damage. Proceed with caution and follow safety guidelines.
- Multimeter Tests: Use a multimeter to check the voltage and continuity of the jump starter. This can help identify issues like a dead battery or broken wires. Test the voltage output when the jump starter is turned on to see if it is delivering power.
- Internal Inspection (if possible): Open the jump starter case and visually inspect the internal components. Look for any signs of damage like burnt components, loose wires, or corrosion. Be very careful if you choose to do this; disconnect the jump starter from any power source before you open it.
- Component Testing: If you have experience with electronics, you could test the individual components of the jump starter (like capacitors and resistors). This is only recommended for those with experience.
- Professional Repair: If you can’t find the problem with the advanced steps, consider professional repair. An electronics technician can diagnose and repair internal issues that you may not be equipped to handle.
Maintaining Your Jump Starter
Regular maintenance is important to keep your jump starter in good working condition and extend its life. This involves following some simple practices. By taking good care of your jump starter, you can ensure it’s ready when you need it and prevent common problems. Maintenance is the key to reliability.
Routine Care
Routine care involves regular, easy maintenance tasks. These steps are simple and don’t require any special tools or skills. By following these steps regularly, you can keep your jump starter running in top condition and catch problems before they become major issues. The goal is to keep your jump starter ready for action.
- Regular Recharging: Recharge your jump starter after each use. Even if you don’t use it, recharge it every few months. This prevents the battery from draining completely and helps maintain its capacity.
- Cleaning the Clamps: Inspect and clean the clamps regularly to remove any corrosion or debris. Use a wire brush or a baking soda solution to remove rust and ensure good contact. This helps improve electrical conductivity.
- Storage Conditions: Store your jump starter in a cool, dry place away from extreme temperatures and direct sunlight. The proper storage can help prolong the life of the battery and other internal components.
- Cable Inspection: Check the cables and connections regularly for any damage, fraying, or loose connections. Replace damaged cables immediately to ensure safe and effective operation.
Safety Precautions
Safety is critical when handling jump starters. Follow these guidelines to prevent accidents and ensure your safety and the safety of your equipment. Taking safety precautions will protect you from potential hazards and help you use your jump starter correctly and efficiently.
- Read the Manual: Always read and understand the user manual before using a jump starter. The manual contains important information on safe operation, charging instructions, and other safety precautions specific to your jump starter model.
- Proper Ventilation: Jump starting can produce explosive hydrogen gas. Always ensure proper ventilation when connecting or disconnecting the jump starter to prevent a buildup of gas.
- Protective Gear: Wear safety glasses and gloves when working with batteries. Batteries contain acid that can cause burns. Protective gear can shield you from injury.
- Correct Polarity: Always connect the jumper cables to the correct terminals (positive to positive, negative to negative) to avoid electrical damage. Double-check before connecting.
Long-Term Storage
When storing your jump starter for an extended period, follow these guidelines to ensure it remains in good working condition. These steps will help you preserve the battery life and keep the unit ready for use. Proper storage is crucial to protect your jump starter over the long haul. Keeping it ready is key for emergency situations.
- Fully Charge Before Storage: Before storing the jump starter for a long period, fully charge the internal battery. This helps maintain the battery’s health and prevent it from discharging completely during storage.
- Cool, Dry Place: Store the jump starter in a cool, dry place. Avoid extreme temperatures and direct sunlight. This type of storage will help preserve the battery and other components.
- Periodic Checks: Even if not used, check your jump starter every few months. Check the battery level. Recharge the jump starter periodically to keep the battery from draining completely.
- Avoid Leaving Connected: Do not leave the jump starter connected to a vehicle’s battery. This can drain the jump starter and the vehicle battery over time. Disconnect everything from the vehicle.
Jump Starter Not Working: Real-World Scenarios
Real-life examples can help you understand common jump starter issues better. These scenarios can provide valuable insights. These experiences are from people who have used jump starters in everyday situations. They help you to see how different problems occur and how to fix them in actual use.
- A driver tried to jump-start their car on a cold morning, but the jump starter wouldn’t work. After checking, they found the jump starter had a low battery. They recharged it, and it worked perfectly.
- A user’s jump starter initially worked fine but stopped working after a few weeks. The user discovered that the clamps were corroded. They cleaned the clamps, and the jump starter worked again.
- A user connected the jump starter cables in reverse by mistake. The jump starter’s safety feature kicked in, preventing any damage. They corrected the connections and the jump starter then worked.
Frequently Asked Questions
Question: Why is my jump starter not charging?
Answer: Check the charging cable and power source. A damaged cable or a faulty outlet can prevent charging. Also, the battery in your jump starter may be at the end of its life, and it might not hold a charge anymore.
Question: Can I use my jump starter in cold weather?
Answer: Yes, but cold weather can reduce a battery’s performance. Store the jump starter in a warmer place. The cold can make your battery output lower power.
Question: What does a flashing light on my jump starter mean?
Answer: The flashing light is usually an indicator of an error. Check the user manual for the specific meaning, but common issues are reverse polarity or overcharge problems.
Question: What should I do if my jump starter won’t turn on?
Answer: First, check the battery level. Recharge it. If that doesn’t work, check the on/off switch or button to ensure it is working. Inspect the cables and clamps for damage.
Question: Can I jump-start a car with a dead battery using my jump starter?
Answer: Yes, that is the main purpose of a jump starter. However, make sure your jump starter has sufficient power and the cables are connected correctly.
Final Thoughts
If your jump starter not working, there are steps you can take to identify and fix the issue. First, check the battery level and charging cable. Next, inspect the connections and clean the clamps to ensure a good contact. Finally, if those steps don’t help, you can look for internal component failures, which might need professional help. Regularly maintaining your jump starter and following safety precautions helps to keep it ready. Taking care of your jump starter and following these steps will help you quickly fix the problem and get back on the road. So, next time you face a non-functioning jump starter, you’ll know exactly what to do!