Jump Starter Flashing Red Light Problems Solved Step-by-Step
Seeing a jump starter flashing red light can be frustrating. It’s often a common issue for anyone new to these devices. This signal usually means something isn’t right, like a connection problem or the battery in your car may be too low. Don’t worry, though! It’s usually something that can be fixed easily. We’re going to explore what causes this issue and show you how to resolve it, ensuring you can get your car started quickly. Let’s start with the basics.
What Causes a Jump Starter Flashing Red Light?
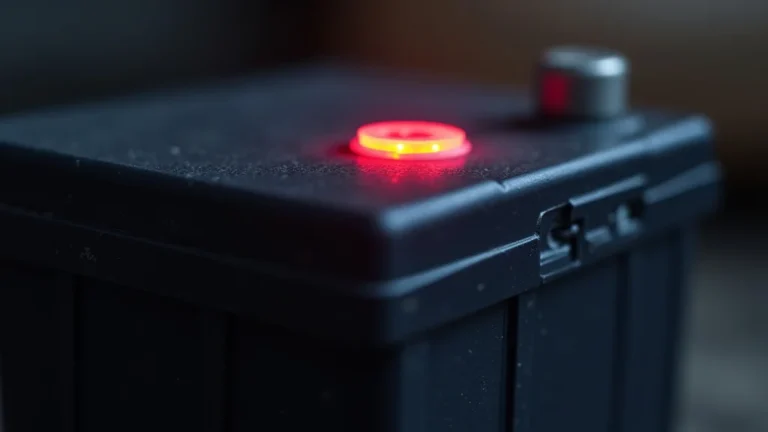
When your jump starter displays a flashing red light, it’s like a warning signal, a message from the device that something is not quite right. Think of it as your jump starter’s way of saying “Hold on a minute!” This alert can stem from several factors, each pointing to a different issue. The most common causes involve problems with how you connected the device, the battery condition of the car, or even issues within the jump starter itself. Other issues can be triggered by low voltage or an overload.
Knowing the root cause is essential before you take any action. The flashing red light is important because it protects both your car’s electrical system and the jump starter. It prevents damage that could happen from incorrect usage. By figuring out the cause, you can resolve the problem and get back on the road safely. Let’s explore the common reasons why this happens, so you can diagnose the problem and fix it.
Incorrect Connection
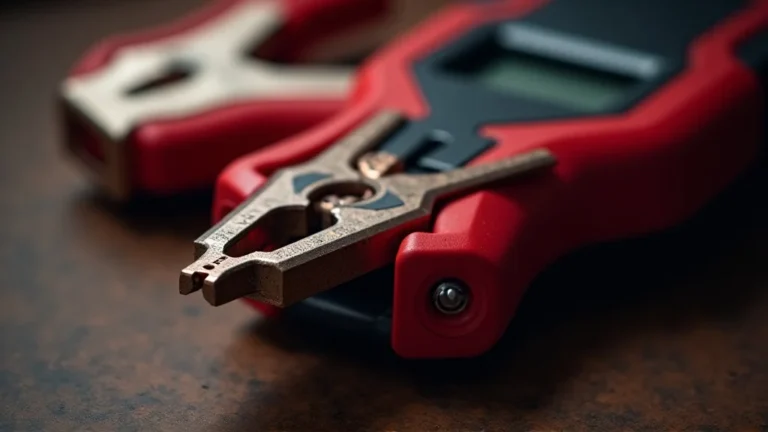
One of the most frequent culprits behind a jump starter flashing red light is a faulty connection. Jump starters work by sending power to your car’s battery to help it start. This means a good connection is key. If the clamps aren’t making solid contact with the battery terminals, the jump starter can’t work properly and will often signal an error. This can happen if the clamps are loose, corroded, or incorrectly placed.
This situation can be easily fixed by ensuring the clamps are connected properly and securely to the battery terminals. Always make sure you connect the positive (red) clamp to the positive (+) terminal and the negative (black) clamp to the negative (-) terminal. Dirty or corroded terminals can prevent a good connection, so cleaning them beforehand can also help.
- Loose Clamps: Ensure the clamps are firmly attached to the battery terminals.
- Incorrect Terminal Placement: Verify the red clamp is on the positive (+) terminal and the black clamp is on the negative (-) terminal.
- Corroded Terminals: Clean any corrosion from the battery terminals using a wire brush or a solution of baking soda and water to improve contact.
Battery Voltage Issues
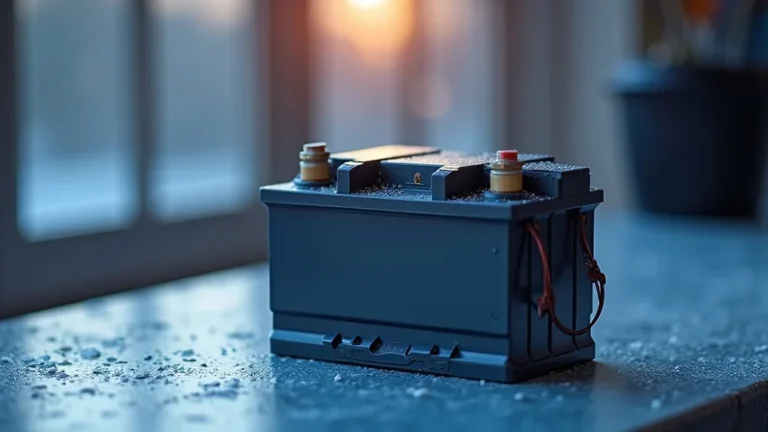
Another common cause for the flashing red light is related to the battery voltage in your car. Jump starters are designed to work within a specific voltage range. If your car battery is too low, the jump starter might not be able to provide enough power, resulting in a warning signal. Extreme temperatures can also affect a battery’s voltage.
This can occur if the battery is deeply discharged or damaged. The jump starter’s safety features will trigger the warning to prevent further damage. If your car’s battery is significantly drained, it may need more power than the jump starter can supply to prevent damage. A damaged battery may not be able to hold a charge, and the jump starter will detect this issue. These scenarios can cause the jump starter to display a flashing red light.
- Low Battery Voltage: Check the battery voltage with a multimeter. A reading below 12 volts usually indicates a problem.
- Battery Damage: A damaged battery might not be able to hold a charge.
- Extreme Temperatures: Very cold or hot weather can affect battery performance and voltage levels.
Internal Jump Starter Problems
Sometimes, the problem lies within the jump starter itself. Internal issues can cause the red light to flash. Modern jump starters have built-in protection circuits that prevent damage from overcharging, short circuits, or other internal failures. If one of these circuits is triggered, the jump starter might display the flashing red light as a safety precaution.
These internal faults can come from wear and tear, manufacturing defects, or improper storage. Damage to the internal components can affect their ability to function correctly. While some internal problems can be resolved, others may require professional repair or replacement. It’s important to inspect the jump starter for any physical damage before assuming the car battery is the issue.
- Overload Protection: If you try to jump-start a car that draws too much power, the jump starter’s overload protection may activate.
- Short Circuit: A short circuit within the jump starter or the car’s electrical system can also trigger the warning light.
- Internal Component Failure: Malfunctioning components inside the jump starter can cause the light to flash.
Step-by-Step Guide to Troubleshoot the Flashing Light
Now that we’ve covered the common causes of a jump starter flashing red light, let’s explore how to solve the problem. Following a step-by-step approach ensures you can systematically eliminate each potential issue. This will help you identify the root cause quickly and get your car started.
This guide combines the basics of battery maintenance, safe operation, and fault detection. Follow these steps carefully to troubleshoot your jump starter’s flashing red light and get back on the road. Remember to always prioritize safety when dealing with car batteries and electrical equipment. Let’s start with a visual inspection.
Visual Inspection and Initial Checks
The first step in solving a jump starter issue is a good visual inspection. This involves a close look at the jump starter, the battery, and the connections. This quick check can save you a lot of time by spotting obvious problems before you start more in-depth testing. Look for physical damage, corrosion, and loose connections.
Make sure the jump starter’s power button is off before you start. Check the clamps for damage, such as broken or loose parts, which may prevent a good connection. Look at the battery terminals for corrosion or buildup, as this can interrupt power flow. Examining the jump starter’s housing for cracks or signs of damage is also a good idea. This check will determine if there are any immediate reasons why the system might not be functioning.
- Inspect the Clamps: Look for any damage or looseness.
- Check Battery Terminals: Inspect for corrosion or buildup.
- Examine Jump Starter Housing: Look for cracks or damage.
Confirming Proper Connections
Making sure the jump starter is connected correctly is vital. Even a small error can cause the flashing red light. Start by ensuring the clamps are on the correct terminals: red to positive (+) and black to negative (-). Next, check that the clamps are tightly fastened to the terminals, providing a solid connection.
If the terminals are dirty, clean them using a wire brush or a baking soda and water solution before connecting. This step will help with electrical flow. Double-check that all connections are secure to avoid any loose contact. Correct connections are essential to allow the jump starter to do its job, which in turn prevents errors and ensures your vehicle starts properly.
- Connect the red clamp to the positive (+) terminal of the car battery.
- Connect the black clamp to the negative (-) terminal of the car battery.
- Ensure the clamps are securely attached to the terminals.
Testing the Battery Voltage
Battery voltage is a good indicator of your battery’s condition. A low voltage can trigger the flashing red light, meaning your car battery is not receiving enough power. You can use a multimeter to check the voltage level. A fully charged 12-volt battery should read around 12.6 volts or higher, while anything below 12 volts suggests a problem.
To measure the voltage, set your multimeter to the DC voltage setting and place the red probe on the positive terminal and the black probe on the negative terminal. Record the voltage reading. If the reading is too low, the battery may need charging or replacement. This process will help you understand if the battery is the cause of the issue.
- Use a Multimeter: Set the multimeter to DC voltage mode.
- Test the Voltage: Place the red probe on the positive terminal and the black probe on the negative terminal.
- Check the Reading: A healthy battery should read 12.6 volts or higher.
Addressing Specific Problems and Solutions
If you’ve followed the basic steps and the jump starter flashing red light persists, it’s time to dig deeper. Here we look at how to fix specific issues, from cleaning corrosion to testing the jump starter itself. By addressing these specific problems, you will move closer to fixing the problem.
These solutions aim to restore the jump starter and battery to working order. We’ll offer the best solutions for different scenarios to help you get your car running. This ensures a successful jump-start and reduces the risk of further problems.
Cleaning Corroded Battery Terminals
Corrosion on battery terminals can be a major cause of connection problems, triggering the flashing red light. This buildup stops the flow of electricity, so cleaning the terminals is important. You’ll need a few common tools and some patience. First, protect yourself with gloves and eye protection.
Begin by disconnecting the battery cables. Then, use a wire brush or a specialized terminal cleaning tool to remove the corrosion. Apply a solution of baking soda and water, or a commercial battery cleaner to help dissolve the corrosion. Wipe down the terminals and cables once they are clean. Make sure the terminals are completely dry before reconnecting to the battery. After cleaning the terminals, reconnect the jump starter and see if the light still flashes.
- Gather Supplies: Get gloves, eye protection, a wire brush, baking soda, and water.
- Disconnect the Battery: Remove the cables to start.
- Clean Terminals: Use the wire brush and baking soda solution to remove corrosion.
- Reconnect and Test: Ensure the terminals are dry and securely reconnected.
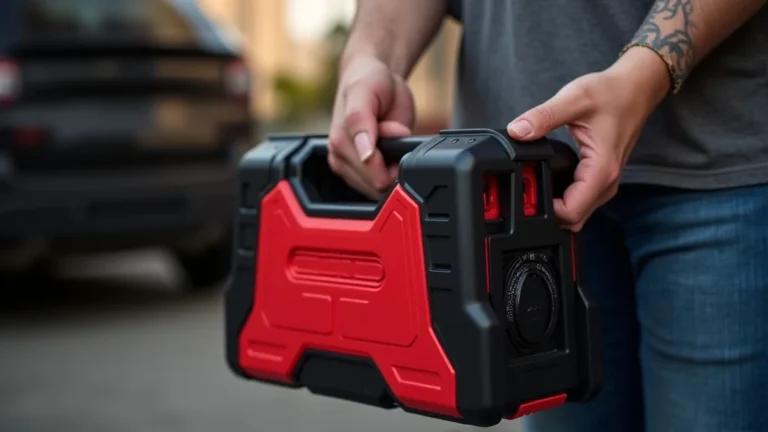
Charging the Jump Starter
If your jump starter is not fully charged, it may not provide enough power to start your car and the red light may flash. Checking the charge level of the jump starter is a quick step to take. Most jump starters come with a battery indicator that shows their charge level. If it’s low, it is important to charge the jump starter to maximum capacity.
Connect your jump starter to a power source, following the manufacturer’s instructions for charging. The charging time can vary, so consult the user manual to know how long it takes to charge. While charging, make sure the device is in a well-ventilated area. Once fully charged, attempt to jump-start your car again. If the light goes out, you’ve resolved the issue.
- Check the Indicator: See if the charge level is low.
- Charge the Jump Starter: Use the power adapter to recharge the device completely.
- Verify the Results: After charging, check to see if the red light still flashes.
Checking for Internal Faults
If the jump starter’s flashing red light continues even after checking the connections, battery voltage, and the charge level, you may have an internal issue. This can be more complex to diagnose, but there are a few things you can do. Examine the device for any physical damage, such as cracks, loose parts, or swelling.
If the jump starter has a built-in diagnostic mode, use it to check for any error codes that could tell you what’s wrong. You could also consult the user manual to identify common issues. If you are not comfortable doing this or if the jump starter is still under warranty, contact the manufacturer or a professional for assistance. They can assess the damage and tell you if the device can be repaired.
- Inspect for Damage: Look for physical damage to the jump starter.
- Use Diagnostic Modes: If available, use the diagnostic tools on the device.
- Seek Professional Help: Consult the manufacturer or a repair shop if the problem continues.
Real-Life Examples and Case Studies
Real-life examples often highlight how the techniques work in practice. The following cases demonstrate how the troubleshooting steps have been useful. These case studies can help you relate these problems to experiences you might have yourself, including common problems and solutions. These cases show how easy it can be to get the jump starter flashing red light resolved.
- Case Study 1: The Corroded Terminals: A person was in a hurry and had trouble starting their car. After connecting the jump starter, the red light began to flash. Upon closer inspection, it was revealed that the battery terminals were covered in corrosion. The terminals were cleaned with baking soda and water, and the car started immediately afterward. The moral of the story is to always check your battery terminals!
- Case Study 2: Low Voltage: A driver faced the flashing red light when attempting to start their car during winter. After checking the battery voltage with a multimeter, it was found to be low. The battery was charged overnight. The next day, the jump starter worked without issue, and the car started right away.
According to the U.S. Department of Energy, a car battery can lose up to 35% of its power at freezing temperatures (32°F or 0°C), and as much as 60% at 0°F (-18°C).
Research by AAA shows that 20% of all roadside assistance calls are for battery-related issues, making it a common concern for drivers.
Frequently Asked Questions
Question: Why is my jump starter flashing red even though the connections seem fine?
Answer: There might be underlying issues. Check the battery voltage to see if it’s too low. Your jump starter could also have an internal fault or the clamps may be making poor contact.
Question: Can I use my jump starter on any type of car battery?
Answer: Most jump starters work with standard 12-volt batteries. However, always check the jump starter’s specifications and your car’s battery requirements to make sure they match. Be certain your jump starter is compatible with the type of battery.
Question: Is it safe to leave the jump starter connected to the car battery for a long time?
Answer: It’s generally safe to connect the jump starter for a short period to start your car. However, do not leave it connected for long periods. Follow the instructions of the manufacturer and disconnect the jump starter once the car has started.
Question: What should I do if my jump starter is sparking when I connect it?
Answer: If you see sparks, immediately disconnect the jump starter. This can be caused by a short circuit or incorrect connections. Double-check all connections and make sure the clamps aren’t touching each other.
Question: Can I jump start my car if the battery is completely dead?
Answer: A jump starter can often help even if your battery is dead. However, if the battery is severely damaged or there’s a serious electrical issue, the jump starter might not work. Always test before you leave home.
Final Thoughts
So, we’ve walked through why your jump starter flashing red light might be on, and explored the steps to fix it. It can be caused by a variety of issues, from loose connections and low voltage to internal problems within the jump starter. Addressing these problems needs a careful approach, from visual inspections to using a multimeter to check voltage levels. Cleaning battery terminals, charging your jump starter, and addressing any internal issues are important.
The next time you face this problem, remember the steps outlined here. Always ensure your connections are secure, check your battery voltage, and charge your jump starter before trying to start your car. By doing this, you’ll be well-prepared to diagnose and resolve the issue. Don’t be discouraged if the light appears; it’s just a signal that can be fixed. You are now equipped with the knowledge to troubleshoot and solve this common car problem. Get back on the road with confidence, knowing you can handle this problem.