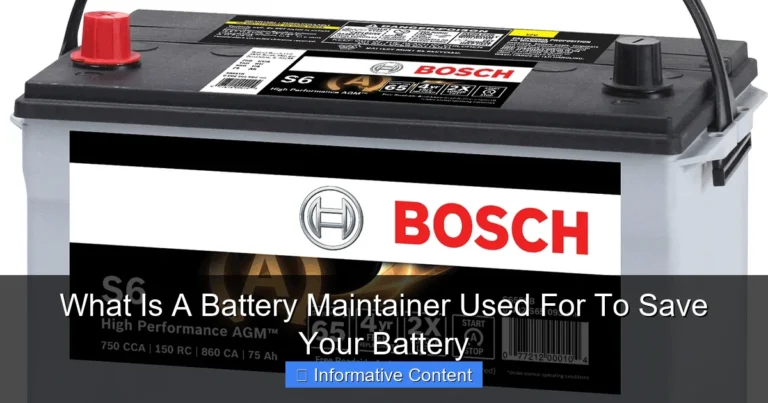
Keep Your Battery Charged How to Use Battery Maintainer
Featured image for how to use battery maintainer
Image source: goldeagle.com
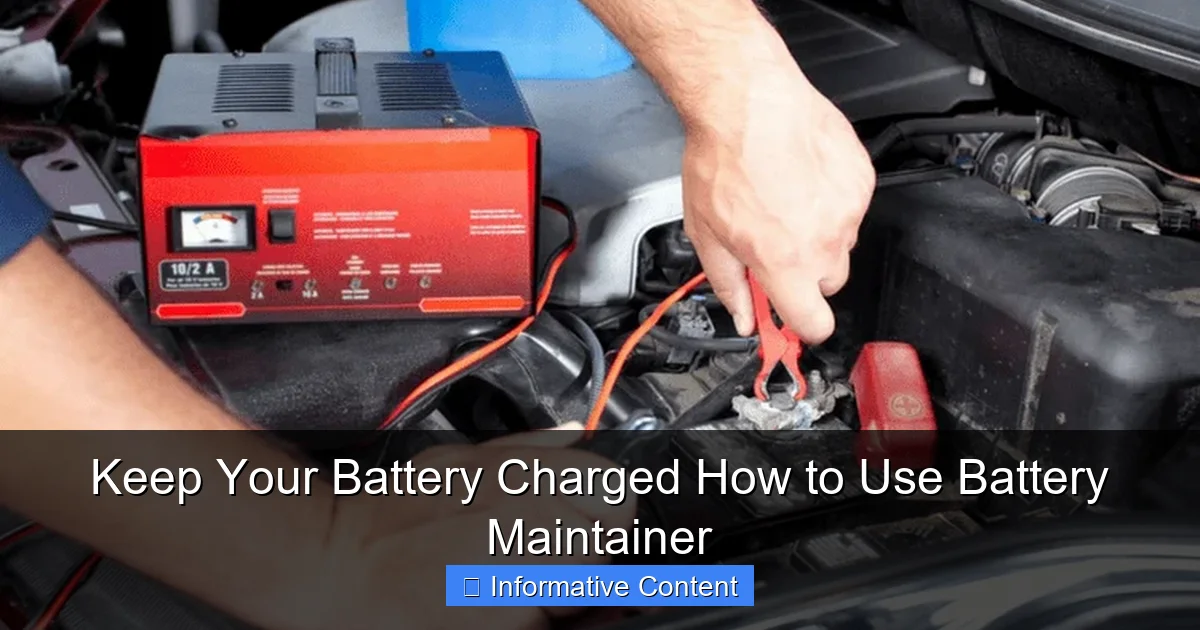
Extend your battery’s lifespan and guarantee reliable starts by properly using a battery maintainer, a crucial tool for any stored vehicle. Simply connect the positive clamp to the battery’s positive terminal, the negative to the negative (or a chassis ground), and then plug the unit into an AC outlet. This smart device will then intelligently charge and monitor, preventing drain and saving you from unexpected dead batteries and premature replacement costs.
Imagine this: you’re all set for a weekend getaway. The bags are packed, the car keys are in hand, and you head out to your vehicle with a spring in your step. You turn the key, and… nothing. Just a sad, clicking sound. Your battery is dead. It’s a frustrating scenario, isn’t it? Especially when your car, motorcycle, or RV has been sitting idle for a while.
We’ve all been there, or at least worried about being there. Vehicles that aren’t driven regularly, like classic cars, seasonal bikes, or even that spare family car, are prime candidates for a drained battery. This isn’t just an inconvenience; it can actually shorten the overall lifespan of your expensive battery. But what if there was a simple, affordable solution to keep your battery topped up and ready to go at a moment’s notice?
Enter the battery maintainer. This little device is a game-changer for anyone who values reliability and wants to extend the life of their vehicle’s battery. It’s not just for preventing those dreaded dead battery moments; it’s about smart, long-term battery care. In this post, we’ll walk through everything you need to know about how to use a battery maintainer, ensuring your adventures are never put on hold because of a sleepy power source.
Key Takeaways
- Extend battery life: Use a maintainer for stored vehicles.
- Choose right maintainer: Match it to your battery type.
- Prioritize safety: Always wear PPE and follow instructions.
- Ensure clean connections: Remove corrosion for optimal charging.
- Connect correctly: Red to positive, black to negative terminal.
- Monitor indicator lights: Confirm proper charging and function.
- Store properly: Keep maintainer dry and secure during use.
📑 Table of Contents
What Exactly is a Battery Maintainer?
Let’s start by clarifying what a battery maintainer truly is. Think of it as a smart, caring friend for your battery, rather than just a brute force charger. While it does provide power, its primary goal is to keep an already charged battery at its optimal level, preventing the natural self-discharge that happens over time.
More Than Just a Trickle Charger
You might have heard the term “trickle charger” before, and while a battery maintainer operates in a similar low-current fashion, it’s far more sophisticated. Traditional trickle chargers continually feed a small, constant current into the battery. This can sometimes lead to overcharging, which can damage the battery over extended periods. A modern battery maintainer, on the other hand, is intelligent.
It employs what’s known as “float mode” or “multi-stage charging.” This means it monitors the battery’s voltage and current, only supplying power when needed. Once the battery reaches full charge, the battery maintainer switches to a monitoring mode, delivering just enough current to offset self-discharge. It’s like keeping a glass of water full by only adding drops when the water level dips, ensuring it never overflows or runs dry. This intelligent approach is crucial for preserving battery health and extending its life.
Why You Need a Battery Maintainer in Your Life
Now that we know what a battery maintainer does, let’s talk about why it’s such a valuable tool for any vehicle owner, especially those with vehicles that sit for extended periods.
Extending Battery Lifespan
One of the biggest benefits of using a battery maintainer is the significant extension of your battery’s lifespan. Batteries don’t like to be completely discharged. Each time a lead-acid battery goes completely flat, it experiences stress that can permanently reduce its capacity. By keeping your battery consistently topped up, a battery maintainer prevents this damaging deep discharge cycle, allowing your battery to live a longer, healthier life.
Preventing Unexpected Dead Batteries
There’s nothing quite as frustrating as finding your vehicle won’t start when you need it most. A battery maintainer eliminates this worry. Whether it’s your weekend cruiser, your boat tucked away for the winter, or your RV waiting for summer adventures, connecting it to a battery maintainer ensures it’s always ready to fire up on demand. It’s truly peace of mind in a small package.
Ideal for Stored or Infrequently Used Vehicles
This is where battery maintainers truly shine. Think about:
- Classic cars: They might only see the light of day a few times a year.
- Motorcycles and ATVs: Often stored during off-seasons.
- RVs and campers: Parked for months between trips.
- Boats: Winterized or dry-docked for long stretches.
- Lawnmowers and garden tractors: Especially during colder months.
- Backup generators: You want them ready for emergencies.
For all these vehicles, a battery maintainer is not just recommended; it’s practically essential for proper battery care.
Choosing the Right Battery Maintainer for Your Needs
With so many options out there, how do you pick the right battery maintainer? It’s not overly complicated, but a few key considerations will help you make an informed choice.
Matching Maintainer to Battery Type
Most battery maintainers are designed for 12-volt lead-acid batteries, which include traditional flooded, AGM (Absorbed Glass Mat), and Gel batteries. Many modern battery maintainers are “smart” enough to detect the battery type and adjust their charging profile accordingly. However, always double-check the product specifications to ensure it’s compatible with your specific battery type. If you have a lithium-ion battery, you’ll need a specialized lithium battery maintainer.
Amperage and Features to Consider
Battery maintainers typically have very low amperage output, usually between 0.75 amps and 2 amps. This is perfect for maintaining a charge. Here are some features to look for:
- Automatic Voltage Detection: Handy for distinguishing between 6V and 12V systems.
- Multi-Stage Charging: Ensures optimal charging and maintenance without overcharging.
- Spark-Proof Clamps: A crucial safety feature to prevent accidental sparks.
- Reverse Polarity Protection: Protects your battery and the maintainer if you accidentally connect the clamps incorrectly.
- Weather Resistance: Important if you plan to use it outdoors or in a garage where conditions might not be pristine.
- Quick-Connect Harnesses: Many maintainers come with optional ring terminal harnesses that can be permanently attached to your battery, making future connections super easy.
Step-by-Step Guide: How to Safely Connect Your Battery Maintainer
Connecting a battery maintainer is straightforward, but safety should always be your top priority. Follow these steps carefully to ensure a safe and effective connection.
Safety First!
Before you even think about touching your battery, make sure you’re taking precautions:
- Wear safety glasses and gloves.
- Ensure you’re in a well-ventilated area.
- Keep any sparks or flames away from the battery area.
- Turn off your vehicle’s engine and any accessories.
Preparing Your Vehicle and Battery
First, make sure your vehicle is turned off completely. If the battery terminals look dirty or corroded, it’s a good idea to clean them with a wire brush and a battery terminal cleaner solution. A clean connection ensures efficient power transfer.
The Connection Process (Crucial Steps)
- Identify the Terminals: Locate your battery. You’ll see two terminals: a positive (+) terminal, usually marked with a plus sign and a red cap or cable, and a negative (-) terminal, usually marked with a minus sign and a black cap or cable.
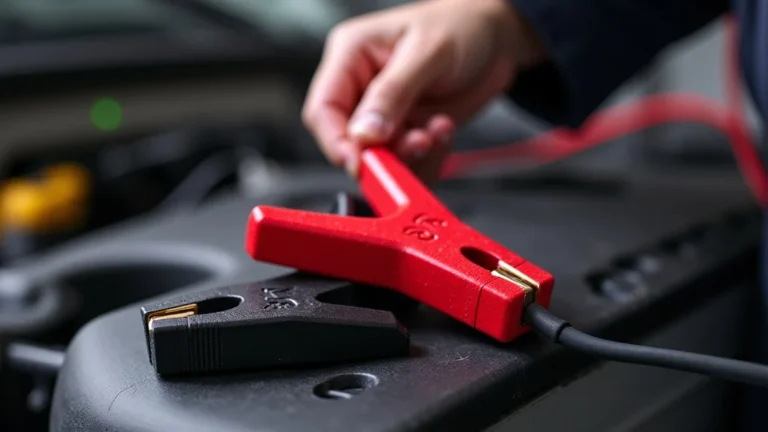
- Connect the Positive Clamp (Red): Take the red, positive clamp from your battery maintainer and securely attach it to the positive (+) terminal of your battery. Make sure it has a firm, stable connection.
- Connect the Negative Clamp (Black): Now, here’s a crucial step for safety. Connect the black, negative clamp from your battery maintainer to a clean, unpainted metal part of your vehicle’s chassis or engine block, away from the battery itself and any fuel lines. This is often recommended over connecting directly to the negative terminal to minimize the risk of sparking near the battery’s flammable gases. If direct access to a chassis ground is difficult, some manufacturers allow direct connection to the negative terminal, but always check your maintainer’s manual for its specific recommendation.
- Plug It In: Once both clamps are securely attached, and only then, plug your battery maintainer into a standard electrical outlet.
You might see an indicator light on the battery maintainer come on, signaling that it’s working. Always refer to your specific battery maintainer’s manual for detailed instructions and indicator light meanings.
What to Expect and How to Monitor
Once your battery maintainer is connected and plugged in, it’s designed to work largely autonomously. However, understanding its signals and doing occasional checks is still a good idea.
Understanding Indicator Lights
Most battery maintainers come with indicator lights that tell you what’s happening. Common lights include:
- Green Light: Often indicates a full charge and that the maintainer is in “float” or maintenance mode.
- Red or Amber Light: Usually means the battery is charging or requires attention.
- Flashing Lights: Can indicate a problem, such as a reverse polarity connection or a deeply discharged battery that the maintainer is trying to recover.
Again, consult your specific model’s manual for an accurate interpretation of its lights.
Long-Term Maintenance and Checks
A battery maintainer is designed for long-term connection. You can leave it connected for weeks, months, or even all winter. When you’re ready to use your vehicle, simply reverse the connection steps: unplug the battery maintainer from the wall first, then disconnect the negative (black) clamp, and finally the positive (red) clamp.
While the maintainer does its job, it’s still wise to periodically check your battery’s physical condition. Look for any swelling, leaks, or severe corrosion, which could indicate a failing battery that even a battery maintainer can’t fully compensate for. If your battery is more than 5-7 years old, even with proper maintenance, it might be nearing the end of its life.
Common Mistakes to Avoid
Using a battery maintainer is generally straightforward, but a few common missteps can hinder its effectiveness or even cause issues. Let’s make sure you steer clear of them.
Don’t Confuse with a Fast Charger
A battery maintainer is not designed to quickly recharge a completely dead battery. If your battery is fully discharged and won’t even crank your engine, you’ll need a dedicated battery charger with higher amperage output to bring it back to life first. Once it’s charged, then the battery maintainer can take over to keep it that way.
Overlooking Battery Health
While a battery maintainer can extend the life of a healthy battery, it can’t miraculously revive a battery that’s already on its last legs. If your battery frequently struggles to hold a charge, even with a maintainer connected, it might be time for a replacement. A battery maintainer is a preventative tool, not a cure-all for a failing battery.
Improper Connection
Always double-check your connections. Connecting the clamps in reverse polarity (red to negative, black to positive) can damage your battery, the maintainer, or both, even if your unit has reverse polarity protection. Take your time, follow the steps, and remember: positive to positive, then negative to chassis or the negative terminal.
Neglecting Maintenance
Even though the battery maintainer is doing most of the work, occasionally inspecting your battery and its connections is important. Ensure the clamps are still secure, the terminals are clean, and the maintainer itself isn’t damaged. These quick checks ensure optimal performance.
There you have it! Using a battery maintainer is a simple, effective way to ensure your vehicles are always ready to go. It saves you frustration, extends the life of your expensive batteries, and provides genuine peace of mind. By understanding how these clever devices work and following a few easy safety and connection steps, you’ll master battery care in no time. So go ahead, plug in that battery maintainer, and keep your adventures charged and ready.
Frequently Asked Questions
What is a battery maintainer and why should I use one?
A battery maintainer is a device designed to keep a battery at its optimal charge level over extended periods, preventing the natural discharge that occurs when a vehicle or equipment is stored. It helps to prolong your battery’s lifespan, ensuring it’s ready to go when you need it, avoiding the hassle and cost of replacing a dead battery.
How do I properly connect a battery maintainer to my vehicle’s battery?
First, connect the positive (+) clamp (usually red) of the battery maintainer to the positive terminal of the battery. Next, connect the negative (-) clamp (usually black) to a good chassis ground point away from the battery, or directly to the negative terminal if your maintainer’s instructions specify. Finally, plug the battery maintainer into a standard AC electrical outlet.
How long does a battery maintainer need to be connected, and can it be left on indefinitely?
A battery maintainer is specifically designed for continuous, long-term connection without overcharging your battery. Once the battery reaches full charge, the maintainer typically switches to a float mode, providing just enough current to offset self-discharge. Therefore, yes, it can generally be left connected indefinitely for vehicles or equipment in storage.
Can a battery maintainer revive a completely dead battery?
Generally, a battery maintainer is not designed to revive a completely dead or deeply discharged battery that has dropped below a certain voltage threshold. Its primary role is to maintain an already charged battery or one that is only slightly depleted. For a deeply discharged battery, you would typically need a dedicated battery charger with higher amperage output.
What types of batteries are compatible with a battery maintainer?
Most modern battery maintainers are compatible with a wide range of 12-volt lead-acid batteries, including traditional flooded, AGM (Absorbed Glass Mat), and Gel batteries. Always check your specific battery maintainer’s manual for its exact compatibility with different battery chemistries and voltages to ensure safe and effective use.
What’s the difference between a battery charger and a battery maintainer?
A battery charger is designed to rapidly replenish a deeply discharged battery by delivering a higher current quickly. In contrast, a battery maintainer provides a lower, continuous current to prevent an already charged battery from gradually losing its charge over time. Think of a charger as an “on-demand fill-up” and a maintainer as a “trickle top-off” for long-term care.