Checking Car Alternator Output Like a Pro: Simple Steps
Figuring out how to check car alternator output can seem tricky, especially if you’re not a car expert. Many people feel unsure because it involves electrical components and specific tools. But don’t worry! This process is easier than you think. We’re going to break it down step by step, so you can easily identify any alternator issues. You’ll soon see how simple it is to assess your car’s charging system, ensuring your battery stays charged and your car runs smoothly. Let’s get started!
What is an Alternator and Why Check Its Output?
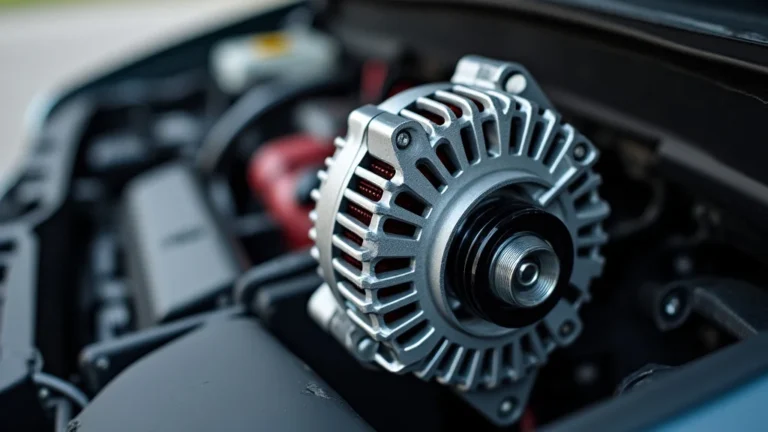
The alternator is a vital part of your car’s electrical system, acting as a generator. It converts mechanical energy from the engine into electrical energy to power your car’s electrical components and charge the battery. This charging process keeps your car running and prevents your battery from dying. If the alternator isn’t working correctly, your battery will eventually drain, leaving you stranded. Regular checking lets you spot problems early, avoiding major issues. A failing alternator can cause various symptoms, like dim headlights, slow engine starts, and warning lights on your dashboard. Knowing the signs and how to check the output helps you maintain your car’s electrical health.
The Inner Workings of an Alternator
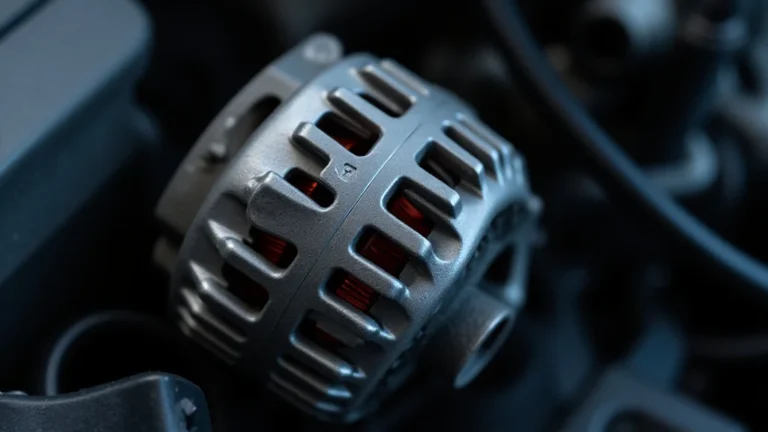
Inside an alternator, you’ll find several components working in sync. The rotor, which is a spinning electromagnet, creates a magnetic field. This spinning movement happens due to the pulley belt connected to your engine’s crankshaft. As the rotor spins, it passes through the stator, a set of stationary coils of wire. This interaction between the magnetic field and the stator generates alternating current (AC). A rectifier then converts the AC into direct current (DC), the type of electricity your car needs to run. The voltage regulator is another key part. It ensures the alternator outputs the right voltage, protecting your car’s electrical components from damage.
- Rotor: The rotor is the rotating part, creating a magnetic field when energized. Its spinning motion generates electricity.
- Stator: The stator is a stationary coil of wires where the magnetic field from the rotor induces an electrical current. It’s the primary source of power generation.
- Rectifier: The rectifier converts the alternating current (AC) produced by the alternator into direct current (DC), which is what your car’s electrical system uses.
- Voltage Regulator: This component maintains a consistent voltage output from the alternator. It prevents overcharging, thus safeguarding the battery and electrical components.
- Pulley: The pulley connects to the engine via a belt and drives the alternator’s operation. It transfers the engine’s mechanical power to the alternator.
Tools You’ll Need to Measure Alternator Output
Checking your car’s alternator output doesn’t need specialized equipment, but you’ll need a few essential tools. The good news is they’re readily available and simple to use. Having these tools ready ensures that you can accurately diagnose any charging problems. Using the right tools protects both you and your car’s electrical system from potential damage. Here are the tools to start with.
Essential Tools and What They Do
The tools required are simple and easily accessible. Each plays a specific role in measuring and interpreting the alternator’s performance, giving you a clear picture of its functionality. Ensure you understand how to use each tool correctly. Misuse might give you wrong readings or potentially harm your car’s electrical system. Before you start, gather these essential tools.
- Digital Multimeter: This is the main tool. It measures voltage, current, and resistance. Set it to measure DC voltage when checking the alternator. A multimeter gives you the most precise data on voltage levels.
- Safety Glasses: Always wear safety glasses when working around a car’s electrical system. They will protect your eyes from debris and potential hazards.
- Gloves: Gloves provide grip and some protection while working under the hood. They also keep your hands clean.
- Jumper Cables: If the battery is dead during testing, jumper cables will help you start the car to test the alternator’s output.
- Owner’s Manual: Your car’s manual gives you specific information. It includes voltage specifications that can vary by vehicle make and model.
Step-by-Step Guide to Checking Car Alternator Output
Now that you have your tools, let’s explore how to check car alternator output. This process involves a series of straightforward steps that you can do at home. Make sure you follow these steps carefully to get accurate results. Testing the alternator output involves checking the voltage with the engine off and then running. This comparison gives you a clear picture of the alternator’s performance. Always prioritize safety first.
Preparing for the Test
Before you begin, safety is paramount. Make sure your car is parked on a level surface and the parking brake is engaged. Open the hood and locate your car’s battery. Double-check that all electrical accessories are off, like lights and the radio. Proper preparation ensures accurate readings and protects both you and your car’s electrical system. This preparation is essential to prevent accidents. Once you are done, you can start the testing process. Following safety guidelines prevents potential harm.
- Park and Secure the Vehicle: Park on a level surface, engage the parking brake, and turn off the engine and all electrical accessories.
- Locate the Battery: Open the hood and find your car’s battery. Note the positive (+) and negative (-) terminals.
- Inspect the Battery: Before testing, make sure the battery terminals are clean and free of corrosion. Clean terminals lead to accurate voltage readings.
- Prepare the Multimeter: Set the digital multimeter to measure DC voltage. Select a voltage range greater than 20 volts.
Testing Battery Voltage With the Engine Off
This is the first measurement to do before you start the car. It will give you a baseline reading of the battery’s health. Testing with the engine off helps establish a benchmark. This step is important, as it gives you a base reading to compare with the output from the alternator. If the battery voltage is already low, it may affect the charging test. This initial test helps in assessing the battery’s overall state. It provides a starting point for assessing the alternator’s performance. A battery in good shape provides a more accurate assessment.
- Connect the Multimeter: Place the red probe on the positive (+) terminal of the battery and the black probe on the negative (-) terminal.
- Take the Reading: The multimeter will display the battery voltage. A healthy battery should read around 12.6 volts.
- Record the Voltage: Write down the voltage reading. This reading is the baseline for comparison.
- Interpret the Results: If the reading is below 12.0 volts, the battery may be discharged or have a problem. You should consider charging or replacing the battery.
Checking Alternator Output With the Engine Running
Now, start the car and check what the alternator is doing. It’s important to do this test to see if the alternator is generating the proper voltage to charge the battery and power the car’s electrical system. This test shows whether the alternator is working correctly. It gives a direct indication of how the alternator charges the battery. During this, the engine must be running, which is why safety is important. Make sure you have the multimeter set up correctly. Take the voltage reading while the car runs. Then, compare this measurement with the initial reading.
- Start the Engine: Start the engine and let it run. Ensure the car is in park and stable.
- Connect the Multimeter: Keep the multimeter probes connected to the battery terminals, red to positive and black to negative.
- Check the Voltage: Observe the voltage reading on the multimeter. The reading should be between 13.5 and 14.5 volts.
- Test with Accessories On: Turn on headlights, the radio, and the air conditioning. Check the voltage again. It should remain within the 13.5 to 14.5-volt range.
- Compare Readings: Compare this reading with the battery voltage. The difference indicates whether the alternator is charging the battery.
Interpreting the Results and Troubleshooting
Understanding your multimeter readings is critical to know what’s happening with the car. The interpretation of these readings determines the next steps to take. Correctly interpret these results so you can address problems quickly. If the voltage remains low, it suggests the alternator cannot provide sufficient power. This step helps identify and fix issues. A proper diagnosis helps ensure your car runs efficiently. If you get a low output, it may mean the alternator is failing. You must carefully assess the data and any symptoms. This helps to determine if the alternator needs replacing or there is a different problem.
- Voltage Under 12.0V with Engine Off: The battery is low or has a problem. Consider charging or replacing the battery.
- Voltage Between 13.5V and 14.5V with Engine Running: The alternator is working correctly and charging the battery.
- Voltage Below 13.5V with Engine Running: The alternator is not charging properly. You may need to have it tested or replaced.
- Voltage Above 14.5V with Engine Running: The alternator is overcharging, which can damage the battery and other electrical components. Have it inspected immediately.
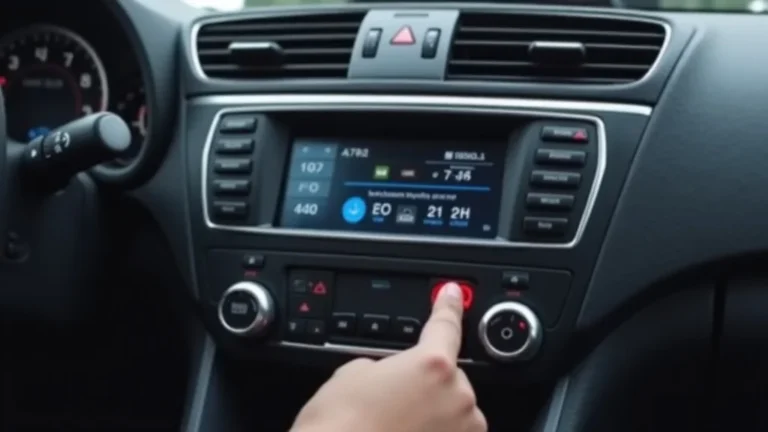
- Battery Light On: If the battery light is on while the engine is running, it indicates an issue with the charging system. It is best to have the system looked at.
| Reading | Interpretation | Action |
|---|---|---|
| 12V or Lower (Engine Off) | Battery is discharged | Charge or replace the battery |
| 13.5V to 14.5V (Engine Running) | Alternator charging properly | No action needed |
| Below 13.5V (Engine Running) | Alternator is not charging | Inspect/replace the alternator |
| Above 14.5V (Engine Running) | Alternator is overcharging | Have the alternator inspected |
Common Alternator Problems and What to Look For
Recognizing the common alternator issues will help you troubleshoot and keep your car running. Several symptoms can indicate an alternator issue. These problems can range from a simple fix to needing an alternator
Warning Signs of a Failing Alternator
Several signs warn you that the alternator is starting to fail. These signs might vary, but all of them indicate that the charging system is not functioning well. Ignoring these signs can lead to more complex problems, like a dead battery or issues while you are on the road. Knowing the symptoms can allow you to spot the problem early. Early detection makes the troubleshooting process easier. It also can reduce the cost and severity of the repairs.
- Dim or Flickering Headlights: This can be a sign of a failing alternator because it cannot supply enough power to all the electrical components.
- Slow Engine Cranking: A failing alternator can struggle to keep the battery fully charged, making the engine crank slowly when starting.
- Battery Warning Light: A light on the dashboard, shaped like a battery, can illuminate to indicate an issue with the charging system.
- Electrical Component Failure: Problems with radios, power windows, or other electrical accessories can be from a failing alternator.
- Unusual Noises: Strange noises from the alternator, such as squealing or grinding, could signal internal damage.
Diagnosing and Addressing Common Issues
Once you see the signs, it’s time to figure out what is wrong. You might need to examine the problem further, depending on the symptoms. This involves testing and inspection to pinpoint the source of the problem. Often, problems are simple, such as a loose connection or a worn belt. Being able to find the source helps to determine the best approach. Knowing the steps will help you resolve the problems quickly. It also helps prevent potential harm. You can solve many problems by replacing specific parts.
- Loose or Corroded Connections: Check and clean the battery terminals and alternator connections for corrosion or looseness.
- Worn or Broken Belt: Inspect the serpentine belt that drives the alternator. Look for cracks or wear. Replace if necessary.
- Faulty Rectifier Diodes: These components may fail, preventing the alternator from converting AC to DC. This needs a professional check and potential replacement.
- Voltage Regulator Issues: A faulty regulator can cause undercharging or overcharging. This often means replacing the entire alternator.
- Worn Bearings: Worn alternator bearings can cause grinding noises. This might require professional repair or alternator replacement.
Frequently Asked Questions
Question: Why does my car battery keep dying, even after a jump start?
Answer: If your car battery dies repeatedly, even after jump-starting, it could mean the alternator isn’t charging the battery. Check the alternator output using a multimeter.
Question: What’s the normal voltage reading for a car battery?
Answer: A fully charged car battery should read around 12.6 volts when the engine is off. This value can vary slightly depending on temperature and the battery’s condition.
Question: Can I drive my car with a faulty alternator?
Answer: You can drive a short distance, but your car will rely solely on the battery. All electrical systems will run down, and the car may stop. It’s best to fix it immediately.
Question: How long does an alternator typically last?
Answer: An alternator typically lasts between 80,000 to 150,000 miles, but this can vary depending on driving conditions and maintenance.
Question: How much does it cost to replace an alternator?
Answer: The cost varies depending on the car model and labor costs. You can find replacement alternators from $100 to $400 or more. Labor can add an additional $100-$300.
Final Thoughts
Knowing how to check car alternator output is a valuable skill for any car owner. The process includes simple steps that you can manage at home with a few tools. You can spot potential issues early by checking the voltage readings with the engine off and on. Knowing the normal output and what to look for will give you the knowledge to handle basic car maintenance. This skill helps you protect the car’s electrical components and keeps the car working correctly. Using the multimeter lets you understand your car’s charging system. You can then address problems and avoid issues. Always remember to prioritize safety, review the steps, and then apply them. By being aware of your car’s electrical needs, you can drive with confidence.