How to Charge a Jump Starter: A Beginner’s Guide
Figuring out how to charge a jump starter can seem tricky at first, especially if you’re new to car maintenance. It’s common to feel unsure about the different types of chargers and how they work. Don’t worry, though! This guide breaks down the process into simple steps, making it easy for anyone to keep their jump starter ready to go. We’ll explore everything you need to know, from the initial setup to the final charge, so you can be prepared for any situation. Let’s get started.
Understanding Your Jump Starter
Before exploring how to charge a jump starter, it’s important to know what you’re working with. Jump starters come in various forms, including those with built-in lithium-ion batteries and others that may rely on lead-acid technology. Each type has its own charging requirements. The core function, however, remains the same: to provide a surge of power to a car’s battery when it’s too weak to start the engine. They’re valuable tools, offering roadside assistance without requiring another vehicle. Knowing the components of your jump starter and how they function helps you keep it in top condition.
Types of Jump Starters
The first step in learning how to charge a jump starter is getting familiar with the different kinds. Jump starters are generally categorized by the battery technology they utilize. Each type has distinct characteristics that affect charging methods and lifespan. Some come with added features like USB ports for charging phones or LED lights. Knowing the specific type of jump starter you have lets you select the right charging procedure.
- Lithium-Ion Jump Starters: These are very common. They are lightweight, compact, and recharge quickly. Most come with a USB charging cable and plug. They also have safety features to prevent overcharging.
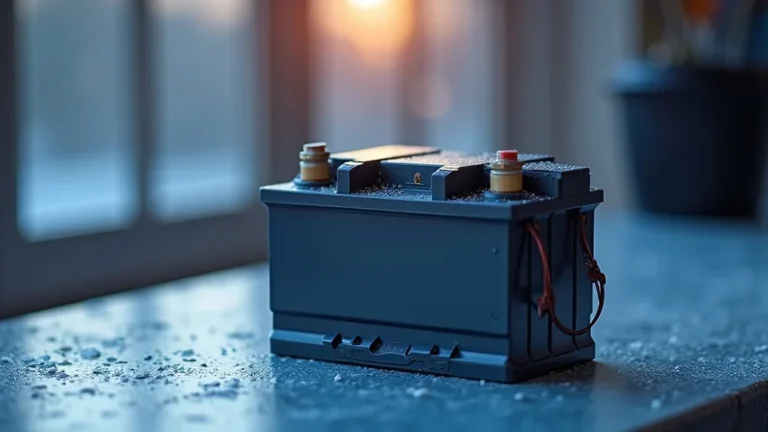
- Lead-Acid Jump Starters: These are typically heavier and may require specific chargers designed for lead-acid batteries. They might take longer to charge.
- Capacitor Jump Starters: These use a capacitor, which stores energy electrostatically. They’re known for their very fast charging times, often taking just a few minutes. However, they may not hold a charge as long as other types.
Lithium-ion batteries are popular in jump starters because they have a high energy density, meaning they store a lot of power for their size. This results in a jump starter that’s easy to carry around. They also experience minimal discharge when not in use, so they stay ready longer. It is critical to store them at room temperature to preserve battery life.
Lead-acid batteries are an older technology, and while less convenient than lithium-ion, they’re reliable. These starters are often more affordable and work well in cold temperatures. They require more maintenance. Make sure to top up the charge regularly.
Capacitor jump starters provide a fast solution when you need to start your car quickly. They draw energy from a weak car battery or an external power source for quick charging. They are typically more expensive and may not be the best choice for everyday use because of their limited charge-holding capabilities.
Key Components of a Jump Starter
Recognizing the parts of your jump starter enables you to use it correctly and spot any potential problems. Familiarizing yourself with these elements helps in understanding how to charge a jump starter safely and efficiently.
- Jump Starter Unit: This is the main body that houses the battery and the components that deliver the power.
- Clamps (or Jumper Cables): These attach to the car battery terminals.
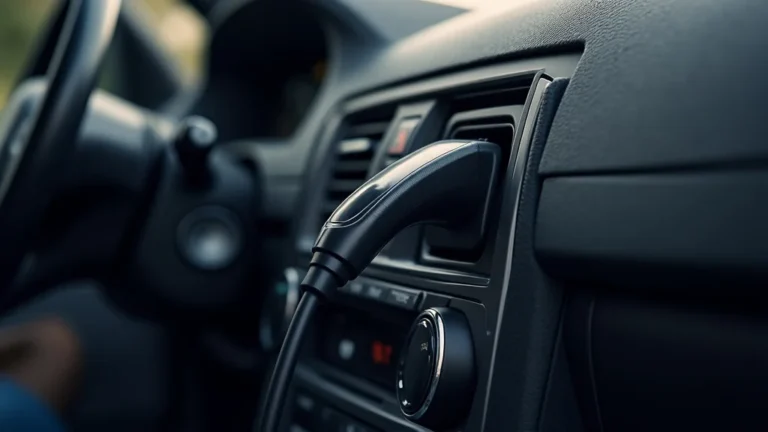
- Charging Port: The place where you plug in the charging cable.
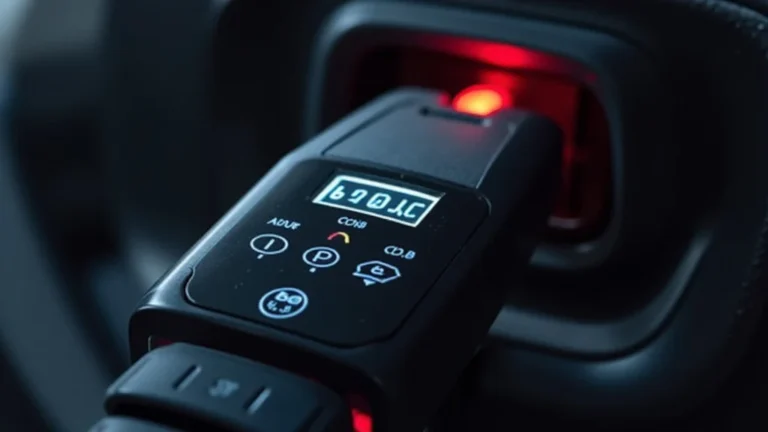
- Indicator Lights or Screen: These display the battery’s charge level and any error messages.
The jump starter unit is what you’ll be handling most often. It is often equipped with indicator lights, buttons, and sometimes a screen. It also contains the essential internal electronics that convert and deliver power to the vehicle.
The clamps are the part of the jump starter that make a connection with your car’s battery. They are usually color-coded (red for positive and black for negative) to avoid incorrect connections. Always connect them in the correct order to prevent damage.
The charging port can be a USB, DC, or other types of input. Check your jump starter’s manual to find the right charging method. Over time, the port could get damaged, so handle it carefully.
Indicator lights and screens provide information about the condition and performance of the jump starter. They let you know how much charge is available and whether there are any issues. This feedback helps with maintenance and charging.
Charging Your Jump Starter: Step-by-Step Guide
Now, let’s explore how to charge a jump starter. The charging process is normally straightforward, but it’s important to do it correctly. This ensures your jump starter is always prepared to provide the boost needed. Following these instructions will allow you to maintain your jump starter correctly, extending its life and reliability.
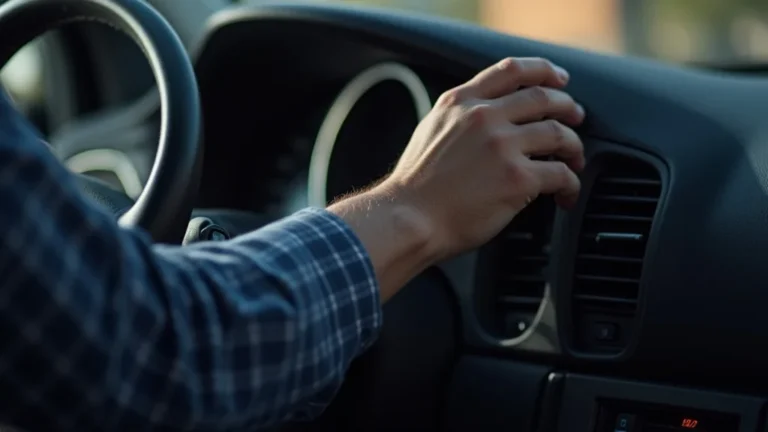
Step 1: Check the Battery Level
Before you begin the charging process, see how much charge is left in your jump starter. Most units have an indicator light or screen. This will give you an idea of how long it will take to charge the jump starter fully. It’s easier to assess when the charging is done when you start with a low battery.
- Locate the Battery Indicator: Find the indicator lights or screen on your jump starter.
- Interpret the Readings: Understand what each light or reading means.
- Determine the Charging Need: Decide if charging is required based on the readings.
Most jump starters have lights, showing the current charge level. A fully charged unit typically displays all the lights lit up, or a screen will show a percentage. These indicators are there for a quick look at the battery’s state. Make sure to consult the manual to know what the lights mean.
Depending on the model, the lights might show percentages or provide a general charge status, such as “low,” “medium,” or “high.” Some models use a digital screen to display the exact charge percentage. Make a note of the battery level before starting the process.
If the battery is fully charged, you don’t need to charge it yet. However, if the charge is low, it’s best to charge the jump starter to ensure it’s always ready for use. Regularly checking the battery level is a good habit.
Step 2: Connect the Charger
Now, connect the charger. This step involves using the appropriate charger and connecting it to the jump starter. Always use the charger supplied with your jump starter or one recommended by the manufacturer. If you use the wrong charger, it could damage the battery or prevent it from charging correctly. Understanding what type of charger is needed will influence how to charge a jump starter correctly.
- Locate the Charging Port: Find the charging port on your jump starter.
- Choose the Right Charger: Select the charger that’s designed for your jump starter model.
- Plug the Charger In: Connect the charger to the jump starter and then to a power outlet.
The charging port is usually located on the side or the top of the jump starter unit. It may be covered by a rubber flap to protect it from dust and moisture. Make sure the port is clean and free of debris.
Use the charger that came with the jump starter, or find the correct one in your owner’s manual. This will ensure that you are charging the unit correctly. The charger’s output must match the jump starter’s specifications. Incorrect chargers can damage the battery.
Insert the charger’s plug into the jump starter’s charging port. Then, plug the other end of the charger into a wall outlet or other power source. Make sure the outlet is functioning. It’s also wise to charge the unit in a safe location, away from anything that could cause a hazard.
Step 3: Monitor the Charging Process
Pay attention to the charging process. Monitor the indicator lights or screen to keep track of the charge progress. Charging times vary depending on the model and the battery’s starting level. Don’t leave the jump starter charging unsupervised. Paying close attention to the charging process is essential for how to charge a jump starter safely.
- Observe the Indicator Lights: Watch the indicator lights or screen for changes.
- Check for Charging Time: Note the charging time recommended in the user manual.
- Watch for Safety Features: Be aware of any built-in safety features like auto shut-off.
These lights typically show the charging progress. As the jump starter charges, the lights will usually illuminate one by one or the percentage will increase. A flashing light or unusual reading might indicate a problem. Consult your manual if something seems wrong.
Most jump starters need a few hours to recharge fully. Make sure you know how long your model takes. This also helps you schedule when to unplug the charger. Do not overcharge, as it can damage the battery.
Many jump starters have safety features that prevent overcharging. The charger may automatically stop charging when the battery is full. If your jump starter does have this feature, it offers extra protection. However, it’s still good to check the charge level periodically.
Step 4: Disconnect and Store Your Jump Starter
When the jump starter is fully charged, disconnect the charger. Disconnecting the charger correctly and storing your jump starter properly helps to prolong its life and ensures it’s ready to use. Knowing these final steps is crucial for getting the most from your jump starter. It completes the process of how to charge a jump starter.
- Unplug the Charger: Disconnect the charger from both the jump starter and the power outlet.
- Clean the Jump Starter: Wipe down the jump starter with a dry cloth.
- Proper Storage: Store the jump starter in a cool, dry place.
Once the jump starter is fully charged, disconnect the charger. Unplug the charger from the wall outlet first, then remove it from the jump starter. Make sure your hands are dry, and there is no water nearby.
Dust and dirt can collect on your jump starter. Wipe down the unit, the charging port, and the clamps. This keeps the unit in good shape and helps it last longer.
Avoid extreme temperatures and direct sunlight, as these can damage the battery. A garage or storage room is a good spot. Make sure the location is away from flammable materials and out of reach of children. Keeping it properly stored helps maintain its readiness for use.
Troubleshooting Common Charging Issues
Even though the charging process is simple, you might encounter issues. Problems with charging can usually be resolved by following some basic troubleshooting steps. These tips will help you diagnose problems and find solutions. Understanding these common problems is essential for anyone learning how to charge a jump starter.
My Jump Starter Won’t Charge
If your jump starter doesn’t seem to be charging, there are a few things to investigate. Check the power source, the charging cable, and the jump starter itself. Start with the basics before moving on to more complex troubleshooting.
- Check the Power Source: Ensure the power outlet is working.
- Inspect the Charging Cable: Look for any damage or loose connections.
- Check the Jump Starter: Make sure the charging port is clear of debris.
A simple step is to test the outlet with another device. Sometimes, the outlet may not be working. If you’re using an extension cord, make sure it is plugged in correctly and in good condition.
Inspect the charging cable for any visible damage, such as fraying or cuts. Make sure the connections at both ends are secure. A damaged cable won’t allow electricity to pass through and will need replacement.
Dust or dirt in the charging port can stop the charger from making a proper connection. Clean the port carefully with a dry cloth. If the problem continues, there might be internal issues with the jump starter.
The Jump Starter Charges Slowly
Slow charging can be a nuisance and can indicate a problem. Slow charging is often caused by the charger or the jump starter itself. Some slow charging is normal, but excessive charging times should be addressed.
- Use the Correct Charger: Make sure you are using the charger supplied with the jump starter.
- Check the Battery Condition: An older or damaged battery may charge slowly.
- Temperature Considerations: Extremely hot or cold temperatures can affect charging speeds.
If you’re not using the right charger, it could cause slower charging or damage the jump starter’s battery. Review your owner’s manual for the correct charger specifications. This will also ensure that your unit doesn’t get damaged.
Over time, the battery can degrade. If the jump starter is older or if it has been used extensively, the battery might not charge as efficiently. If your jump starter is nearing the end of its lifespan, consider replacing it.
Avoid charging your jump starter in extreme temperatures. Heat and cold can affect the battery’s ability to accept a charge. Charge your jump starter in a moderate temperature for best results.
The Jump Starter Gets Hot While Charging
It’s normal for a jump starter to get slightly warm during charging. However, if it feels too hot to touch, there could be a problem. Overheating can damage the unit and create safety risks.
- Monitor Charging: Pay attention to the jump starter while it’s charging.
- Check the Charger: Make sure the charger is working correctly.
- Ventilation: Ensure the jump starter has enough ventilation during charging.
Observe the unit. If it feels extremely hot, unplug it immediately. Make sure it has adequate ventilation. This is critical for how to charge a jump starter. Do not leave the unit charging unattended.
A faulty charger might be sending too much power, causing the jump starter to overheat. Inspect the charger for any signs of damage. If you suspect the charger is the issue, it is best to get it checked or replaced.
Avoid charging your jump starter in a confined space. It is also important to make sure that nothing blocks the air vents. Overheating can be caused by poor ventilation. Let the jump starter cool down before further use or troubleshooting.
Maintaining Your Jump Starter for Longevity
Correct maintenance is key to keeping your jump starter in good condition. Regular maintenance extends its life and ensures it’s ready when you need it. By implementing these practices, you’ll be able to optimize how to charge a jump starter.
Regular Charging Schedule
Keeping your jump starter charged is crucial. Charging it regularly prevents the battery from discharging too deeply, which can decrease its lifespan. The charging frequency depends on usage and storage conditions.
- Charge After Use: Always charge your jump starter after using it to jump a car.
- Periodic Checks: Check the charge level every 1-3 months.
- Full Charge Cycles: Charge your jump starter fully during each charging session.
Using the jump starter drains the battery, so it is crucial to recharge it immediately. Charging it right after use ensures it’s always ready for the next time.
Even when not in use, the battery can lose its charge. Regular checks help you monitor the battery level and recharge as needed. This prevents the battery from becoming completely discharged and damaged.
Avoid partial charges. A complete charge ensures the battery performs at its best. If you only partially charge it, it can lead to reduced performance over time.
Proper Storage Practices
Where and how you store your jump starter affects its performance. Correct storage is essential. Poor storage conditions can shorten the life of your jump starter and make it less effective. If you know how to charge a jump starter and how to store it, it ensures that it will last.
- Temperature Control: Store the jump starter in a cool, dry place.
- Moisture Protection: Avoid storing the jump starter in damp environments.
- Out of Reach: Keep the jump starter away from children and pets.
Extreme temperatures can harm the battery. A garage or storage room is a good spot, but keep the jump starter away from direct sunlight. High temperatures can degrade the battery’s performance.
Moisture can damage the electrical components. Ensure the storage location is dry and free from humidity. This helps prevent corrosion and maintains the unit’s functionality.
Safety is key. Store the jump starter out of reach of children and pets to prevent accidental use or damage. It also prevents the risk of any hazards.
Inspecting and Cleaning
Cleaning and inspecting your jump starter will help spot any problems early and keeps it working efficiently. Routine inspections allow you to catch and fix minor issues before they become serious. This adds to the efficiency of learning how to charge a jump starter.
- Visual Inspection: Regularly check the jump starter for any signs of damage.
- Clean the Clamps: Clean the clamps periodically to ensure good contact.
- Charging Port Cleaning: Keep the charging port free from dust and debris.
Look for cracks, leaks, or loose connections. Examine the clamps and charging cable for fraying or damage. Early detection of physical issues can prevent malfunctions.
Dirt or corrosion on the clamps can reduce the effectiveness of the jump start. Use a wire brush or a solution of baking soda and water to clean the clamps. Make sure the clamps connect well to the battery terminals.
Dust or debris can prevent the charger from making proper contact, affecting charging. Clean the charging port with a dry cloth or a can of compressed air. This also helps in keeping the unit working correctly.
Frequently Asked Questions
Question: How often should I charge my jump starter?
Answer: It’s best to charge your jump starter after each use and every 1-3 months, even if you haven’t used it. This helps keep the battery at its optimal level.
Question: Can I overcharge my jump starter?
Answer: Most modern jump starters have built-in protection to prevent overcharging. However, it’s still best practice not to leave it plugged in for extended periods after it’s fully charged.
Question: What do the indicator lights mean on my jump starter?
Answer: Indicator lights show the battery’s charge level. The manual for your jump starter explains what each light or combination of lights means. It may show the percentage of charge or a general status like low, medium, or high.
Question: My jump starter isn’t charging. What should I do?
Answer: Make sure the charger is connected correctly, the outlet works, and there are no damaged cables. Also, verify that the charging port is clean. If problems remain, check your owner’s manual for troubleshooting steps.
Question: How long does it take to charge a jump starter?
Answer: Charging times vary by the model, but it usually takes several hours to fully charge a jump starter. Consult your user manual for the specific charging time of your model.
Final Thoughts
Now, you should have a solid grasp of how to charge a jump starter and maintain it. Remember, it starts with knowing your specific model and understanding the basics. Make sure to regularly check the battery level and connect it to a charger when needed. By keeping a regular charging schedule, you make sure it’s always ready to go. You should always ensure that you store the unit properly. Regularly inspecting and cleaning your jump starter is key to keeping it working well. Following these simple steps ensures that you have a reliable tool when you need it the most. You’re now ready to use your jump starter safely and with confidence.