Charger Troubleshooting: What to Do When It Won’t Power Up
Having a charger won’t turn on is a common tech frustration. It can be tricky, especially if you’re not a tech expert. You might think your device is broken, or you might worry about the cost of fixing it. But don’t worry! This guide will help you understand the problem and fix your charger. We’ll explore step-by-step solutions to get your charger working again. Let’s get started and solve this problem together!
Checking the Obvious: Basic Troubleshooting Steps
Before you panic, the first thing to do when your charger won’t turn on is to check the simplest things. Often, the issue is not a complicated electrical problem but a simple oversight. These initial checks can save you time and money, eliminating potential causes quickly. They’re quick, easy to do, and often provide the solution. Let’s explore these basic checks to identify why your charger isn’t working.
Power Outlet Inspection
The outlet itself could be the problem. Electrical outlets can sometimes stop working due to loose connections, tripped breakers, or other issues. You can easily test if the outlet is functioning properly. Also, try plugging another device, like a lamp or your phone, into the same outlet. If the other device works, the outlet is likely fine. If it doesn’t, you may have a power issue. This can be as simple as a blown fuse or a tripped circuit breaker.
- Test with Another Device: Try plugging a known working device into the outlet. This immediately tells you if the problem is with the outlet or the charger. If the device powers up, the outlet is fine.
- Check the Breaker: Look for a tripped circuit breaker in your electrical panel. This is a common cause, especially after a power surge. Reset the breaker and try the charger again. If the breaker trips again, it may point to a problem with the charger or the wiring.
- Inspect the Outlet: Carefully look at the outlet. Are there any signs of damage like cracks or melting? If so, the outlet might need replacement. A faulty outlet can prevent the charger from working properly, and it’s a safety hazard.
- Use a Different Outlet: Simply try a different outlet in your home or office. Sometimes, an outlet might have a loose connection, preventing the charger from working, even if it looks okay.
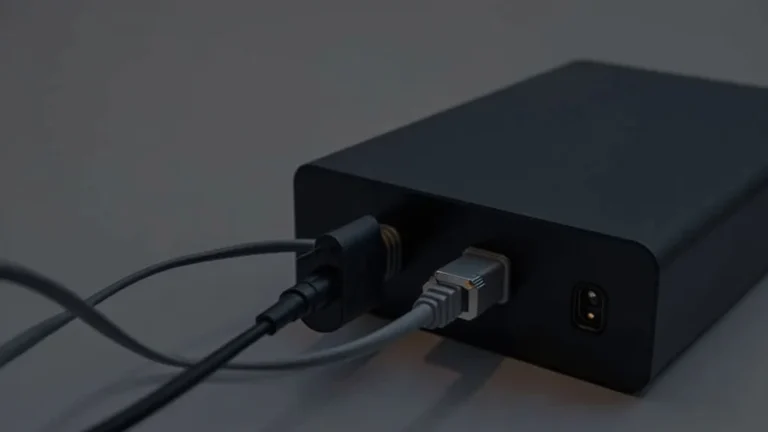
Charger Cord and Connection Checks
The charger cord is another common culprit. Damage can occur from bending, pulling, or general wear and tear. Problems with the cord can cause charging issues. Look for any visible damage. It is a good idea to ensure all connections are secure. Let’s examine how to effectively check the charger cord and the device connection.
- Inspect the Cord: Examine the entire length of the charger cord for any visible damage. Look for cuts, frays, or areas where the insulation is worn away. These are all signs the cord is damaged.
- Check the Connectors: Carefully inspect the connectors on both ends of the charger cord. Make sure the pins are not bent or broken. A damaged connector can disrupt the flow of power.
- Wiggle the Cord: Gently wiggle the cord at the connection points on both ends. If the charger starts working when you wiggle the cord, this suggests a loose connection.
- Try a Different Cord: If possible, try a different charger cord with the same specifications. If the device starts charging, the original cord is the problem. This is a straightforward way to confirm if the cord is faulty.
Device Port and Charger Compatibility
The device’s charging port and charger compatibility are very important. Dust, debris, or damage to the device’s charging port can prevent the charger from working. Using the wrong charger can also cause charging issues. Understanding these factors is key to resolving the problem. Let’s investigate the device port and charger.
- Clean the Charging Port: Use a toothpick or compressed air to carefully clean the charging port. Remove any dust, lint, or debris. This helps ensure a good connection between the charger and the device.
- Check Charger Compatibility: Make sure the charger is designed for your device. Verify that the voltage and amperage of the charger match your device’s specifications. Using the wrong charger can prevent charging.
- Try Another Charger: Test with a known-good charger that matches your device’s specifications. If the device charges with the other charger, your original charger is likely faulty.
- Inspect the Port: Look inside the charging port for any bent or broken pins. A damaged port can make it impossible for the charger to connect properly.
Delving Deeper: Advanced Troubleshooting Techniques
If the basic checks don’t work, it is time to move to more complex troubleshooting methods. These include looking at the charger’s components, testing its output, and assessing the device’s battery. These steps require extra attention, but they can give deeper insight into why your charger won’t turn on. Let’s dive deeper into these steps to tackle more complex charging issues.
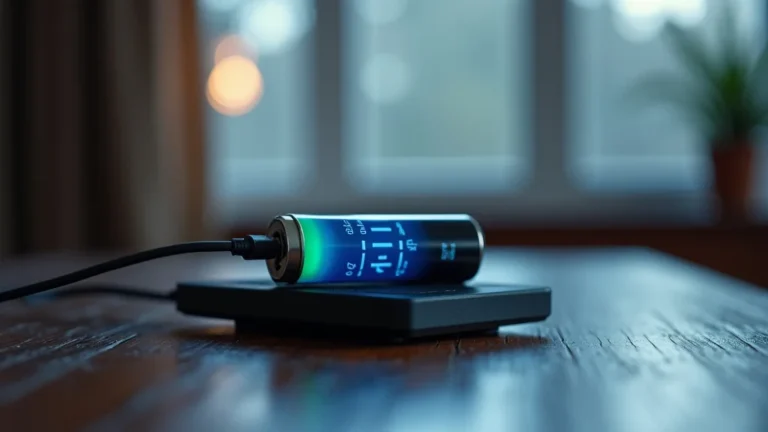
Multimeter Testing for Power Output
A multimeter is a handy tool to test the charger’s power output. This device shows whether the charger is delivering the correct voltage and current. You can use this to see if the charger is sending power to your device. Testing the charger’s output with a multimeter is an essential step to determine whether it is working properly. Here’s how you can use it to diagnose the problem.
- Set Up the Multimeter: Set the multimeter to measure DC voltage. The scale should be slightly higher than the charger’s output voltage (e.g., if your charger outputs 5V, set the multimeter to 10V).
- Connect the Probes: Insert the multimeter probes into the charger’s USB port or directly to the charger’s output terminals. Make sure the probes make good contact without shorting any pins.
- Read the Voltage: Check the multimeter reading. If the reading is close to the charger’s rated output voltage, the charger is likely working. If the reading is zero or significantly lower, the charger is faulty.
- Test the Current: You can also use the multimeter to check the current output. Change the setting on the multimeter to measure DC current (usually in milliamps or amps). This can help identify if the charger can supply enough current for your device.
Internal Component Inspection
Sometimes, the internal components of the charger can fail, preventing it from working. While opening the charger is risky and can void its warranty, it can help find the problem. You should only attempt this if you are familiar with electrical components. Look for any visible damage or signs of burning. Let’s see how to inspect the charger’s internal components.
- Unplug and Open the Charger: Carefully unplug the charger from the outlet. Use a small screwdriver or a plastic opening tool to open the charger. Be cautious of any snap-in parts.
- Look for Burnt Components: Visually inspect the internal circuit board. Look for any burnt, blackened, or damaged components. This is often an indicator of a failure.
- Check for Loose Connections: Check that all wires and solder points are properly connected. Loose connections can prevent the charger from working correctly.
- Smell for Burning: Smell the charger’s insides for any burnt odor. A burnt smell indicates a component has likely failed.
Device Battery Check
Sometimes, the problem isn’t with the charger, but with the device’s battery. Batteries can fail over time. A dead battery won’t accept a charge. A damaged battery can also prevent charging. Testing the battery can provide valuable clues. This is particularly important for older devices or those that have seen a lot of use. Let’s dive into how to check your device’s battery and what issues might be present.
- Battery Health: Examine your device’s battery health through the device’s settings. Some devices provide battery health information. This can indicate battery degradation. If the battery is old, it might not hold a charge.
- Test with Another Device: If possible, test your charger with another compatible device. If it charges the other device, the problem likely lies with your device’s battery.
- Charging Attempts: Leave your device plugged in for a long time (e.g., overnight). Sometimes, a deeply discharged battery may take a while to begin charging. See if the device shows any sign of charging after a prolonged time.
- Professional Assistance: If you suspect a battery problem, consider taking the device to a professional for testing and potential battery replacement. This is especially true for sealed devices.
Common Charger Issues and Solutions
Understanding the most common problems is the first step in fixing a charger that charger won’t turn on. Many charger problems stem from user error, wear and tear, or external factors. Here are some of the most frequent issues and their solutions.
Overheating and Thermal Issues
Chargers can overheat due to prolonged use, environmental factors, or internal faults. Heat can damage components and prevent the charger from working. When a charger overheats, it can lead to temporary or permanent failure. Let’s see what you can do about charger overheating.
- Check for Obstructions: Make sure the charger has adequate ventilation. Do not cover it or place it in an enclosed space. This allows for proper heat dissipation.
- Reduce Usage: If the charger gets hot, limit its use. Avoid using it constantly for long periods. Allow it to cool down before using it again.
- Environment: Keep the charger away from direct sunlight and extreme temperatures. These can affect its performance and lifespan.
- Underlying Causes: If overheating is frequent, it may suggest an internal fault. In this case, discontinue use and consider getting the charger replaced.
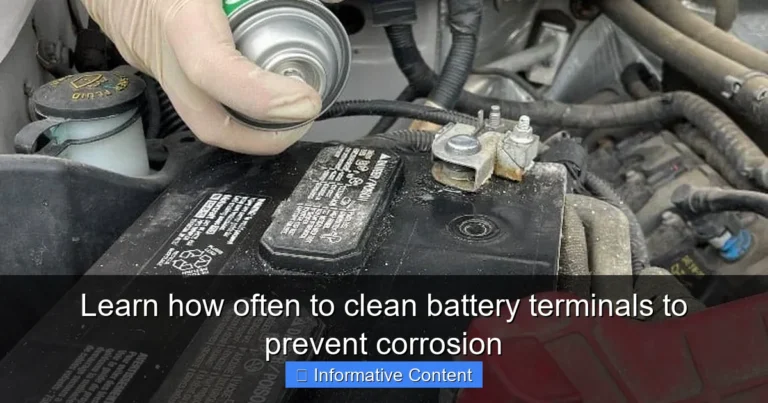
Water Damage and Corrosion
Water damage is a major problem for chargers and electronic devices. It can cause short circuits and corrosion, which prevent a charger from working. Water can damage the internal components of the charger. It is important to know what steps to take if your charger gets wet.
- Immediate Action: If the charger gets wet, immediately unplug it. Do not attempt to use it. This will prevent a short circuit.
- Drying: Let the charger dry completely before trying to use it. Use a dry cloth to wipe the outside. Leave it in a dry area for several days.
- Corrosion: Corrosion can happen if the charger is not properly dried. If you notice signs of corrosion, the charger might not be salvageable. Consider replacing it.
- Professional Assessment: If you suspect water damage, taking the charger to a professional is a good idea. They can assess the extent of the damage.
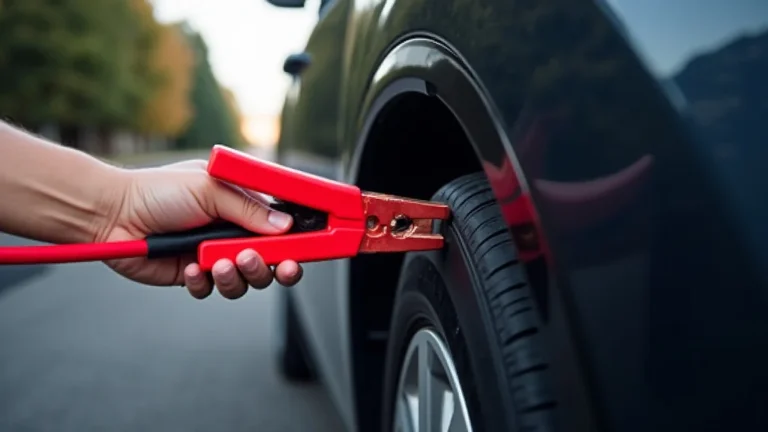
Surge Protection and Power Issues
Power surges and fluctuations in voltage can harm chargers. These events can damage the internal components of the charger, causing it to stop working. Use surge protectors to protect your chargers. Let’s see how power issues affect chargers and how to keep them safe.
- Use a Surge Protector: Protect your chargers by plugging them into a surge protector. This helps safeguard against sudden voltage spikes.
- Unplug During Storms: During thunderstorms, unplug your chargers. This can prevent damage from lightning strikes.
- Power Fluctuations: If you notice frequent power fluctuations in your area, consult an electrician. These fluctuations can damage your charger over time.
- Check the Power Source: Make sure your charger is connected to a stable power source. Avoid using extension cords that might be overloaded or damaged.
Preventative Maintenance and Best Practices
To keep your chargers working well for a long time, use preventative maintenance and practice good habits. These simple steps can help you avoid many common issues. These measures can extend the life of your chargers and avoid the inconvenience of a non-functioning charger.
Proper Storage and Handling
How you store and handle your chargers affects how long they last. Proper storage prevents damage. Careful handling prevents wear and tear. These practices can help maintain your charger’s working condition. Let’s see some key points about storage and handling.
- Avoid Bending Cords: Do not bend or twist the charger cords excessively. This can damage the internal wires. Store the cords loosely.
- Temperature Control: Keep the chargers in a dry, room-temperature environment. Avoid extreme temperatures.
- Cable Management: Use cable ties or organizers to keep charger cords tidy. This will reduce tangling and prevent damage.
- Regular Cleaning: Clean the charger and cord periodically with a dry cloth. This will remove dust and debris. Always unplug the charger before cleaning.
Regular Inspection and Monitoring
Regular checks help find problems early, before they become serious. Monitoring your charger’s performance also helps. This can help you to solve the issue early. Regular checking and monitoring is a good practice. Here’s how you can inspect and monitor your chargers regularly.
- Visual Checks: Examine the charger and cord frequently for any damage. Check for wear and tear, and look for any exposed wires.
- Performance Tracking: Monitor how well the charger performs. Does it take longer to charge your device than usual? Does it get unusually hot?
- Early Replacement: Replace any charger if you notice any signs of damage. It is better to replace it early than to risk further issues.
- Listen for Unusual Sounds: Pay attention to any unusual sounds. Crackling or buzzing can indicate internal issues. Discontinue use immediately if you hear these sounds.
Choosing Quality Chargers
The quality of your charger impacts its durability. Low-quality chargers are often prone to failure. High-quality chargers are built to last longer. Choosing good chargers can save you money. Let’s see how to pick a high-quality charger.
- Brand Reputation: Choose chargers from reputable brands. These companies typically use better components and design for longevity.
- Certifications: Look for chargers that have safety certifications. These ensure that the charger meets specific safety standards.
- Durability Features: Some chargers are designed with extra durability features. These include reinforced cables or enhanced thermal protection.
- Warranty: Select chargers that have a warranty. This provides added protection. It ensures that you’re covered in case the charger fails.
According to Statista, the market for mobile device chargers is projected to reach $20.3 billion by the end of 2024. This growth shows the importance of chargers in modern life and the need for their reliability. The average lifespan of a charger can vary. However, with proper care and choosing a high-quality charger, you can increase its longevity. This can help save money on charger replacements.
Frequently Asked Questions
Question: Why does my charger won’t turn on?
Answer: There are many reasons why a charger might stop working, including a faulty outlet, a damaged cord, internal component failure, or issues with your device’s charging port or battery.
Question: Can I fix a broken charger?
Answer: Simple issues, such as a loose connection or a damaged cord, can often be addressed. However, if the charger’s internal components are damaged, it may be best to replace it for safety reasons.
Question: How can I tell if my charger is bad?
Answer: If your device does not charge, the charger gets hot, you see visible damage to the cord or charger, or the charger is not providing the correct voltage, then it might be faulty.
Question: Is it safe to use a charger with a damaged cord?
Answer: No, it is not safe to use a charger with a damaged cord. A damaged cord can lead to electric shock or even a fire. Always replace a damaged charger or cord.
Question: What do I do if my charger gets wet?
Answer: Immediately unplug the charger if it gets wet. Let it dry completely before attempting to use it. If there’s any sign of corrosion or damage, it’s safest to replace the charger.
Final Thoughts
When your charger won’t turn on, it can be irritating. Hopefully, this guide helped you explore the different reasons why your charger may be failing. We started with quick checks. We then moved to more advanced troubleshooting techniques. You learned about common issues, like overheating and water damage, and how to prevent them. These tips should give you the skills to diagnose and fix most charger problems. By taking care of your chargers and following the tips here, you can make sure your devices stay charged and ready. Remember, proper care and attention are the keys to keeping your chargers working and your devices powered. Start by checking your outlet and cord. If the problem continues, don’t hesitate to explore the other solutions. Good luck, and keep those devices charged!