Fixing a Charger Showing Reverse Polarity: A Step-by-Step Guide
It can be a bit scary when your charger showing reverse polarity. This often happens to people just starting out, but don’t worry! It’s like a small bump on the road. This guide will help you understand what’s happening and how to fix the issue. We’ll explore the basics and give you simple, easy-to-follow steps. Let’s get started and clear up this problem!
What Does “Reverse Polarity” Mean for a Charger?
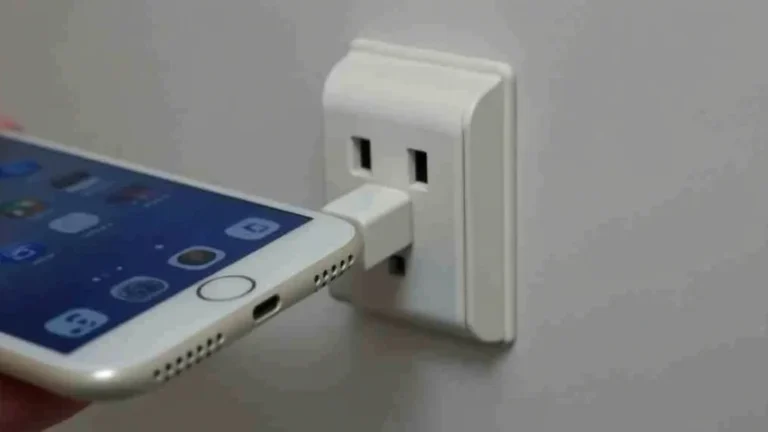
Reverse polarity means that the positive and negative terminals of a charger are connected the wrong way around. Think of it like trying to fit a plug into a socket backwards; it won’t work, and you might cause damage. In the case of a charger, this can cause problems with the equipment you’re trying to power or charge, potentially damaging the device or the charger itself. This is particularly important for devices that are sensitive to electrical flow, like batteries and electronics. Understanding this concept is the initial stage in ensuring the equipment runs appropriately.
Identifying Positive and Negative Terminals
Identifying positive (+) and negative (-) terminals is a key initial step. These terminals represent the flow of electricity, and getting them correct is essential for safe and effective operation. Knowing which is which allows the current to flow through a circuit in the intended direction. This is especially significant with devices such as batteries, where reversing the polarity can lead to severe consequences.
* Markings: Most chargers and batteries have clear markings: ‘+’ and ‘-‘ symbols, or colors like red (+) and black (-).
* Connectors: Examine the connectors. Some have distinct shapes or sizes that help you ensure correct connections.
* Manuals: When in doubt, always refer to the device’s manual for specific terminal locations.
* Online resources: Many manufacturers offer detailed guides online to assist in identifying polarity.
How Reverse Polarity Affects Devices
Reverse polarity causes significant problems. It can lead to the malfunction or complete failure of equipment. The damage results from the flow of electricity in the wrong direction, which components are not made to withstand. This is because electronic devices and batteries are generally designed with a specific current flow in mind. Reverse polarity can cause a short circuit, and permanent damage is possible.
* Damage to sensitive electronics: Internal components may be easily destroyed if exposed to reversed voltage.
* Battery failure: Reverse polarity can damage batteries, causing them to leak, overheat, or even explode.
* Charger malfunction: The charger itself may get damaged or stop working if reverse polarity occurs.
* Safety hazards: There is a risk of fire or electric shock.
Causes of a Charger Showing Reverse Polarity
Several factors lead to a charger showing reverse polarity. Knowing these causes helps to avoid the issue and take preventive measures. Sometimes it results from simple human errors. At other times, it’s caused by faults with the device.
Improper Connections and Human Error
Often, reverse polarity stems from simple mistakes during connecting. This is particularly true if connections aren’t clearly labeled or if you are in a rush. Taking the time to double-check connections is essential. This prevents potential errors and guarantees the equipment receives power properly.
* Incorrect wiring: Accidentally swapping the positive and negative wires during connections is a frequent problem.
* Confusing terminals: It’s easy to mistake terminals, especially in poorly lit or crowded spaces.
* Rushing the process: When hurrying, it’s easier to make mistakes.
* Lack of attention to detail: Not paying enough attention to the polarity markings can lead to issues.
Defective Equipment
Faulty chargers and devices can also result in reverse polarity issues. Damage to internal components, wiring problems, and manufacturing defects contribute to this condition. If the equipment has pre-existing damage, the risks of reverse polarity increase. Regular inspection and testing of equipment can help identify any potential problems before use.
* Damaged wiring: Worn or damaged wires within a charger can create a short circuit and reverse the polarity.
* Internal component failure: Malfunctioning components inside the charger can cause an incorrect voltage output.
* Manufacturing defects: In some cases, chargers are produced with wiring errors from the factory.
* Aging equipment: As chargers age, internal components become prone to failure, increasing the likelihood of polarity issues.
Troubleshooting a Charger With Reverse Polarity
If your charger is showing reverse polarity, there are several steps you can take to troubleshoot the problem. Start with these simple checks before moving on to more complex procedures. The goal is to identify the source of the issue and find a suitable solution.
Visual Inspection and Simple Tests
A careful visual inspection can often reveal the problem. Look for physical signs of damage, and use a multimeter to measure voltage and verify polarity. These basic actions can help you spot any obvious damage or errors. Regular tests can help find issues before more significant issues arise.
* Check the charger: Inspect for any damage to the charger housing, cables, and connectors.
* Examine the device: See if the device being charged has any visible damage.
* Use a multimeter: A multimeter is a useful tool to measure the voltage and polarity.
* Check the connections: Ensure the connections are tight and correctly positioned.
Using a Multimeter to Verify Polarity
A multimeter is a handy tool to confirm polarity. It provides an accurate measurement of voltage, which helps to verify the connection. When using a multimeter, you can check that the positive and negative terminals are connected correctly. This can eliminate uncertainty.
* Set the multimeter: Switch the multimeter to DC voltage mode, with the setting appropriate for the voltage range of your charger.
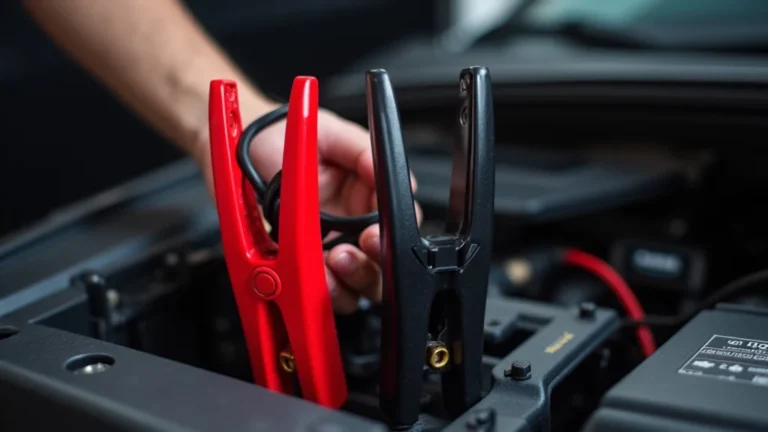
* Connect the leads: Connect the red lead to the positive (+) terminal and the black lead to the negative (-) terminal.
* Check the reading: A positive reading indicates correct polarity; a negative reading means reverse polarity.
* Reverse the leads: If you get a negative reading, reverse the leads to confirm polarity.
Fixing the Reverse Polarity Issue
Once you’ve identified that your charger showing reverse polarity, you can take steps to fix the problem. The best method depends on the cause of the problem, whether it’s related to the charger or the equipment being powered. Sometimes, the fix is as simple as making sure the connections are correct. More complex issues might require a new charger or professional assistance.
Correcting Wiring and Connections
Check and correct your wiring and connections as a basic step. This involves verifying that the positive (+) and negative (-) terminals are properly connected. This is an easy fix, but the connections have to be right. This is one of the most common causes of reverse polarity.
* Double-check terminals: Make sure the positive and negative terminals are correctly identified on the charger and the device.
* Secure the wires: Be certain that wires are securely attached to the terminals, without any loose ends.
* Use correct connectors: Use the proper connectors for your charger and device.
* Follow diagrams: When available, use wiring diagrams to guarantee correct wiring.
Replacing the Charger
If the charger is broken and showing reverse polarity, replacing it is often the easiest solution. This ensures your equipment doesn’t get damaged by a faulty charger. Look for a
* Find the correct charger: Be sure to buy a replacement charger that matches the voltage and current requirements of your device.
* Look for quality: Select a charger from a well-regarded brand to ensure reliability and safety.
* Check for safety features: A good charger has safety features like overcharge protection.
* Follow the instructions: Use the replacement charger according to the manufacturer’s instructions.
Preventing Reverse Polarity in the Future
Preventing reverse polarity is important for the safety of your devices. Implementing proactive measures and establishing good practices can dramatically lower the likelihood of this issue happening. This includes correctly labeling, checking connections, and maintaining your equipment. These steps help prevent errors.
Proper Labeling and Clear Identification
Properly labeling your chargers and devices makes it easier to identify the positive and negative terminals. This reduces the risk of making mistakes during connection. Use labels, colors, or other markers to clearly identify the terminals. Make sure the labels are always visible and easy to read.
* Use labels: Use clearly marked labels with “+” and “-” signs.
* Color-code terminals: Use colored tape or markers to distinguish the positive and negative terminals.
* Keep labels visible: Make sure labels aren’t covered and can be seen easily.
* Regularly check labels: Over time, labels can wear out, so make sure to check them often.
Regular Maintenance and Inspections
Regular maintenance and inspections of your chargers and equipment can help prevent reverse polarity. Frequently check your chargers and devices for damage. Keep the equipment clean and free from any wear. This will let you catch problems before they lead to reverse polarity issues.
* Visual inspection: Make routine visual inspections for any damage.
* Clean your equipment: Keep the chargers and connectors clean.
* Test equipment regularly: Test your equipment to make certain it works correctly.
* Store correctly: Store equipment in a clean, dry place to prevent damage.
Frequently Asked Questions
Question: What happens if I connect a charger with reverse polarity to a battery?
Answer: If you connect a charger with reverse polarity to a battery, you can damage the battery and the charger. The battery might leak, overheat, or even explode. The charger could stop working permanently.
Question: Can I fix a charger that is showing reverse polarity?
Answer: It depends. If the reverse polarity is caused by incorrect connections, you can easily fix it by swapping the wires. However, if the charger is defective, you might need to repair it or buy a new one.
Question: How can I tell if a charger is showing reverse polarity?
Answer: You can use a multimeter to check. Set the multimeter to DC voltage mode, and touch the red lead to the positive terminal and the black lead to the negative terminal. If you see a negative reading, the charger is showing reverse polarity.
Question: What safety precautions should I take when working with chargers and batteries?
Answer: Always wear safety glasses to protect your eyes. Work in a well-ventilated area. Avoid sparks or open flames near batteries. Always disconnect the charger from the power source before making any connections.
Question: Is there a way to make sure I don’t connect a charger with the wrong polarity?
Answer: You can ensure you connect the charger correctly by paying close attention to polarity markings (+ and -). Use labels, color-coding, and double-check all connections before turning on the power.
Final Thoughts
Hopefully, this guide has given you a clear picture of what a charger showing reverse polarity means and how to handle it. You now understand the causes of this issue, from simple errors to defective equipment. By implementing the troubleshooting steps, such as checking connections and using a multimeter, you’re well-equipped to diagnose the problem. Remember that careful attention to connections and regular maintenance can prevent issues. If you are ever unsure, it’s always better to seek help from a professional to ensure your equipment and your safety.