Car Battery Light On Troubleshooting Guide for Beginners
Seeing the car battery light on can be a bit scary, especially if you’re new to driving. It often pops up without warning and can make you worry about breaking down. Don’t fret! This light doesn’t always mean a huge problem. This guide makes troubleshooting simple. We’ll explore the main causes and provide a straightforward, step-by-step process to check what’s going on. Let’s get started and solve this mystery together!
What Does the Car Battery Light Signal?
The car battery light, usually shaped like a small battery, is a warning signal. It tells you there’s an issue with the electrical system. It’s often mistaken as just a battery problem but that isn’t always correct. This light indicates that the system is failing to charge the battery properly. It’s crucial to address this issue promptly to prevent your car from stalling or experiencing other electrical difficulties. Ignoring this warning can lead to being stranded on the side of the road, or a bigger repair bill. The light can illuminate for several reasons, and correctly identifying the cause can save you time and money. It’s important to keep in mind, however, that the car battery light being on does not always indicate a faulty battery.
Common Reasons for the Car Battery Light to Appear
The appearance of the car battery light isn’t always caused by the battery itself. Several other components contribute to the electrical system, and any failure within them can trigger the warning. Identifying the root cause requires a bit of detective work. Sometimes, a quick check can reveal the problem, while other times, a professional might be necessary. It’s always best to be prepared and have some basic knowledge about these potential issues. Being aware of these issues will help you act fast and avoid serious problems. Let’s explore some of the main culprits.
-
Faulty Alternator: The alternator is responsible for charging the battery while the engine runs. A bad alternator can’t supply enough power, triggering the light.
Think of the alternator as a tiny generator inside your car. It converts mechanical energy from the engine into electrical energy to keep the battery charged and power all the electrical components, such as lights, radio, and air conditioning. When it fails, the battery drains, which results in the car battery light turning on. Alternator failure is a common problem, so knowing the symptoms can help catch it early.
-
Loose or Corroded Connections: Sometimes, a simple problem, like a loose or corroded wire, can disrupt the electrical flow, causing the light to come on.
Your car’s electrical system has a network of wires and connections. These can loosen or corrode over time due to vibrations, temperature changes, and exposure to the elements. These poor connections can lead to intermittent power issues and activate the car battery light. Regularly checking and cleaning these connections can prevent such problems.
-
Failing Battery: While not the only cause, a battery that is unable to hold a charge will also trigger the light.
Batteries have a lifespan. As they age, their ability to store and release electrical energy diminishes. This weakness can cause the car battery light to activate. The battery can still run your car for a while, but it will eventually fail if the charging system is not functioning correctly. Regular battery checks, especially in extreme temperatures, can help determine when a replacement is needed.
-
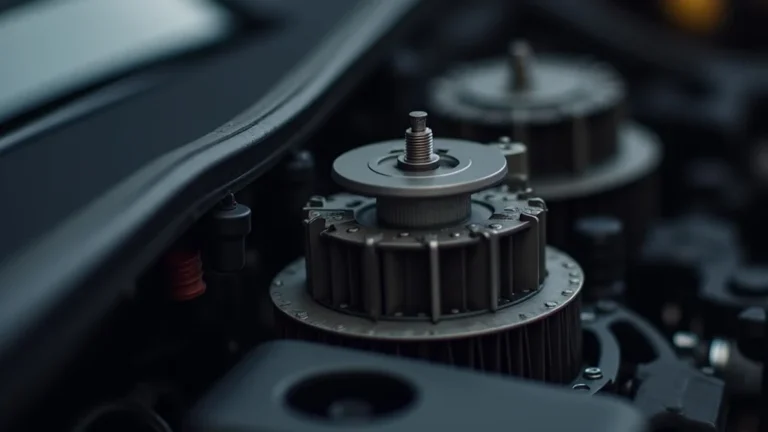
Belt Issues: The serpentine belt drives the alternator. If this belt is broken or slipping, the alternator can’t do its job, causing the light to appear.
The serpentine belt is a long, winding belt that loops around several pulleys in your engine. One of these pulleys drives the alternator. If the belt breaks or slips, the alternator won’t receive the power it needs to charge the battery, turning on the car battery light. The belt might crack or fray over time due to heat and wear. Keep an eye on the belt and replace it when needed.
Step-by-Step Guide to Check When the Car Battery Light On
When you see the car battery light on, knowing what to do can save you time and stress. This step-by-step guide is designed for beginners. It simplifies the process of diagnosing the issue. You can follow these simple checks before taking your car to a repair shop. These steps should help identify the primary source of the problem. Remember to always prioritize safety when dealing with your car. Let’s start the troubleshooting process, one step at a time.
Initial Inspection and Safety Precautions
Before doing anything, safety is essential. You want to make sure you can work on your car safely. Following these guidelines helps keep you protected while you check the battery light issue. Remember, if you are not comfortable or unsure about any step, it’s always best to seek professional assistance. Safety first!
-
Park Safely: Find a safe, flat surface, away from traffic, and turn off your car.
This ensures you are in a safe area to work, protecting both you and your vehicle. Turning off the car prevents electrical shock or other injuries while you’re checking components. Always engage the parking brake.
-
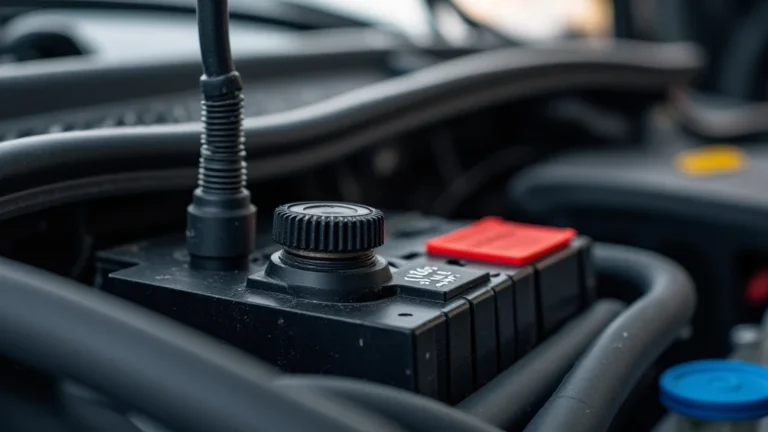
Visual Inspection: Check the battery terminals for corrosion or loose connections.
Corrosion can build up on the terminals, preventing good electrical contact. Loose connections can also interrupt the flow of electricity. A visual inspection will often reveal these problems. Use a wire brush or baking soda solution to clean corroded terminals.
-
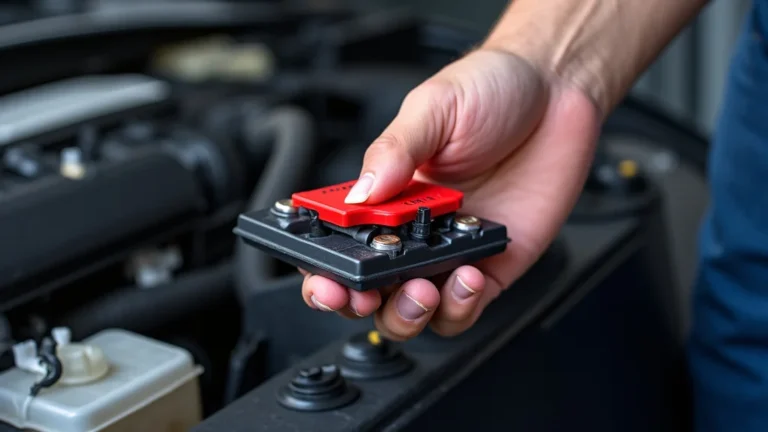
Gather Tools: You will need a few basic tools, such as a wrench, jumper cables, and a multimeter (if you have one).
Having the right tools makes the troubleshooting process much easier. A wrench will help you tighten connections, jumper cables can help start the car if the battery is dead, and a multimeter will provide more precise readings of voltage and electrical flow. Always be sure to have the correct tools for the job.
-
Wear Safety Gear: It’s a good idea to wear eye protection, gloves, and any other safety gear you feel is necessary.
Protecting your eyes from battery acid or electrical sparks is critical. Gloves will prevent your hands from getting dirty. Safety glasses can prevent debris from getting into your eyes. These precautions are especially important when working near the battery.
Battery and Electrical System Checks
After the initial inspection, it’s time to check the battery and other electrical components. These checks will help identify whether the problem lies within the battery itself, the alternator, or other parts of the system. The following steps will ensure your car functions correctly. Performing these tests will help you determine the next steps to address the car battery light being on.
-
Check Battery Voltage (Engine Off): Use a multimeter to measure the battery voltage when the engine is off.
A fully charged battery should read around 12.6 volts. A reading below 12.0 volts suggests a weak battery. If the voltage is low, the battery may need to be charged or replaced. Knowing the battery’s voltage helps decide the next steps in your troubleshooting.
-
Check Battery Voltage (Engine On): With the engine running, measure the battery voltage again. This time, the voltage should be higher.
The voltage should now be between 13.7 and 14.7 volts. This increase indicates the alternator is charging the battery. If the voltage remains the same or decreases, the alternator might have a problem. Checking the battery voltage while the engine is running is a quick way to know if your alternator is doing its job.
-
Inspect Serpentine Belt: Examine the serpentine belt for cracks, wear, or slippage.
The serpentine belt drives the alternator, and any damage can lead to charging issues. Check for cracks, fraying, or any signs of wear. If the belt is loose or slipping, it can’t drive the alternator properly. Replacing the belt may solve the problem.
-
Test for Parasitic Drain: If the battery drains quickly, there may be a parasitic drain.
A parasitic drain means that an electrical component is drawing power from the battery even when the car is off. This can drain the battery overnight. To check for this, use a multimeter to measure the current draw from the battery. A small drain is normal, but a high drain indicates a problem.
Beyond the Basics: Further Steps to Take
If the initial checks don’t pinpoint the issue, more detailed checks might be necessary. This stage involves evaluating the electrical system more thoroughly. Don’t be discouraged; further investigation can often lead to a solution. These checks might include inspecting the alternator itself, testing the charging circuits, or having your battery tested. Remember, if you are not comfortable or capable of performing these checks, taking your car to a mechanic is always the best solution. Let’s look at more in-depth steps.
Alternator Testing and Charging System
The alternator is a crucial component in the charging system. It charges the battery while the car is running, and testing it can reveal any underlying problems. If your car is showing a car battery light being on, it could very well be an issue with the alternator. This part of the troubleshooting guide will guide you through testing the alternator, and other parts of the charging system.
-
Alternator Load Test: This test checks the alternator’s ability to maintain voltage under load.
Turn on several electrical components, such as headlights, the air conditioning, and the radio. The voltage output from the alternator should remain stable. A failing alternator may show a drop in voltage, meaning it cannot provide enough power. This test helps identify if the alternator is performing correctly under the stress of powering all the electrical parts in your car.
-
Alternator Diode Test: Faulty diodes can prevent the alternator from charging the battery properly.
Use a multimeter to test the diodes within the alternator. These diodes convert AC power to DC. If any diodes are bad, they can allow the current to flow in the wrong direction, draining the battery or reducing charging efficiency. This test can reveal problems within the internal components of the alternator.
-
Wiring and Connection Checks: Inspect all wires and connections between the alternator and battery.
Corroded, loose, or damaged wires can interrupt the flow of electricity, causing charging issues. Make sure connections are clean and secure. Inspect the wires for any damage or wear. Correcting wiring problems is often a straightforward fix.
-
Professional Diagnostic Tools: If the problem persists, advanced diagnostic tools might be needed.
Modern vehicles have complex electrical systems, and specialized tools can pinpoint the exact cause of the problem. A professional mechanic can use these tools to diagnose and repair any complex electrical issues. These tools will measure all the different factors involved in the alternator system, which can sometimes be difficult to do without these tools.
Battery Testing and Possible Replacements
The battery is the heart of the electrical system, and its condition is key to the car’s performance. A failing battery can trigger the car battery light to appear. This part will guide you on how to test the battery. If your battery has problems, this will help you know when a replacement is needed. Let’s look at some important battery tests and what they mean.
-
Load Test: This test measures the battery’s ability to deliver power under load.
A load test simulates the high current draw when starting the engine. A failing battery will show a significant drop in voltage during this test. A load test is an excellent way to know if your battery is failing. This test ensures the battery can perform its primary job – starting your car.
-
Battery Age and Condition: Batteries have a limited lifespan, typically 3-5 years.
The age of the battery is an important factor. Batteries gradually lose their ability to hold a charge over time. If your battery is old, it might be time for a replacement. Checking the manufacturing date stamped on the battery can provide this information. A failing battery can affect the car’s performance.
-
Battery Replacement: If the battery fails the load test, it’s time for a replacement.
Replacing the battery can solve several electrical problems. When selecting a new battery, make sure it meets the manufacturer’s specifications. Make sure the new battery has the correct size, voltage, and cold-cranking amps. A proper replacement will ensure your car starts and runs smoothly.
-
Charging System Check: Before replacing the battery, ensure the charging system is functioning correctly.
A faulty alternator or other charging system issues will drain a new battery. Make sure the alternator is charging the battery and all the connections are secure. If the charging system is faulty, your new battery may also fail. Double-check your charging system before installing the new battery.
Frequently Asked Questions
Question: What does the car battery light signify?
Answer: It signals an issue with your car’s electrical charging system, often not just the battery itself.
Question: Can I drive my car if the car battery light is on?
Answer: It’s generally best to avoid driving long distances. You risk stalling if the car battery light stays on, as your battery may not be charging correctly.
Question: What’s the main cause of the car battery light coming on?
Answer: A common reason is a failing alternator, but it can also be a bad battery, loose connections, or a broken belt.
Question: How do I check the battery voltage?
Answer: Use a multimeter to measure the voltage across the battery terminals. With the engine off, it should be around 12.6 volts, and with the engine running, it should be between 13.7 and 14.7 volts.
Question: What do I do if the car battery light turns on?
Answer: First, check the battery terminals and connections, then check the battery voltage. If it continues to stay on after testing, you should have a mechanic check the electrical system.
Final Thoughts
When the car battery light on appears, it’s a call for action. It’s often not a major issue but should not be ignored. Understanding the basics helps you get the right solution for the problem. You can start with simple checks, like inspecting the battery terminals, checking the voltage, and the serpentine belt. If the light stays on after the initial checks, look at the alternator, wiring and connections, and then the battery. Remember, these steps can help avoid getting stranded and can save you time and money. If you’re unsure at any stage, it’s always wise to ask a professional mechanic. Driving safely and keeping your car in good condition is important. Don’t worry! You’ve got the skills to tackle this! Stay calm, do your checks, and get back on the road safely.