Car Alternator Undercharging: Causes, Symptoms, and Solutions
Dealing with car alternator undercharging can be a headache, especially if you’re not a car expert. It’s common because so many things can go wrong with your car’s electrical system! Don’t worry, though; it’s usually not as complicated as it seems. We’re going to break down exactly what causes this problem, how to spot it, and the simple steps you can take to get your car back in top shape. Get ready to explore the basics of your car’s charging system and how to fix those frustrating battery issues.
What Is Car Alternator Undercharging?
Car alternators are key to keeping your vehicle running. They generate the electricity that powers everything electrical in your car, from the headlights to the radio, while also charging the battery. When your car alternator is “undercharging,” it isn’t producing enough power to meet these needs. This can lead to a flat battery, dim lights, and other electrical issues. It’s like having a power plant that can’t keep up with the demands of the city.
How an Alternator Works
An alternator works by converting mechanical energy (from the engine) into electrical energy. It uses a spinning rotor inside a stator to generate an alternating current (AC). A set of diodes then converts this AC into direct current (DC), which is what your car’s battery and electrical system use. The alternator’s output is regulated by a voltage regulator, which ensures the correct voltage is delivered to the battery. This system is designed to provide enough power, even at idle speeds, so your car can run smoothly.
- Rotor: This is the rotating part inside the alternator, creating a magnetic field when electricity flows through it. The rotor’s movement is what generates the electricity.
- Stator: The stationary part of the alternator where the rotor spins. The stator’s windings convert the magnetic field into electricity through induction.
- Diodes: These are one-way electrical valves that convert the AC current produced by the stator into DC current that your car needs.
- Voltage Regulator: This component controls the voltage output of the alternator to protect the battery and electrical system from overcharging. It ensures a consistent voltage supply, typically around 13.5 to 14.5 volts.
A well-functioning alternator is essential for the electrical health of your car. Problems arise when any part of this system fails to work correctly.
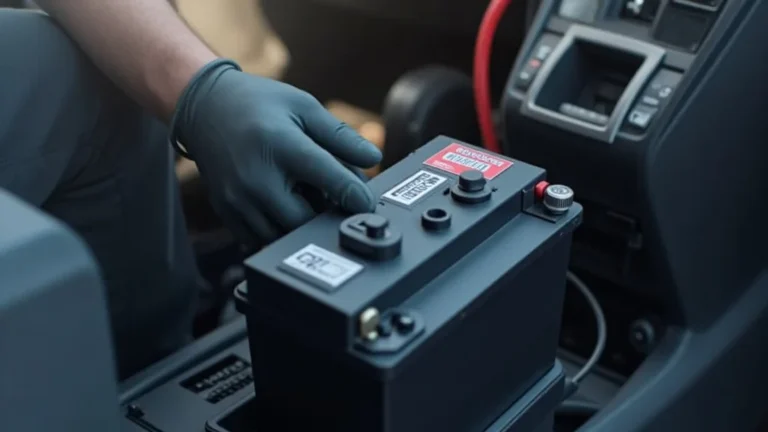
The Role of the Battery
Your car battery acts like a reservoir for electrical energy. It stores the power that the alternator generates and provides it to the car’s electrical components when the engine isn’t running or when the alternator can’t keep up with demand. The battery is also crucial for starting your car. When the alternator undercharges, the battery becomes drained because it’s constantly providing power without getting a sufficient recharge. A weakened battery affects starting performance and can lead to a host of electrical problems.
A car battery can hold a charge for quite some time, provided there is no drain. However, the lifespan can reduce quickly due to a multitude of factors, including extreme weather and parasitic drain. For example, a car battery in a cold climate might only last three to five years, while one in a warm climate could last up to seven years. It is important to frequently check the condition of your battery.
Recognizing the Signs
Knowing the signs of a failing alternator is key. Many symptoms are directly tied to undercharging issues. This will help you know when it is time to have your car examined. Here are the symptoms you should watch out for:
- Dimming or flickering lights: This often happens when the engine idles because the alternator isn’t producing enough power to keep the lights bright.
- Slow cranking: Your car might struggle to start, as the battery lacks the necessary power.
- Battery warning light: This light on your dashboard is a direct indicator of a charging problem, signaling that the alternator is not charging the battery properly.
- Electrical component failure: Power windows, radio, or other electrical accessories might malfunction because they are not getting enough power.
- Dead battery: The most obvious sign is when the battery dies quickly after being charged.
Ignoring these symptoms can lead to more significant problems and even leave you stranded. If you observe any of these signs, prompt action is needed.
Common Causes of Car Alternator Undercharging
Several factors can lead to car alternator undercharging. It is important to know the causes so you can narrow down the reason behind your car problems. These problems range from issues within the alternator itself to external factors. Here are some of the frequent culprits behind alternator undercharging.
Faulty Alternator Diodes
The diodes in an alternator are essential for converting AC power to DC power. If one or more of these diodes fail, they can disrupt the flow of electricity, reducing the alternator’s output. A damaged diode can cause the alternator to produce less voltage than required, leading to undercharging. This issue often results in the battery not getting enough charge and the electrical components receiving insufficient power. As a result, symptoms like dim lights and slow cranking become more prevalent.
- Blocked Current: Diodes can become blocked, causing reduced current flow. This reduces the amount of power the alternator can deliver, resulting in undercharging.
- Heat Damage: Excessive heat can damage the diodes. Over time, high temperatures can weaken the diodes, reducing their ability to convert AC to DC.
- Age-Related Failure: Like all components, diodes can fail with age. Diodes in older alternators are more prone to failure, often leading to undercharging.
A good understanding of alternator diode functionality can greatly aid in diagnosis and efficient troubleshooting.
Problems with the Voltage Regulator
The voltage regulator is a critical part of the alternator, controlling the voltage output to prevent overcharging or undercharging. If the voltage regulator malfunctions, it can cause the alternator to either overcharge or undercharge the battery. In undercharging situations, the regulator might fail to allow the alternator to generate enough voltage to charge the battery fully. This can lead to a discharged battery and electrical system issues.
- Faulty Wiring: Connections or wiring problems between the alternator and the voltage regulator can affect the regulator’s function.
- Heat and Vibration: Heat and vibration inside the engine compartment can damage the voltage regulator over time, leading to performance issues.
- Internal Failure: The voltage regulator itself can fail due to age or internal component issues, causing voltage output errors.
Regular maintenance, including checking wiring connections and the overall condition of the voltage regulator, can help prevent issues. Proper function of the voltage regulator is key to the alternator.
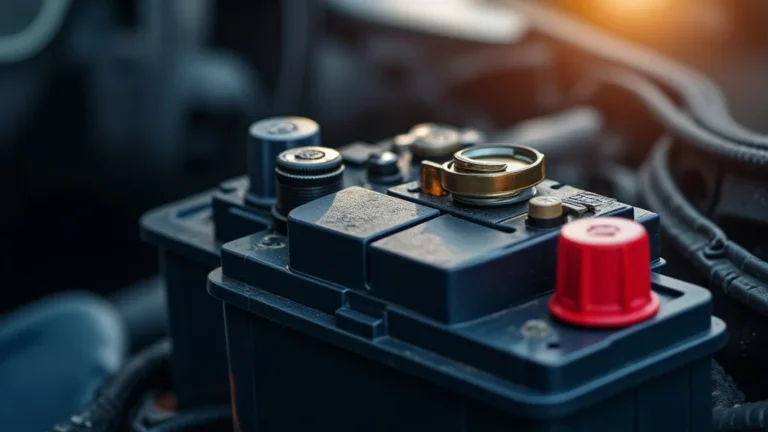
Loose or Corroded Connections
Loose or corroded connections can interrupt the flow of electricity, causing an alternator to undercharge. These issues can occur at various points: the terminals of the alternator, the battery, or the wiring that connects the alternator to the electrical system. Corrosion forms when exposed metal reacts with the environment, creating a layer that increases resistance. This resistance reduces the power that can pass through, leading to undercharging and affecting the functionality of the electrical system.
- Battery Terminals: Corrosion on battery terminals can prevent the battery from receiving a proper charge from the alternator.
- Alternator Terminals: Loose or corroded connections at the alternator can impede the flow of electricity.
- Wiring Harnesses: Corrosion or damage to the wiring harnesses can create electrical resistance, impacting the flow of power.
Regularly inspecting and cleaning these connections can prevent undercharging issues. Proper maintenance of connections is essential.
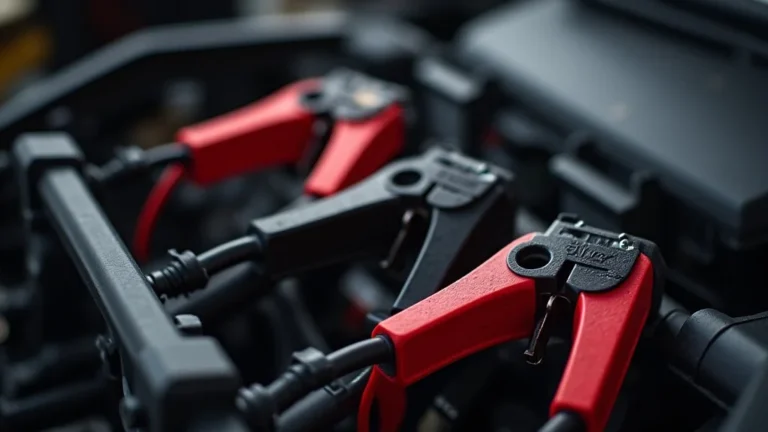
Worn-Out or Slipping Belt
The serpentine belt (or V-belt in older models) drives the alternator, allowing it to generate electricity. If the belt is worn, cracked, or slipping, it can’t transfer enough power from the engine’s crankshaft to the alternator. This results in the alternator spinning slower than necessary, reducing its output. A loose belt can slip during high electrical demands, causing the alternator to undercharge the battery. Additionally, a worn belt can break, rendering the alternator completely useless.
- Belt Tension: Proper belt tension is critical for efficient power transfer. If the belt is too loose, it can slip, reducing alternator output.
- Belt Condition: Regular inspection for wear and tear is essential. Cracks, fraying, or glazing on the belt indicate the need for replacement.
- Alignment: Proper alignment of the belt ensures optimal contact and power transfer between the engine and the alternator. Misalignment can cause the belt to wear unevenly and slip.
Regular maintenance, including checking and replacing the belt when needed, is critical for the charging system.
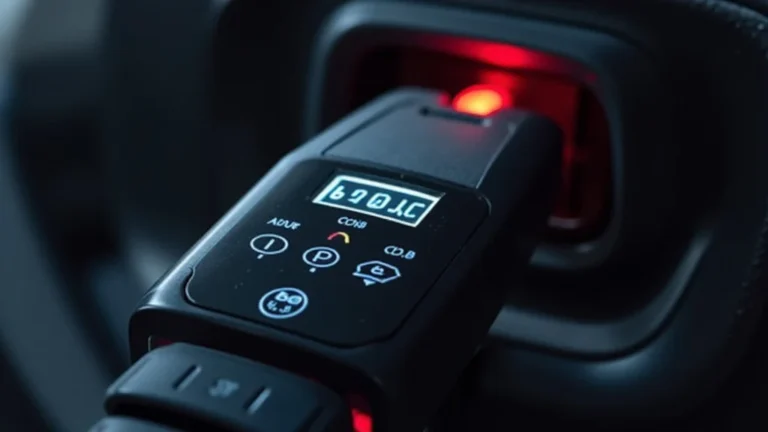
How to Test Your Car’s Charging System
Knowing how to test your car’s charging system can save you time and money. These methods can help you pinpoint whether the alternator is undercharging or if another component is the problem. These tests are usually easy to do with basic tools.
Battery Voltage Test
Checking the battery voltage is a great first step to diagnosing charging issues. It involves using a multimeter to measure the voltage of your car’s battery under different conditions. This test can reveal if the battery is holding a charge and if the alternator is charging it correctly. A correctly charged battery should measure around 12.6 volts when the engine is off. When the engine is running, the voltage should increase to between 13.5 and 14.5 volts, indicating that the alternator is charging the battery.
- Preparation: Park the car and ensure it is off. Gather your multimeter and set it to measure DC voltage.
- Test with Engine Off: Place the red lead of the multimeter on the positive (+) terminal of the battery and the black lead on the negative (-) terminal. Read the voltage. A healthy battery should read 12.6 volts or higher.
- Test with Engine Running: Start the car and repeat the voltage test. The reading should now be between 13.5 and 14.5 volts. This confirms that the alternator is charging the battery.
- Interpreting Results: If the voltage remains near 12 volts with the engine running, it indicates the alternator is not charging. If the voltage is too high (over 15 volts), it might indicate a failing voltage regulator.
This simple test provides clear insights into your car’s charging system.
Alternator Output Test
An alternator output test is a more detailed way of checking the alternator’s performance. This test will measure the alternator’s voltage and amperage output under load. This will show you how well the alternator is providing power to your car’s electrical systems. This test helps confirm if the alternator is producing enough electricity to support all of your car’s electrical components and charge the battery.
- Load Application: Turn on as many electrical components as possible—headlights, air conditioning, radio, etc. This puts a load on the alternator.
- Voltage Measurement: With the engine running, measure the voltage at the battery terminals using a multimeter. The voltage should remain above 13 volts, even with the electrical load.
- Amperage Test (Optional): If you have a clamp meter, you can also measure the current (amperage) output of the alternator. Clamp the meter around the positive cable of the alternator and check the reading, which should be within the alternator’s specified output range.
- Analysis: If the voltage drops significantly with the electrical load, or if the amperage output is low, it suggests the alternator is not producing enough power.
The alternator output test gives a more complete picture of the alternator’s capabilities.
Checking for Parasitic Drain
A parasitic drain test checks for any unwanted electrical current draining from the battery when the car is off. This drain can slowly deplete the battery, making it seem like the alternator is undercharging, even if it’s working fine. Parasitic drain occurs when an electrical component continues to draw power when it shouldn’t, like a faulty relay or a device that doesn’t fully shut down.
- Preparation: Make sure the car is off and all accessories are turned off. Open the hood and disconnect the negative (-) battery terminal.
- Current Measurement: Set your multimeter to measure DC amperage. Place one lead on the negative battery post and the other on the disconnected negative battery cable.
- Normal Readings: A normal parasitic drain should be less than 50 milliamps (0.05 amps).
- Identifying Drain: If the reading is higher, start disconnecting fuses one at a time. Watch the multimeter readings until the current drops. This identifies the circuit causing the drain.
Correcting any excessive parasitic drain is crucial to ensuring your car battery stays charged and your electrical system works correctly.
Simple Steps to Fix Car Alternator Undercharging
Finding that your alternator is undercharging can seem overwhelming, but it doesn’t have to be. Many solutions are straightforward and can be handled at home. If you’ve determined that your alternator is the problem, here’s how to troubleshoot and resolve it. These tips will help you get your car back in working order.
Replacing the Alternator
If testing confirms that the alternator is undercharging or has completely failed, the most common solution is to replace it. This is usually necessary if the alternator diodes or voltage regulator are faulty or the alternator is worn out. Replacing the alternator ensures that your car’s electrical system receives the correct power.
- Gather Tools: You will need a wrench set, socket set, a new alternator, and possibly a belt if it’s worn. Safety glasses and gloves are also recommended.
- Disconnect Battery: Before starting, disconnect the negative (-) terminal of the battery to prevent electrical shorts.
- Remove Old Alternator: Detach the electrical connectors, remove the belt, and unbolt the old alternator from its mounting bracket.
- Install New Alternator: Bolt the new alternator in place, reconnect the belt, and plug in the electrical connectors.
- Reconnect Battery: Reconnect the negative (-) battery terminal.
- Start and Test: Start the engine and measure the voltage at the battery terminals to ensure the new alternator is charging correctly (13.5 to 14.5 volts).
Replacing the alternator is a standard procedure that can restore your car’s charging system and save your battery.
Checking and Replacing the Serpentine Belt
A worn or slipping serpentine belt is a frequent cause of alternator undercharging. The belt is how the engine’s power gets to the alternator. Inspecting the belt regularly for wear, cracks, or glazing is crucial. If the belt looks damaged, or if it slips, it needs to be replaced to ensure the alternator spins at the correct speed.
- Inspection: Check the belt for cracks, fraying, or any signs of wear. Twist the belt to check for damage on the sides and the grooves.
- Tension Test: Verify the belt tension. If the belt has excessive play, it might be slipping. You can usually push down on the belt between pulleys to check for flexibility.
- Removal: Use a wrench or specialized tool to release the tension on the belt tensioner, then slide the belt off the pulleys.
- Installation: Route the new belt around the pulleys, ensuring it follows the correct path. Use the tensioner to tighten the belt.
- Test: Start the car and check the alternator’s output with a multimeter to ensure the charging system functions correctly.
Keeping a good belt is an easy step toward a well-functioning charging system.
Cleaning and Securing Connections
Loose or corroded electrical connections can also cause alternator undercharging. Corrosion increases resistance, reducing the power flow to the battery and the car’s electrical components. Regular cleaning and securing of these connections are important to keep the charging system working properly. Inspecting the battery terminals, alternator terminals, and all relevant wiring connectors should be done frequently to spot and fix potential problems early.
- Disconnect Battery: Disconnect the negative (-) battery terminal to prevent shorts.
- Clean Terminals: Use a wire brush or battery terminal cleaner to remove corrosion from the battery terminals and alternator terminals.
- Check Connections: Make sure all connections are tight and secure. Use a wrench to tighten any loose bolts or connectors.
- Inspect Wires: Examine the wiring for any signs of damage or wear. Replace any damaged wires.
- Reassemble: Reconnect the battery terminal and test the charging system’s output with a multimeter to make sure it’s working correctly.
Maintaining clean and secure connections is vital to the efficiency of your car’s electrical system.
Addressing Other Electrical Issues
Sometimes, the undercharging issue isn’t the alternator itself, but some other electrical problem. This means you have to deal with the source of the problem. This can be complex, and you may need a professional for it. Addressing these issues will make sure that the alternator can function correctly.
- Check Fuses: Blown fuses can interrupt power to various electrical components, putting extra strain on the alternator. Check all fuses, especially those related to the charging system and electrical accessories.
- Test Wiring: Inspect all wiring for damage, wear, or loose connections. Use a multimeter to test for continuity and voltage drops in the wiring harness.
- Inspect Relays: Faulty relays can cause components to draw excessive current, which increases the load on the alternator. Check the relays related to the charging system and other electrical components.
- Consult a Professional: If the electrical problems are hard to diagnose or repair, ask a professional to help.
Finding and fixing these issues is an important step to ensure the long-term health of your electrical system.
Frequently Asked Questions
Question: What’s the main symptom of car alternator undercharging?
Answer: The most common sign is a slow or dead battery because the alternator isn’t providing enough power to charge it properly.
Question: Can I drive with a car alternator undercharging?
Answer: You can, but it is risky. Your car may start, but you could get stranded. The battery will drain, and the electrical system might fail, leaving you stuck.
Question: How often should I test my car’s alternator?
Answer: It’s good to test your alternator whenever you suspect an issue. You can also test it during regular maintenance, such as during an oil change or tire rotation.
Question: Can I replace an alternator myself?
Answer: Replacing an alternator is usually within the scope of DIY car maintenance. If you’re comfortable with basic tools and understand how to work on cars, you should be able to. It’s often cheaper than taking it to a mechanic.
Question: What causes the battery light to come on?
Answer: The battery light usually indicates a problem with the car’s charging system, often involving the alternator not charging the battery properly or another electrical issue.
Final Thoughts
Understanding car alternator undercharging is essential for keeping your car running. You have learned how alternators function, the common causes of undercharging, and how to spot the early warning signs. You also explored the steps you can take to diagnose and solve these issues. Remember to maintain your car’s charging system through regular checks, paying attention to any signs of electrical problems, and performing routine maintenance like belt inspections and cleaning connections. By taking these actions, you can extend the life of your car battery and avoid many frustrating problems. You’re now well-equipped to keep your car’s electrical system in top shape!