Car Alternator Problems: Troubleshooting Made Simple
Having a car alternator not working is a common headache for many drivers. It’s frustrating when your car won’t start, or your lights flicker, and you’re left stranded. Don’t worry, though; it’s often easier to diagnose and fix than you might think. This guide will help you step-by-step to figure out what’s wrong and get you back on the road. We’ll break down the process in a way that’s easy to follow. Let’s get started!
What Does a Car Alternator Do?
The alternator is the heart of your car’s electrical system. It’s a generator that converts mechanical energy from your engine into electrical power. This power is used to run all the electrical components in your car, like the headlights, radio, air conditioning, and, most importantly, to charge the battery. Without a working alternator, your car won’t stay running for long. It’s essentially the power source that keeps everything functioning while you’re driving. The alternator takes over the job of powering these systems and recharges the battery.
How an Alternator Works
The alternator operates using principles of electromagnetism. It has a rotating component called the rotor and a stationary component called the stator. When the engine turns, it rotates the rotor, which contains a series of electromagnets. These electromagnets spin inside the stator, which has copper windings. As the rotor spins, it creates a magnetic field that cuts across the stator windings. This action induces an electrical current in the stator, which is then converted from alternating current (AC) to direct current (DC) by a rectifier. This DC current is used to power the car’s electrical systems and charge the battery. Voltage regulators also help maintain a steady voltage, preventing overcharging or undercharging of the battery.
- Rotor: This is the rotating part of the alternator. It contains electromagnets that create the magnetic field.
- Stator: This is the stationary part of the alternator with copper windings. It’s where the electrical current is generated.
- Rectifier: This component converts the alternating current (AC) produced by the stator into direct current (DC) that the car uses.
- Voltage Regulator: This part ensures that the alternator provides a consistent voltage to the car’s electrical systems and prevents overcharging.
Understanding these basic parts is key to troubleshooting when your car alternator not working. The relationship between these components is crucial to the proper function of your vehicle. The process involves a complex interaction of mechanical and electrical components. Regular inspection and maintenance can help extend the life of your alternator and prevent unexpected failures.
Symptoms of a Bad Alternator
Recognizing the symptoms of a failing alternator can help you address problems early. These symptoms can range from subtle changes in electrical performance to complete failure. Sometimes these issues can be mistaken for battery problems, but it is important to test to pinpoint the problem. Early detection is key to preventing further damage to your car. Paying attention to these warning signs can save you time and money by preventing more significant issues.
- Dim Headlights: If your headlights become dimmer when the engine is running, or they flicker, it’s a sign your alternator might be failing.
- Difficulty Starting: A weak or dead battery is often a symptom. The alternator isn’t charging the battery properly.
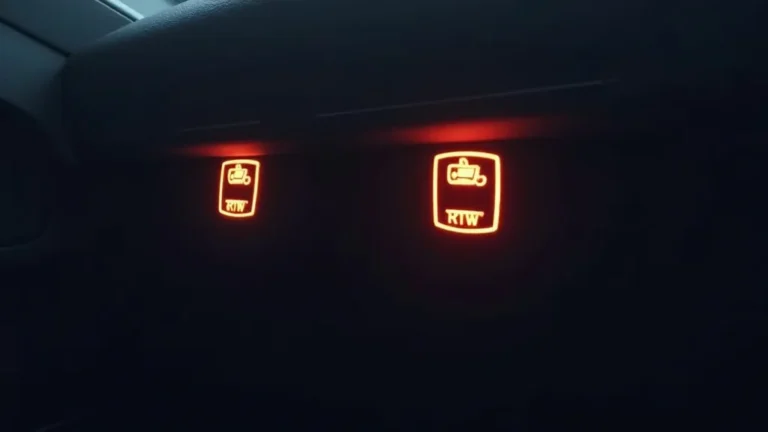
- Battery Warning Light: The battery-shaped light on your dashboard will illuminate, signaling a charging problem.
- Electrical Issues: Problems with power windows, the radio, or other electrical components can indicate a bad alternator.
- Strange Noises: Whining or grinding noises coming from the engine bay could be a sign of a failing alternator bearing.
Early identification of these symptoms can prevent further damage to other components and ensure your car’s reliability. Each symptom offers valuable clues to the nature of the fault. Recognizing these signs helps to ensure optimal performance and safety. Ignoring these symptoms can lead to more significant problems and unexpected breakdowns.
Diagnosing Car Alternator Failure
Diagnosing alternator issues involves a systematic approach to identify the root cause of the problem. This process will guide you through the main steps for isolating the problem, beginning with visual inspections and moving to more technical tests if necessary. This will help you identify the failure, whether it’s a simple fix or a more complex problem requiring professional help. Careful diagnostics can lead to quick, affordable solutions. It ensures that you address the actual issue, saving you time and money in the process.
Visual Inspection and Basic Checks
Before you get into technical tests, start with a visual inspection of your car. Look for obvious signs of damage or wear. Also, ensure connections are secure. Often, a loose or corroded connection can be the cause. Don’t ignore even seemingly minor details; they could hold the key to solving the problem. A simple visual inspection can often reveal apparent problems, such as a loose belt or corroded terminals. This step can save you time and money. Here are some basic checks.
- Check the Serpentine Belt: Look for cracks, wear, or looseness. The belt drives the alternator, and a bad belt can cause it to stop working.
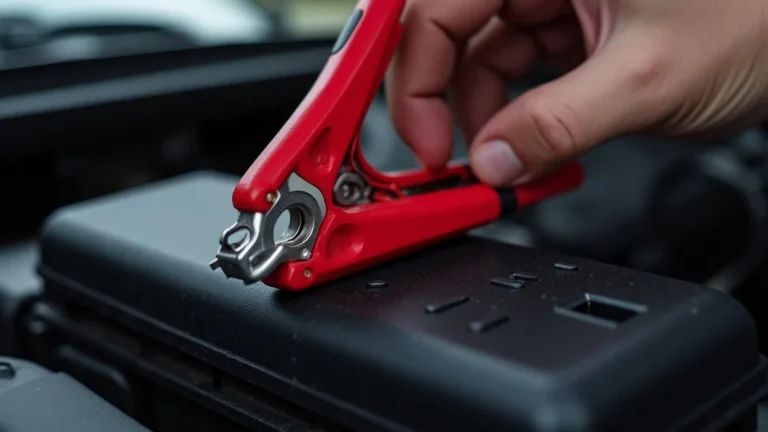
- Inspect the Terminals: Check the battery terminals and alternator connections for corrosion or loose connections. Clean any corrosion with a wire brush and tighten the connections.
- Examine the Wires: Look for any frayed or damaged wires that could be causing a short circuit or preventing proper power flow.
- Listen for Unusual Noises: Whining or grinding noises can indicate issues with the alternator bearings or other internal components.
- Check the Battery: Make sure the battery terminals are clean and securely connected. A faulty battery can sometimes mimic alternator issues.
Careful attention to these details can often reveal the source of the problem. Simple fixes are often overlooked in the rush to find a complex solution. Regular visual checks can prevent more serious problems down the road. Addressing these simple points can save you time, money, and hassle.
Testing with a Multimeter
Using a multimeter to check the battery voltage and alternator output is a great way to confirm if your car alternator not working properly. A multimeter measures voltage, current, and resistance. It’s a valuable tool for diagnosing electrical problems in your car. A multimeter can provide clear data, unlike the guesswork of relying on a visual inspection. Understanding how to use a multimeter effectively is a valuable skill for any car owner. The process is straightforward and provides valuable insights into your car’s electrical system.
- Battery Voltage Test (Engine Off): Set your multimeter to DC voltage (usually 20V DC). Place the red probe on the positive (+) battery terminal and the black probe on the negative (-) terminal. A healthy battery should read around 12.6V. Anything significantly lower suggests a problem.
- Battery Voltage Test (Engine On): Start the engine and let it idle. With the multimeter still on DC voltage, recheck the battery terminals. The voltage should now be around 13.5V to 14.5V. This shows the alternator is charging the battery. If the voltage remains near the battery’s initial reading (12.6V or less), the alternator is likely failing.
- Alternator Output Test: With the engine running, increase the engine speed slightly. The voltage should remain steady, or increase slightly, indicating a properly working alternator. If the voltage drops as engine speed increases, the alternator might be failing.
- AC Voltage Test: Alternators should produce DC voltage. Set the multimeter to measure AC voltage. Place the probes on the battery terminals. A reading above 0.5V AC may indicate a bad diode in the alternator.
By following these steps, you can identify if your alternator is the source of the problem. A multimeter provides a clear diagnostic path. Accurate readings will prevent unnecessary repairs. Using these tests is a cost-effective way to get the most accurate results.
Replacing a Car Alternator
If the testing confirms your car alternator not working properly,
Gathering the Tools and Parts
Before you begin, gather all the necessary tools and replacement parts. Having the right tools ensures that the process goes smoothly. Quality parts will also provide a reliable replacement. Don’t overlook the importance of having the correct tools. Prepare everything you need before you start the job. Careful preparation is key to a successful replacement.
- Replacement Alternator: Make sure you get the correct alternator for your car model.
- Wrench Set: You’ll need wrenches to remove bolts and nuts holding the alternator in place. A socket set might also be needed.
- Socket Set: This will include the appropriate sizes for the bolts.
- Screwdrivers: A set of both flathead and Phillips head screwdrivers.
- Battery Terminal Puller: This tool makes it easier to remove the battery cables.
- Belt Tensioner Tool: Some cars require a specific tool to relieve tension on the serpentine belt.
- Gloves and Safety Glasses: Safety first. Protect your eyes and hands.
- Jack and Jack Stands: If working underneath the car.
Having these tools will help you work safely and efficiently. Research the specific requirements for your vehicle. Use quality parts. Careful preparation is the foundation of any repair job. This can help prevent injuries and damage.
Step-by-Step Replacement Guide
Follow these steps carefully to ensure a successful alternator replacement. Be organized and take your time. This guide offers a comprehensive approach for replacing your alternator. Taking your time will help ensure that you do the job correctly. Properly following these steps will minimize frustration and reduce the chance of making mistakes. Following these steps helps in ensuring a reliable outcome.
- Disconnect the Battery: Before starting any work, disconnect the negative (-) battery cable. This is a crucial safety step to prevent electrical shocks.
- Locate the Alternator: Find the alternator. Refer to your car’s manual if you’re unsure.
- Remove the Serpentine Belt: Use the belt tensioner tool to relieve tension on the belt. Slip the belt off the alternator pulley. Note the routing of the belt, or take a picture for reference.
- Disconnect Electrical Connections: Disconnect the wires and connectors attached to the alternator. There may be a main power wire and smaller connectors.
- Remove the Mounting Bolts: Loosen and remove the bolts that hold the alternator to the engine block.
- Remove the Alternator: Carefully remove the old alternator from its mounting bracket.
- Install the New Alternator: Place the new alternator in the mounting bracket and secure it with the bolts.
- Reconnect Electrical Connections: Reconnect the wires and connectors to the new alternator.
- Reinstall the Serpentine Belt: Route the belt back over the pulleys, ensuring it’s correctly aligned. Use the tensioner tool to tighten the belt.
- Reconnect the Battery: Reconnect the negative (-) battery cable.
- Start the Engine and Test: Start the engine and check that the battery light is off. Use a multimeter to verify that the alternator is charging the battery.
Each step is important for successful replacement. Follow safety precautions throughout the process. Don’t skip any steps. Regular checking helps confirm your work. These steps will guide you through the replacement. Completing each of these steps correctly will ensure the proper function of your car.
Maintaining Your Alternator
Proper maintenance helps prolong the life of your alternator. This will help avoid unexpected failures. Performing regular checks is essential. Routine maintenance helps prevent problems. Following these tips ensures optimal performance. This will save money and ensure dependability. Regular maintenance can significantly reduce the risk of your car alternator not working.
Regular Inspections
Make regular inspections part of your car maintenance routine. Inspecting your alternator regularly can help catch problems early. Checking the belt, connections, and overall condition of the alternator can prevent future issues. Doing these checks regularly will give you peace of mind. Regular inspections will help your car run better, longer. Early detection of any problems can help avoid more serious repairs.
- Belt Condition: Check the serpentine belt for cracks, wear, or fraying. Replace the belt if it shows signs of damage. A worn belt can cause the alternator to work harder.
- Connections: Check the electrical connections for corrosion or looseness. Make sure all wires are securely connected to the alternator.
- Listen for Noises: Pay attention to any unusual noises coming from the alternator area. Whining or grinding sounds could indicate bearing problems.
- Battery Terminals: Keep the battery terminals clean and free from corrosion. Corroded terminals can affect the charging process.
- Dashboard Lights: Be aware of the battery warning light. It signals a potential charging problem.
By regularly inspecting these components, you can keep your car running smoothly. Taking the time for inspections can prevent future damage. Early detection makes maintenance less expensive. These steps help ensure your car’s reliability. Regularly checking your car helps to keep it running at its peak.
Preventative Measures
Simple steps can protect your alternator. By taking these steps, you can avoid unnecessary wear. Following these practices can extend the life of your alternator. Implementing these measures helps prevent charging problems. Following these steps can help protect your alternator.
- Avoid Overloading: Don’t use too many electrical devices at once, especially when the engine is idling.
- Check Battery Health: Ensure your battery is in good condition. A weak battery puts extra strain on the alternator.
- Regular Charging System Check: Have your car’s charging system checked regularly during routine maintenance.
- Proper Battery Maintenance: Keep battery terminals clean and ensure proper connections.
- Professional Inspection: Consider an inspection every few years to catch problems.
These simple actions can significantly reduce the risk of alternator problems. These steps will keep your car in better shape for longer. Following these measures helps to ensure reliability. Proper care and maintenance will benefit you in the long run. By following these, you can prevent future repairs.
Frequently Asked Questions
Question: Why did my car alternator stop working?
Answer: Alternators can fail due to several reasons, including age, wear and tear, and internal component failures. Over time, parts like brushes and bearings can wear out. Electrical shorts, loose connections, or belt slippage can also contribute to failure. Sometimes, extreme weather conditions and excessive use of electrical accessories also play a role.
Question: How can I tell if my alternator is bad without a multimeter?
Answer: You can often get a hint by observing symptoms. Check if the battery warning light is on. Listen for unusual noises, such as whining. Observe if headlights or interior lights dim or flicker when the engine is running. If your car has difficulty starting or keeps stalling, these can also be indications of a failing alternator.
Question: Can I drive my car with a bad alternator?
Answer: You can drive your car with a bad alternator, but not for long. The car will eventually run on the battery’s stored power. However, once the battery is drained, the car will stall and you will be stranded. You should get the alternator replaced as soon as possible.
Question: How often should I replace my alternator?
Answer: The lifespan of an alternator varies. Generally, they can last between 80,000 to 150,000 miles, or seven to ten years. Regular maintenance, such as checking the belt and connections, can help extend its lifespan. Factors such as driving conditions and electrical load can also affect alternator life.
Question: What’s the difference between a starter and an alternator?
Answer: The starter motor is used only to start the engine, drawing a large amount of current from the battery for a short period. The alternator generates electricity to power the car’s electrical systems and recharge the battery once the engine is running. The starter is for starting; the alternator is for running and charging.
Final Thoughts
Facing a situation where your car alternator not working can be stressful, but by following the steps outlined, you can diagnose the problem and determine if you can tackle the repair yourself. Understanding the alternator’s role and the warning signs of failure can save you from unexpected breakdowns. Remember to check the battery voltage, inspect the belt, and look for obvious signs of damage. If you’re comfortable with car maintenance, replacing the alternator yourself can save money. If not, don’t hesitate to seek professional help. Regular inspections and preventative care are key to extending the life of your car’s electrical system, keeping you on the road and confident. Stay proactive. This will help you keep your car running smoothly.