Battery Charger Stuck: Troubleshoot Float Mode Problems
Having trouble with your battery charger won’t go to float mode? Don’t worry, it’s a common issue, especially if you’re new to charging batteries. It can seem confusing when your charger isn’t doing what it’s supposed to. This post will help you explore what might be causing the problem and, most importantly, show you how to fix it step-by-step. Let’s get started exploring the solutions to get your battery charging correctly again.
Deciphering Battery Charger Operating Modes
Battery chargers have different operating modes to manage the charging process efficiently. These modes are critical for both charging the battery safely and prolonging its life. Knowing these modes helps pinpoint why your battery charger won’t go to float mode.
Essentially, chargers use a multi-stage approach. The charger determines the battery’s condition and applies the appropriate method. When the battery is deeply discharged, the charger might start in a bulk charging phase. This phase delivers a high current to quickly bring the battery’s charge level up. As the battery approaches full charge, the charger transitions to an absorption phase. During this phase, the charging current is reduced to prevent damage. Finally, the charger moves to the float mode.
Bulk Charge Explained
The bulk charge phase is the initial and fastest stage of charging. The charger supplies the maximum current the battery can accept without damage. The primary goal during this phase is to rapidly restore the battery’s energy level. This phase is particularly useful for batteries that are significantly discharged. You will usually see the voltage increasing rapidly during this phase, but the current will remain constant until it reaches the absorption voltage.
- High Current Delivery: This stage delivers the charger’s maximum current output, providing a rapid recharge to the battery.
- Voltage Increases: As the battery gains charge, the voltage gradually rises. However, the current remains constant, which allows for quick charging.
- Time Variable: The duration of bulk charging varies depending on the battery’s initial state of charge and its capacity. A deeply discharged battery will require a longer time in this phase.
For example, if a car battery is nearly dead, the charger will start in bulk mode to get it back up and running fast. This mode is the heavy lifter in the charging process, getting the battery to a point where it can safely accept a more controlled charge.
Absorption Phase: The Next Step
The absorption phase is the second stage, following bulk charging. In this phase, the charger maintains a constant voltage, while the current gradually decreases. This phase allows the battery to reach its full capacity without overcharging and causing damage. This is a very important part of the charging process for the life of the battery. Think of it as a gentler approach to ensure the battery receives a full charge.
- Constant Voltage: The charger provides a steady voltage, preventing overcharge.
- Current Tapers: The current slowly decreases as the battery approaches full capacity. This reduces stress on the battery.
- Full Charge Achieved: The goal is to bring the battery to 100% capacity without overheating or damage.
For instance, imagine a phone charging. During the early stages, it charges quickly (bulk). Then, the charge slows down near the end (absorption) to keep it from getting too hot and to ensure the battery lasts longer.
Float Mode: Maintenance Mode
Float mode is the final stage, also known as maintenance mode. It’s when the charger applies a low-level current to the battery to keep it fully charged. In this phase, the charger provides just enough power to offset the battery’s self-discharge rate. This way, the battery can stay connected to the charger for extended periods without damage. The charger essentially “floats” the battery at its peak voltage.
- Low Maintenance Charge: The charger delivers a small current to compensate for self-discharge.
- Voltage Held Constant: The charger maintains the battery at its fully charged voltage.
- Long-Term Connection: Float mode allows safe, extended connection to the charger, preventing discharge.
A good example of float mode would be when you keep a car battery connected to a charger over winter. The charger will sit in float mode, ready to maintain the battery’s charge over the cold months. This keeps it from dying, meaning the car will start up easily when spring rolls around.
Common Reasons Your Battery Charger Won’t Go to Float Mode
Many factors can cause a battery charger won’t go to float mode. By identifying the root cause, you can efficiently resolve the issue. Troubleshooting these issues helps determine the problem.
The failure to reach float mode may indicate a problem with the battery itself, the charger, or the connection between them. A bad battery, for example, might not accept a full charge, keeping the charger in the absorption phase indefinitely. Likewise, a malfunctioning charger may not recognize the battery’s charge level, thus failing to switch to float mode. The wiring connections can also prevent proper charge and signal problems.
Faulty Battery Identification
Often, the battery is at fault when a battery charger won’t go to float mode. This can happen if the battery is damaged, sulfated, or simply too old to hold a charge. The charger detects these issues and doesn’t switch to float mode. Instead, it might keep trying to charge the battery or go into an error state.
- Battery Age: Older batteries have less capacity and may not reach a full charge, preventing float mode.
- Sulfation: Sulfation occurs when lead sulfate crystals form on the battery plates, reducing the battery’s ability to accept a charge.
- Internal Damage: Internal shorts or other damage within the battery can also prevent it from reaching a full charge.
Imagine your phone’s battery. If it’s old and doesn’t hold a charge, it will never reach 100%. Similarly, if your car battery has internal problems, the charger may not switch to float mode.
Charger Malfunction or Setting Errors
Another reason for a charger getting stuck is a problem with the charger itself or its settings. It’s essential to check your charger to see if it is the problem. If the charger is broken, it might not be able to recognize the battery’s state of charge, leading to the float mode failure. Also, if the charger is set to the wrong type of battery or voltage, it won’t operate correctly.
- Charger Failure: Defective chargers may not correctly measure the battery’s voltage or current, preventing a transition to float mode.
- Incorrect Settings: Using the wrong charger settings or not selecting the correct battery type can interfere with the charging process.
- Voltage Issues: If the charger cannot deliver the correct voltage, it may never reach the float stage.
For instance, if you set your phone charger to charge a car battery, it will not work. Likewise, if your charger has settings issues, like the wrong voltage, it will not function properly.
Connection Problems and Other Issues
Even minor issues like loose connections or other external factors can stop your charger from going into float mode. This highlights the need to check all aspects of your setup when troubleshooting. Things like dirty connections or environmental issues can cause problems as well.
- Loose Connections: Loose or corroded connections hinder the flow of electricity, preventing the charger from detecting the full charge of the battery.
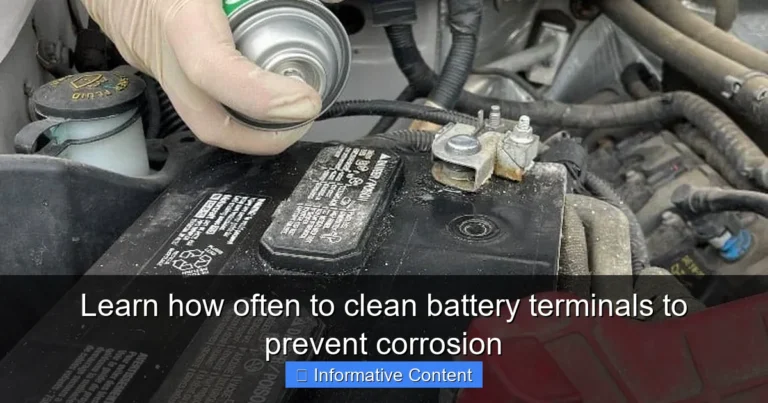
- Dirty Terminals: Corrosion on the battery terminals can block proper electrical flow, leading to charging problems.
- Temperature Extremes: High or low temperatures affect how batteries charge. This can stop the charger from properly working.
If you’ve ever had a loose power cable, you’ll understand. A bad connection can prevent a device from working properly. The same is true for battery chargers. If the terminals aren’t clean or the connection is loose, the charger will fail.
Troubleshooting Steps to Resolve the Issue
If your battery charger won’t go to float mode, there are several steps to take. Each step is important for diagnosing and fixing the issue. By following these, you can get your battery charging correctly again. These steps should help to find the problem.
Before proceeding, make sure you have the necessary tools: a multimeter, cleaning supplies, and a charger owner’s manual. The first step involves checking the connections and ensuring they are clean and secure. Next, test the battery with a multimeter to determine its condition. If the battery checks out, review the charger settings to ensure they match the battery type. Finally, check the charger itself to ensure it is functioning correctly. Following these steps helps resolve the problem.
Checking the Battery Connections
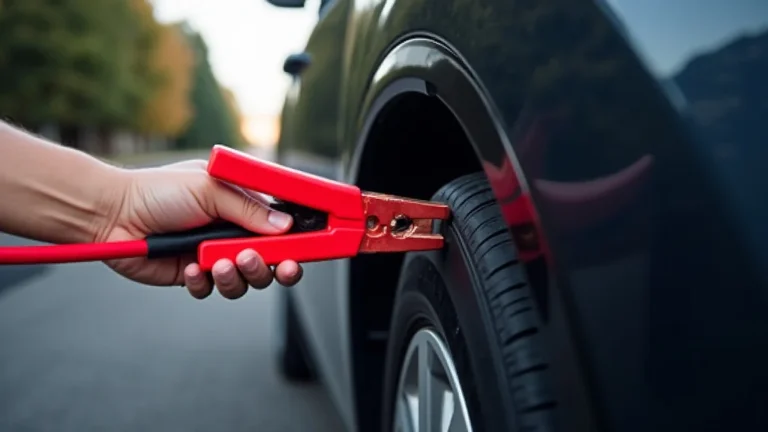
Begin by checking all connections for the battery charger. This is often the simplest fix. Make sure all wires are securely connected and free from corrosion. A bad connection can stop the charging process and lead to the problem of a battery charger won’t go to float mode.
- Inspect Cables: Examine the charger’s cables and clamps for damage or wear. Replace any damaged parts.
- Clean Terminals: Use a wire brush and baking soda solution to remove corrosion from the battery terminals. Ensure the terminals are clean for optimal contact.
- Secure Connections: Make sure that the clamps are tightly fastened to the battery terminals.
An example would be a broken lamp cord. If the wire isn’t fully connected, the light won’t turn on. The same holds true for chargers. Poor connections mean no electricity can flow. This is like making sure all the puzzle pieces fit together.
Battery Testing with a Multimeter
Use a multimeter to measure the battery’s voltage to check its health. A multimeter is a useful tool for this. This helps you determine if the battery is capable of holding a charge. If the voltage is too low, the charger might not enter float mode because the battery is considered discharged or faulty.
- Voltage Check: Set the multimeter to DC voltage mode and measure the battery’s voltage. A fully charged 12V battery should read around 12.6V or higher.
- Load Test: You can perform a load test if your multimeter has this function to check the battery’s capacity to hold a charge. This test applies a load to the battery and measures its voltage drop.
- Internal Resistance: You can also measure the battery’s internal resistance to check for internal damage. High resistance can show a failing battery.
Consider the example of your car battery. If the multimeter shows a low voltage, the battery might not be able to store enough power. This can prevent the charger from entering float mode. Like checking a gas tank to see how much gas remains.
Charger Setting Verification
Check the charger’s settings to ensure they are appropriate for the battery type and voltage. This may seem like a simple step, but it is often overlooked. If the charger is set for a different battery type or voltage, it won’t charge properly and could stop the charger from entering the float mode.
- Battery Type: Make sure the charger is set for the right battery chemistry (lead-acid, AGM, gel, etc.). Incorrect settings can damage the battery.
- Voltage Setting: Confirm the charger voltage matches the battery voltage. For example, a 12V battery needs a 12V charger.
- Current Limit: If the charger has a current limit setting, check that it’s set correctly for the battery’s capacity.
Imagine putting the wrong fuel in your car. It will not run properly. Similarly, using the wrong settings on a charger can harm your battery. Using the right settings is like putting the right key in the ignition.
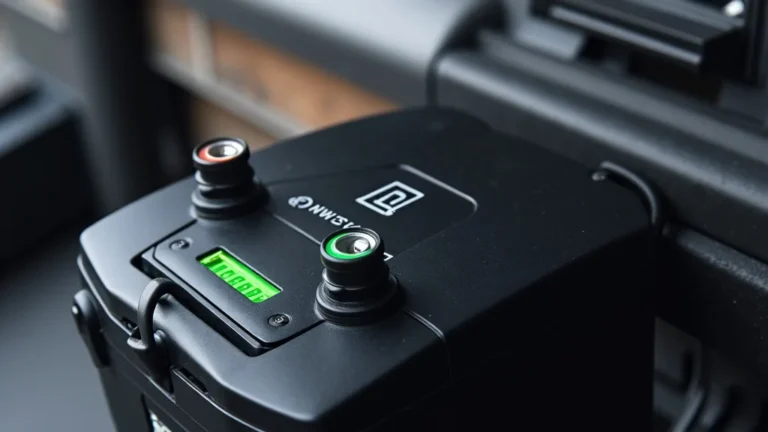
Charger Functionality Testing
Test the charger itself to make sure it is working correctly. This is important when a battery charger won’t go to float mode. You can do this by using a multimeter or by testing the charger on a known good battery. If the charger is faulty, it will not charge the battery correctly.
- Output Voltage Test: Use the multimeter to measure the charger’s output voltage. It should match the battery’s voltage.
- Current Output Test: Check that the charger is delivering the correct current to the battery. Refer to the charger’s specifications.
- Load Testing: Test the charger under load by connecting it to a battery and monitoring the voltage and current.
For example, you can use a hairdryer to test a wall outlet. If the hairdryer doesn’t turn on, the outlet isn’t working. If the charger doesn’t charge a known good battery, it needs repair or replacement.
Advanced Troubleshooting Techniques
If the basic steps don’t resolve the battery charger won’t go to float mode issue, more detailed tests are needed. Advanced troubleshooting often involves using more sophisticated tools. This could include using battery analyzers to check the battery’s health. It also includes checking the charger’s output under varying conditions.
Battery analyzers provide a complete assessment of the battery’s condition, identifying issues not detectable with a multimeter. Checking the charger’s output under different loads helps determine if it functions properly. When these tests are performed, the next step would be contacting the manufacturer for service or repair.
Battery Analyzer Diagnostics
A battery analyzer offers more detailed information. It is designed to diagnose the health of your battery. It can show internal damage or other conditions that might stop the charger from going into float mode. By using this tool, you can check the battery’s true condition.
- Internal Resistance Testing: Measures the internal resistance of the battery to detect damage.
- Capacity Testing: Determines the actual capacity of the battery compared to its rated capacity.
- State of Health (SOH) Evaluation: Provides a percentage representing the battery’s current health.
Imagine your doctor using an X-ray to diagnose a problem. A battery analyzer is similar. It offers insights into the battery’s internal structure and performance. This can show underlying issues that affect charging.
Charger Output Inspection
Examine the charger’s output under load. This will show if the charger delivers the right voltage and current. This is useful for finding out if the charger is performing properly. This testing will include connecting the charger to a known working battery and measuring the output during different stages of charging.
- Voltage Under Load: Measure the charger’s output voltage while it’s connected to a battery to check if the voltage remains constant.
- Current Monitoring: Use a clamp meter to measure the current supplied by the charger during different charging phases.
- Heat Analysis: Watch the charger for overheating, which might indicate an internal fault.
Think of it like checking the water pressure in a hose. If it’s weak, the hose isn’t working correctly. If the charger’s output is unstable, it cannot switch to float mode. Like looking for signs of stress or blockage.
Professional Repair or Replacement
If you cannot fix the charger using these methods, it is time to have it repaired or replaced. Sometimes, chargers will have internal damage that is impossible to fix at home. Seeking professional help ensures that the issue is fully addressed and helps you avoid further damage or injury.
- Manufacturer Service: Contact the manufacturer of the charger for repair services.
- Authorized Repair Centers: Look for certified repair centers that can diagnose and fix your charger.
- Replacement: If the charger is beyond repair or if repair costs are too high, consider buying a new one.
Imagine a broken appliance. If it can’t be fixed by simple means, you will need a professional. Like seeking expert help for complex electronics. Professionals have the tools and expertise to make repairs and provide assurance.
Frequently Asked Questions
Question: What does float mode actually do?
Answer: Float mode provides a small, continuous current to maintain a battery’s full charge and offset self-discharge over time. It keeps the battery ready for use without overcharging.
Question: How do I know if my charger is in float mode?
Answer: Many modern chargers have indicator lights or display screens. These show when the charger is in float mode. Always check the charger’s manual.
Question: Can I leave my battery on the charger in float mode indefinitely?
Answer: Yes, in most cases. Chargers designed with float mode are made to be left connected for long periods. They are safe and will not harm the battery.
Question: What can I do if my charger shows an error message?
Answer: First, check the connections and the battery’s condition. Then, consult your charger’s manual to find out what the error means. This will help you resolve the problem.
Question: Can I use any charger for my battery?
Answer: No, it’s important to use a charger designed for your battery type and voltage. Using the wrong charger can damage the battery and make it dangerous.
Final Thoughts
Having your battery charger won’t go to float mode can be frustrating. However, by understanding the different charging modes and exploring common causes, you can take a methodical approach to solve the problem. Remember, checking connections and battery health are essential first steps. Confirming your charger settings and testing its functionality will help pinpoint the issue.
By using the troubleshooting steps and exploring advanced techniques, you can regain control of your battery charging process. Don’t be discouraged; many issues are easily fixed with a little exploration. If you are ever in doubt, consult the manual or reach out to the manufacturer for assistance. With patience and persistence, you can restore your battery’s function and maintain its health. Start exploring your charger and battery to get them working the way you need.