How to Use a Car Jump Starter: Simple Steps and Safety
Getting your car started when the battery dies can be tricky. Many people find figuring out how to use a car jump starter a little confusing at first. Don’t worry, it’s easier than you might think! This guide will break down the process step-by-step, making sure you feel confident. You’ll soon see how you can get back on the road quickly. Let’s get started with a simple plan to help.
What Is a Car Jump Starter and Why Do You Need It?
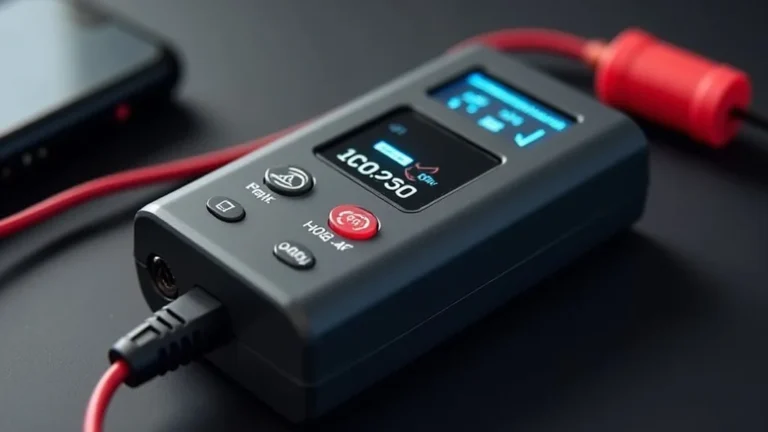
A car jump starter, sometimes called a portable jump starter, is a battery-powered device designed to provide the necessary power to start a car with a dead battery. Unlike traditional jumper cables that require another vehicle, a jump starter is self-contained. It contains a battery that stores energy, which it can then use to jump-start a car. This feature is particularly useful when you’re stranded far from other vehicles or need a quick solution without relying on assistance.
Jump starters come in various sizes and with different power outputs. Their effectiveness depends on factors like the type of car and the battery’s condition. The convenience of a jump starter makes it a popular tool for vehicle owners. It eliminates the need for another car, making roadside assistance or a friend’s help unnecessary. In addition to starting a car, many jump starters have additional features like USB ports for charging devices, LED flashlights, and even air compressors.
The Key Components of a Jump Starter
Understanding the parts of a jump starter is important for using it correctly. Most jump starters share common components. Knowing these components allows you to use the device safely and effectively.
- The Battery: The core of a jump starter is its internal battery, typically a lithium-ion battery. This battery stores electrical energy, releasing it to start a car when needed. The battery’s capacity, measured in milliampere-hours (mAh), determines how many times it can jump-start a car before needing a recharge.
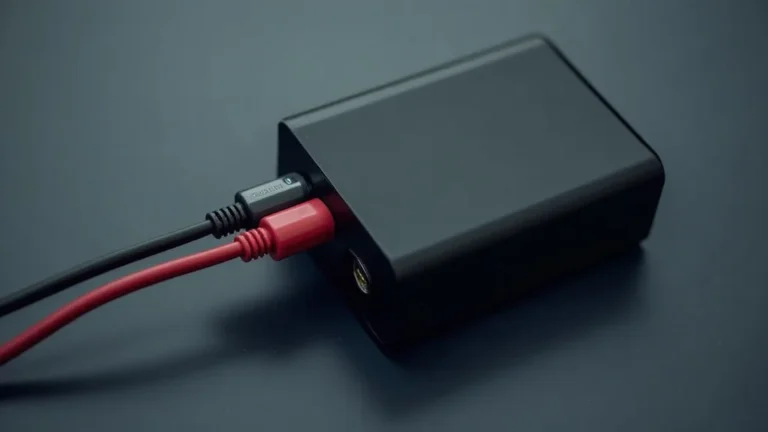
- The Cables: Jump starters come with two cables, typically red and black. These are connected to the car battery terminals. The cables are made of thick, insulated wire to carry the high current required for jump-starting a vehicle.
- The Clamps: At the end of the cables are clamps, usually made of metal and covered with rubber or plastic. These clamps attach to the car battery terminals. They need to create a secure connection to transfer power effectively.
- Safety Features: Jump starters often include safety features to protect both the user and the car’s electrical systems. These features may include reverse polarity protection, over-current protection, and short-circuit protection.
- Additional Features: Many jump starters have extra features, like USB ports for charging devices and LED flashlights. These are extra functions that can be helpful in emergencies or daily use.
A higher capacity means more jump starts before recharging.
Red cables connect to the positive (+) terminal, and black cables connect to the negative (-) terminal.
The clamps are designed to grip the battery terminals firmly to avoid sparks and ensure a good connection.
These features automatically shut down the jump starter if a problem is detected.
Some jump starters even include an integrated air compressor.
Why a Jump Starter Beats Jumper Cables
Jumper cables and jump starters both serve the same basic function: to start a car with a dead battery. However, they go about it in different ways. Jump starters offer some distinct advantages over traditional jumper cables.
Consider a situation where your car battery dies at a remote location. With jumper cables, you’d need another vehicle nearby, adding a layer of dependency and potentially making it difficult to find help. A jump starter eliminates this need since it’s a self-contained unit. Its portability makes it easier to manage in tight spaces and allows you to start your car without assistance.
The table below highlights key differences to help you choose the best option for your needs:
| Feature | Jump Starter | Jumper Cables |
|---|---|---|
| Power Source | Internal battery | Another vehicle’s battery |
| Portability | Highly portable | Requires a second vehicle |
| Independence | Independent; doesn’t need another car | Dependent on another car |
| Ease of Use | Generally easier to use | Requires careful connection to another car |
| Additional Features | Often includes extra features like USB ports and lights | Typically no extra features |
Steps for Using a Car Jump Starter Safely
Using a jump starter is a simple process, but following the correct steps is crucial for safety and effectiveness. Mishandling could potentially damage the jump starter, your car, or even lead to injury. Always read and follow the manufacturer’s instructions before using any jump starter model.
Start by making sure your car is parked in a safe spot, away from traffic. Turn off the ignition and all electrical accessories to avoid any accidental surges. Grab the jump starter and ensure it’s fully charged. A low charge can hinder the jump-starting process.
Step-by-Step Instructions
The actual process can be broken down into steps, ensuring a straightforward and safe experience:
- Prepare the Jump Starter: Make sure the jump starter is fully charged. Check the battery level indicator on the device. Then, place the jump starter on a stable surface near your car’s battery.
- Locate the Car Battery: Open your car’s hood to find the battery. It is typically in the engine compartment. Locate the positive (+) and negative (-) terminals. Clean off any corrosion with a wire brush if necessary.
- Connect the Red Clamp to the Positive Terminal: Connect the red (positive) clamp of the jump starter to the positive terminal of your car battery. Make sure it has a firm connection.
- Connect the Black Clamp to a Ground: Connect the black (negative) clamp of the jump starter to a metal part of your car’s chassis, away from the battery. This could be a metal bracket or a bolt. Avoid connecting it directly to the negative terminal of the dead battery.
- Turn On the Jump Starter: Turn on the jump starter. Many have a power button or switch. Check for any indicator lights that show the device is ready.
- Attempt to Start the Car: Try to start your car. If it doesn’t start right away, wait a few minutes and try again. Do not crank the engine for more than 10-15 seconds at a time.
- Disconnect the Cables: Once your car starts, carefully disconnect the cables in reverse order. First, remove the black clamp from the car chassis. Then, remove the black clamp from the jump starter. Finally, remove the red clamp from the jump starter and the red clamp from the car battery.
- Let the Car Run: Allow your car to run for at least 15-20 minutes to allow the alternator to recharge the car battery.
- Recharge the Jump Starter: After using the jump starter, recharge it immediately so it’s ready for the next use.
This ensures you have enough power and avoids any accidental drops or damage to the device.
The positive terminal is usually marked with a “+” sign and is often covered with a red cap. The negative terminal is marked with a “-” sign or a black cap.
The connection needs to be secure to ensure power transfer. Double-check that the clamp is properly attached.
Connecting the negative clamp away from the battery helps to minimize the risk of sparks near the battery, reducing the chance of explosions. The chassis provides a good ground connection.
This activates the jump starter and allows it to send power to your car’s battery.
A few attempts are often enough to start the car. If it still doesn’t start, there might be a more serious problem.
Removing the clamps in this order helps to prevent sparks and ensures safe disconnection.
Running the engine allows the car’s alternator to recharge the battery.
This ensures that it’s always ready when you need it.
Safety Tips for Jump Starting
When dealing with batteries and electricity, certain safety precautions are essential. By following these, you can reduce the risks and jump-start your car safely.
- Wear Safety Glasses: Wear safety glasses to protect your eyes from any battery acid or sparks.
- Avoid Sparks: Do not smoke or have any open flames near the battery. Batteries can release hydrogen gas, which is flammable.
- Proper Ventilation: Ensure the area is well-ventilated. This helps prevent the buildup of flammable gases.
- Avoid Touching Clamps Together: Never let the clamps touch each other, as this can create a short circuit and damage the jump starter.
- Protect the Jump Starter: Keep the jump starter away from extreme temperatures and moisture.
Batteries contain corrosive acid. Safety glasses provide a crucial barrier.
Sparks can ignite this gas, leading to an explosion.
Good ventilation reduces the risk of gas accumulation and possible explosions.
Connecting the clamps can cause a surge of electricity that can damage the device.
These conditions can damage the jump starter and affect its performance.
Common Problems and Troubleshooting with Jump Starters
Although jump starters are designed to be reliable, problems can arise. Understanding common issues can help you diagnose and resolve problems quickly, getting your car started without the need for additional help.
For example, you connect everything, and the car doesn’t start. You might have a connection problem or a discharged jump starter. Sometimes, the car battery might be too damaged to hold a charge. Troubleshooting steps and understanding potential issues are key.
What if Your Car Still Won’t Start?
After trying to jump-start your car, if it still won’t start, it could signal a deeper problem beyond a dead battery. It’s important to assess the situation and consider possible causes.
- Check the Connections: Make sure the clamps are securely connected to the battery terminals or the grounding point. Loose connections can prevent the transfer of power.
- Test the Jump Starter: Test the jump starter to see if it’s working by checking the lights and indicators. A faulty jump starter won’t supply the necessary power.
- Examine the Battery: Look at your car battery for any signs of damage like swelling or leaks. A damaged battery may not take a charge.
- Check the Alternator: Once the car starts, let it run for a while. If the car stalls shortly after, the alternator might not be charging the battery.
- Consult a Mechanic: If you’ve tried everything and the car still won’t start, it’s time to consult a mechanic. Other problems may exist with the car’s electrical or starting systems.
A loose connection can stop power from reaching your car’s starter motor.
The device may not be delivering power if it shows an error.
If the battery is severely damaged, a jump starter might not be able to help.
A failing alternator means that even if you start the car, the battery won’t get recharged.
A mechanic can find the cause with specialized tools and experience.
Dealing With a Discharged Jump Starter
If your jump starter is not holding a charge, it may be due to several reasons, including:
- Improper Storage: Storing the jump starter in extreme temperatures, either hot or cold, can degrade the battery.
- Age of the Jump Starter: Like all batteries, jump starters lose their ability to hold a charge over time.
- Frequent Use: Excessive use can also deplete the battery’s lifespan.
- Charging Issues: The charging unit of the jump starter may be malfunctioning, failing to fully charge the internal battery.
- Battery Failure: The internal battery may have reached the end of its life and is unable to hold a charge.
Extreme conditions can damage the internal battery of the jump starter.
Over time, the battery capacity will diminish with use and age.
Repeated use without recharging can lead to reduced battery life.
A faulty charging unit can prevent the jump starter from being ready for use.
The battery will eventually wear out, needing to be replaced.
Example Scenarios for Troubleshooting
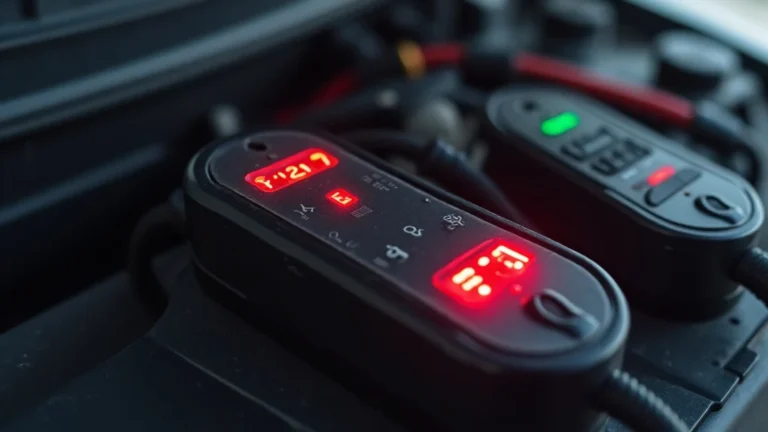
- Scenario 1: You connect the jump starter, but the car doesn’t start. You then check the jump starter’s display, which shows an error message indicating reverse polarity. This means you connected the clamps incorrectly. The solution is to switch the clamp connections to the correct terminals (red to positive, black to negative) and try again.
- Scenario 2: Your car starts, but after a short drive, it dies again. This suggests the car’s alternator may not be charging the battery. The jump starter helped start the car, but the charging system is not replenishing the power. The solution is to have a mechanic inspect and repair or replace the alternator.
- Scenario 3: You have a jump starter that worked great in the past, but now it won’t charge. You check the charging cable and the wall outlet; both work. The jump starter might have reached its expected lifespan. The solution is to consider getting a new jump starter.
Maintaining Your Jump Starter for Long Life
Proper maintenance is important for making sure your car jump starter lasts a long time and is ready when you need it. By following some simple maintenance steps, you can keep the device in good working order.
This maintenance will help your jump starter provide reliable performance for years. Regular care extends the jump starter’s life, guaranteeing it works when you need it most. It also helps prevent unexpected failures and keeps you prepared for emergencies.
Regular Maintenance Tips
By taking care of your jump starter regularly, you can greatly extend its usable life. The following maintenance tips will help you keep it in excellent condition.
- Regular Charging: Charge the jump starter every three to six months, even if you haven’t used it. This prevents the battery from completely draining.
- Proper Storage: Store the jump starter in a cool, dry place away from direct sunlight and extreme temperatures.
- Cable Inspection: Regularly check the cables and clamps for damage, such as cracks, fraying, or corrosion.
- Cleaning: Clean the jump starter with a soft, dry cloth. Avoid using harsh chemicals or solvents.
- Avoid Overcharging: Once the jump starter is fully charged, disconnect it to avoid overcharging, which can damage the battery over time.
Regular charging keeps the battery in optimal condition and ready for use.
Extreme conditions can damage the jump starter’s internal components.
Damaged cables can affect the jump starter’s performance or pose safety risks.
Regular cleaning keeps the device free from dust and debris.
Overcharging can shorten the battery’s lifespan.
Checking Battery Health
To ensure your jump starter is ready, you should check its battery health periodically. This simple task can prevent unexpected issues. The following points help you evaluate the jump starter’s readiness.
- Using the Indicator Lights: Most jump starters have indicator lights. Use these lights to check the battery’s current charge level.
- Conducting a Test: Periodically, attempt to start a car with the jump starter to test its functionality.
- Observing Performance: Pay attention to how quickly the jump starter charges. Note any decrease in performance over time.
- Checking for Swelling: Inspect the jump starter for physical changes, such as battery swelling. If you see this, it may be time to replace the device.
- Comparing Results: Compare the jump starter’s performance to its initial performance, noting any changes over time.
The lights offer an at-a-glance view of the device’s charging status.
This practical test confirms the jump starter’s ability to function.
A decline in performance suggests that the battery might be nearing the end of its life.
Swelling is a sign of battery problems and needs attention.
Comparing your results will help you see if your jump starter is still effective.
Frequently Asked Questions
Question: Can I use a jump starter on any car?
Answer: Most jump starters work on both gasoline and diesel engines. However, always check the jump starter’s specifications to ensure it is suitable for your car’s engine size and type.
Question: How long does a jump starter battery last?
Answer: The lifespan of a jump starter battery depends on usage, storage, and maintenance. Typically, it can last for several years with proper care. However, the battery capacity diminishes over time, and regular charging is crucial.
Question: Is it safe to leave the jump starter connected for a long time?
Answer: No, it is not recommended to leave the jump starter connected to the car battery for extended periods. Once the car starts, disconnect the jump starter to avoid any potential damage to the car’s electrical system or the jump starter itself.
Question: Can a jump starter damage my car?
Answer: When used correctly, a jump starter should not damage your car. Always follow the instructions and ensure the correct connections. Improper use, such as incorrect polarity or short circuits, may cause damage.
Question: What should I do with a jump starter that is no longer working?
Answer: Dispose of the jump starter responsibly. Since it contains a lithium-ion battery, recycle it at a local electronic waste facility. Do not throw it away with regular trash.
Final Thoughts
Now, you’ve explored how to use a car jump starter, from understanding its parts to troubleshooting and maintenance. You’ve seen how easy the process is. Remember the key steps: connect the clamps correctly, turn on the jump starter, start the car, and then disconnect in the reverse order. Keep your jump starter charged and stored properly. By knowing these steps, you’re better prepared for unexpected situations. Take the time to get familiar with your jump starter. Make sure it is charged and ready to go before you need it. These simple actions make a big difference, giving you the confidence to handle a dead battery and quickly get back on the road. Now you’re equipped to handle a dead battery with confidence!