Car Battery Charger Troubles: Easy Fixes for Dead Batteries
Having a car battery charger not working can be frustrating! It’s a common problem, especially if you’re new to car maintenance. Don’t worry, many things can cause this, and fixing them is often easier than you think. This guide will walk you through the most common reasons your charger might be acting up and show you how to get it working again. We’ll explore step-by-step solutions to help you get your car back on the road. Let’s get started!
Common Causes for a Car Battery Charger Malfunction
The first step in fixing a car battery charger that isn’t working is to figure out why. Several issues can stop your charger from providing the power your car battery needs. Some of the most frequent causes involve the charger itself, the battery, or even the power source. Problems often start with loose connections, blown fuses, or even internal component failures within the charger. Other times, the battery might be damaged beyond repair, preventing the charger from doing its job. Knowing the possible problems is the first step toward a solution.
Faulty Charger Components
One of the most frequent problems is a faulty component in the charger itself. Chargers are complex devices with many parts, and any one of them can break. The power cord, the internal circuitry, or even the charging clamps might be damaged. These issues can disrupt the flow of electricity, and the charger might shut down or fail to deliver a charge. Diagnosing these problems involves inspecting the charger for physical damage, checking the fuse, and testing the output with a multimeter. Replacing or repairing these components can often solve the problem and bring your charger back to life.
- Power Cord Issues: The power cord can become frayed or damaged from wear and tear. A damaged cord disrupts the power supply to the charger, preventing it from functioning correctly. You can often visually inspect the cord for breaks or cracks.
- Internal Fuse Failure: Most chargers have an internal fuse to protect the components from power surges. If the fuse blows, the charger won’t work. The fuse is usually accessible and easy to replace.
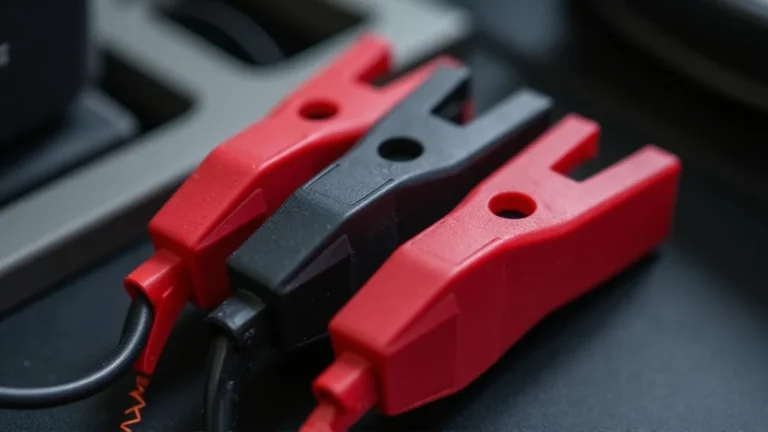
- Clamp Corrosion or Damage: The clamps that connect to the battery terminals can corrode over time. This corrosion prevents a good electrical connection, stopping the charge. Cleaning the clamps can often fix this issue.
- Circuit Board Problems: Internal circuit board malfunctions are possible, resulting from overheating or electrical surges. These problems are generally complex and may require a new charger.
- Overheating Protection Activated: Some chargers have built-in protection that shuts them down if they get too hot. This is a safety feature but can make the charger seem broken. Allow the charger to cool down before trying again.
Battery Problems
Sometimes, the issue isn’t the charger itself, but the battery it’s trying to charge. A completely dead or severely damaged battery might be unable to accept a charge. This can cause the charger to shut down or show an error. Also, extreme temperatures can affect a battery’s performance and charging capabilities. Batteries that have been sitting for a long time might develop internal problems, like sulfation, preventing them from holding a charge. It is necessary to evaluate the battery’s condition using a voltmeter and load tester to decide if the battery is salvageable or needs replacing.
- Sulfation: Sulfation occurs when lead sulfate crystals build up on the battery plates. This build-up prevents the battery from accepting and holding a charge. This often happens if a battery is left discharged for too long.
- Cell Failure: A car battery has several internal cells. If one or more of these cells fail, the battery cannot function properly. This can cause the charger to stop working.
- Short Circuit: A short circuit within the battery will create resistance, preventing it from charging. This typically requires replacing the battery.
- Old Battery Age: Older batteries naturally lose their ability to hold a charge. This is due to the degradation of the internal components.
- Physical Damage: Cracks or other physical damage to the battery’s casing can lead to internal problems that interfere with charging.
Power Source Issues
The power source you’re using to run the car battery charger can also be the problem. A faulty outlet, extension cord, or electrical circuit can disrupt the power supply to the charger, making it appear that the car battery charger not working. Checking the power source is an easy initial step in troubleshooting. You should ensure the outlet provides electricity and that the extension cord, if used, is in good condition. Electrical issues in your house can occasionally cause problems with charging. A simple check might reveal a simple solution.
- Outlet Failure: The outlet you’re plugging the charger into might not be working. Test the outlet by plugging in another device.
- Extension Cord Problems: If you’re using an extension cord, it might be damaged or not rated to handle the charger’s power draw. Use a heavy-duty extension cord if needed.
- Blown Circuit Breaker: The circuit breaker that supplies power to the outlet might have tripped. Reset the breaker and try again.
- Low Voltage: The power supply might be delivering low voltage, preventing the charger from functioning correctly. Check the voltage with a multimeter.
- Loose Wiring: Loose wiring in the outlet or the electrical panel can create intermittent power issues. This is generally best handled by an electrician.
Step-by-Step Guide to Troubleshoot Your Charger
When your car battery charger stops working, following a structured process helps you quickly pinpoint and fix the problem. Begin by checking the most simple things, such as power connections and fuses. You can gradually move to more detailed steps like testing components and checking the battery itself. This methodical method helps ensure you explore all potential problems and resolve the issue correctly.
Initial Checks
Before you start taking your charger apart or buying a new one, start with a few simple checks. These steps can often identify the problem and save you time and effort. It is also important to consider the safety aspects and wear the correct personal protective equipment (PPE). These initial checks are easy and can often resolve the issue without further action. Safety first and double-checking can prevent wasted time.
- Check Power Connection: Make sure the charger is securely plugged into a working outlet. Try plugging another device into the same outlet to confirm it’s working.
- Inspect the Power Cord: Look over the entire power cord for any cuts, frays, or damage. Replace the cord if any damage is seen.
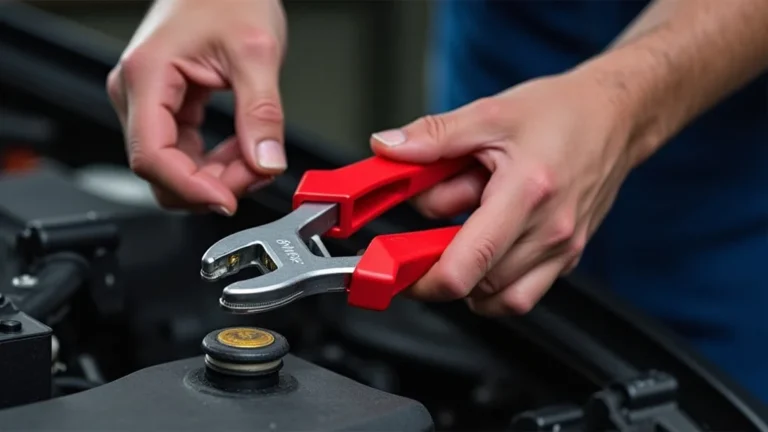
- Examine the Charger Clamps: Ensure the clamps are clean and connected properly to the battery terminals. Clean any corrosion with a wire brush or baking soda solution.
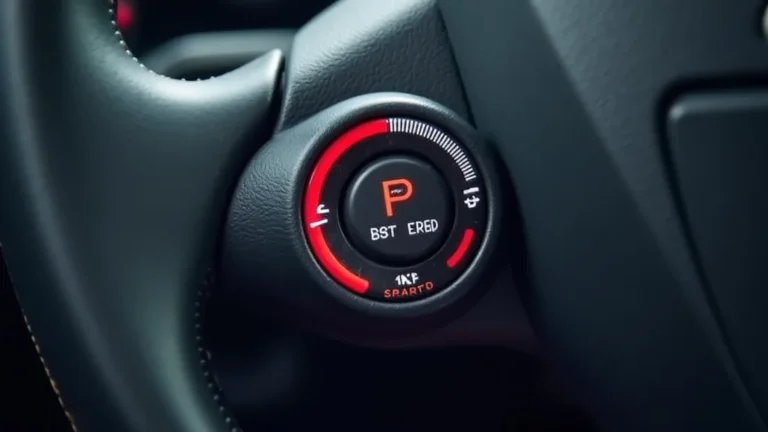
- Check the Charger’s Display: See if the charger’s display shows any error messages or lights. These can indicate the problem.
- Test with a Different Battery (If Possible): If possible, try the charger on another battery. This helps determine whether the problem is with the charger or the original battery.
Fuse and Component Inspection
Once you’ve done the initial checks, the next step involves inspecting the internal components of the charger. The fuse is a key element that protects the charger from electrical surges. Checking the fuse is a quick and easy method to see if a simple replacement will fix the problem. Additionally, taking a closer look at the clamps and internal components can reveal other issues that may require repair or replacement.
- Locate and Check the Fuse: Most chargers have an easily accessible fuse, usually inside a compartment. Remove the fuse and check if it’s blown.
- Inspect the Clamps: Examine the clamps for corrosion, damage, and ensure they are making good contact with the battery terminals.
- Look for Physical Damage: Inspect the charger housing and components for any signs of physical damage, such as cracks or burns.
- Check for Loose Wires: Open the charger (if you’re comfortable and safe doing so) and check for any loose or disconnected wires inside.
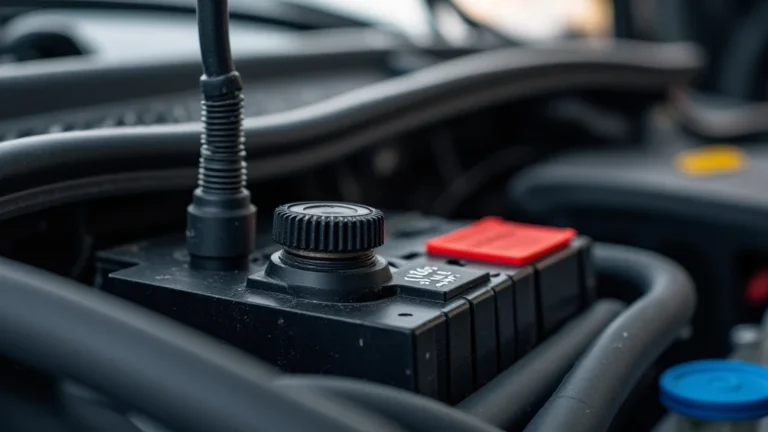
Battery Testing
If the charger appears to be working correctly, but your battery is still not charging, the problem may be the battery itself. Testing the battery’s condition is essential to determine whether it can accept and hold a charge. This is a critical step in troubleshooting the car battery charger not working. There are some basic tests you can perform to evaluate the battery’s health, and you might consider professional testing if you’re not comfortable. A battery that has been drained or is damaged may not be able to be recharged.
- Use a Voltmeter: A voltmeter is an instrument used to measure the voltage of a battery. Measure the battery voltage to see if it’s within the correct range (usually around 12.6 volts for a fully charged 12-volt battery).
- Perform a Load Test: A load test simulates the battery’s performance under stress. This determines whether the battery can supply enough power when under a load.
- Check for Battery Swelling: Inspect the battery case for any swelling or bulging. This can indicate internal damage or overcharging.
- Look for Leaks: Check the battery for any signs of acid leakage, which can damage the battery and its surroundings.
- Check Battery Age: Older batteries tend to fail more often. Consider the battery’s age as a factor in its condition.
Advanced Diagnostic Techniques
If the basic checks don’t pinpoint the problem, you may need to use more advanced diagnostic techniques. This can include using a multimeter to test internal circuits or consulting the charger’s manual for specific troubleshooting tips. This is where you might need professional help or more specialized equipment. This ensures you’ve explored all possible causes.
Multimeter Usage
A multimeter is an essential tool for electrical troubleshooting. It can measure voltage, current, and resistance. You can use a multimeter to check the charger’s output voltage and the resistance of its components. Learning how to use a multimeter correctly is key to diagnosing the electrical issues with your charger. This device provides accurate measurements, enabling you to identify problems that are not visible.
- Voltage Testing: Set the multimeter to DC voltage mode. Connect the probes to the charger’s output terminals. The reading should match what the charger is designed to provide.
- Resistance Testing: Set the multimeter to resistance mode (Ohms). Disconnect the charger from the power source and the battery. Test the resistance of various components, such as the transformer or internal circuits.
- Current Testing: Setting the multimeter to current mode, connect it in series with the charger output to measure current flow. This helps identify issues where the charger might not be providing the correct amount of current.
- Identify Short Circuits: Use the continuity test function of the multimeter to check for short circuits in the charger’s circuits.
- Inspect Components: Use the multimeter to test diodes, resistors, and other components to detect failures.
Consulting the Charger’s Manual
The charger’s manual is a valuable resource that can provide specific troubleshooting steps and information about your charger model. Often, the manual has diagrams and specific instructions for various problems and error codes. Refer to the manual for your specific charger model for unique instructions. The manual includes important safety information and how to properly use and maintain your charger. Consult the manual before beginning any repair process.
- Identify Error Codes: Many chargers display error codes that indicate specific problems. The manual explains the meaning of these codes and offers solutions.
- Troubleshooting Guides: The manual might include a troubleshooting guide that lists common problems and recommended solutions.
- Safety Information: The manual includes crucial safety guidelines, such as what to do if the charger overheats or if you encounter electrical issues.
- Component Diagrams: Some manuals include diagrams of the charger’s internal components, which can assist in identifying the problem parts.
- Contact Information: The manual may provide contact information for the manufacturer’s customer service.
Seeking Professional Assistance
If you’ve tried all the troubleshooting steps and the car battery charger not working, it’s time to seek professional assistance. Electrical repair can be dangerous, especially if you’re not experienced. A qualified technician has the tools, knowledge, and experience to safely and effectively diagnose and repair electrical problems. Seeking professional help ensures that the issue is properly addressed without risking your safety or damaging the equipment.
- Certified Technicians: Find a certified auto mechanic or electrical repair specialist who has experience with car battery chargers.
- Specialized Equipment: Professional technicians have access to specialized equipment, such as diagnostic tools, multimeters, and load testers.
- Safety: Professionals follow strict safety protocols to prevent electrical shock or injury.
- Expert Diagnostics: They can quickly diagnose the issue, even if it is complex, due to their vast experience and training.
- Warranty: Professional repairs often come with a warranty, giving you peace of mind and protection.
Frequently Asked Questions
Question: Why is my charger not turning on at all?
Answer: Check if the charger is plugged into a working outlet and the power cord is in good condition. Also, check the internal fuse; if it’s blown,
Question: My charger is plugged in, but the battery won’t charge. What could be the issue?
Answer: The most common causes are a faulty charger, a dead battery, or loose connections. Inspect the clamps and terminals for corrosion and ensure they are making good contact. A damaged or old battery may not accept a charge.
Question: How do I know if my battery is bad?
Answer: Test the battery’s voltage with a voltmeter. If it reads significantly below 12.6 volts when not charging, it might be bad. Also, try a load test; a bad battery won’t hold the charge under stress.
Question: Can I use any charger for my car battery?
Answer: It’s best to use a charger designed for automotive batteries. Make sure the charger’s voltage and current ratings match your battery’s requirements. Using the wrong charger might damage the battery or the charger itself.
Question: How long should I charge my car battery?
Answer: The charging time depends on the charger’s output and the battery’s capacity. Follow the charger’s instructions. A typical car battery might take anywhere from a few hours to an overnight charge. Overcharging can damage the battery, so don’t leave it connected for too long.
Final Thoughts
Dealing with a car battery charger not working can be irritating, but understanding the possible causes and following these steps can help you fix it. From checking the power source and the charger’s fuse to examining the battery, each step is designed to help you solve the problem. Remember, always prioritize safety and consult the charger’s manual for specific instructions. With patience and these straightforward troubleshooting steps, you can get your charger working and your car back on the road. If all else fails, seeking professional help ensures the issue is resolved and your vehicle runs smoothly again.