How to Restore Battery Connection: A Step-by-Step Guide
Getting your device to power up can be frustrating when the battery connection is the issue. Many people face this challenge, especially when dealing with gadgets. The good news is that troubleshooting the how to restore battery connection is often simpler than you think. This guide will walk you through a straightforward, easy-to-follow process. We’ll explore the common problems and provide clear solutions, so you can bring your device back to life. Let’s start!
Checking the Basics of Battery Connection
Before jumping into any complex solutions, it’s key to examine the fundamentals of a battery’s connection. This includes looking at the physical points of contact between the battery and the device. These connections, often small metal pieces, are prone to corrosion or being loose, which can interrupt the flow of power. You need to make sure everything is clean and in place. Understanding the basic components allows for a good foundation for more advanced troubleshooting if the simpler steps do not work. Taking time to inspect the components is very important for the device to properly function.
Visual Inspection of Battery Contacts
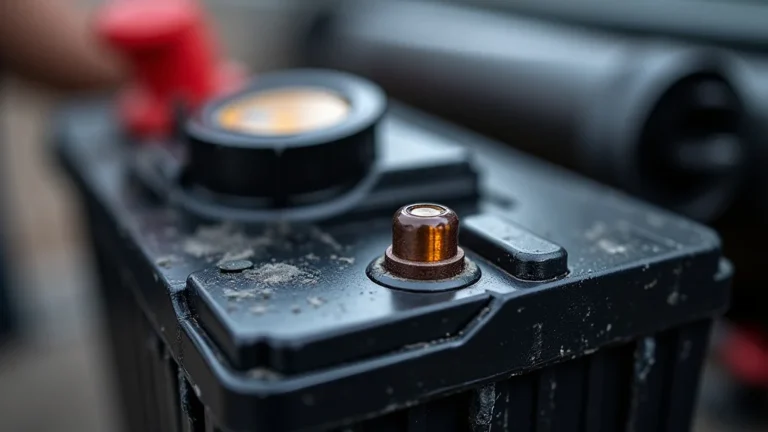
The first step is a good visual check. This can often reveal the problem. Take a close look at the battery contacts in your device and on the battery itself. These contacts should be clean, shiny, and making good contact. Search for any signs of corrosion, which looks like a white or green powdery substance. Also, check that the contacts are not bent, broken, or pushed inward too far, which can prevent a good connection. Simple contact problems are very common, and fixing them usually brings the device back to work. Look very carefully. You might just find the problem by simple observation.
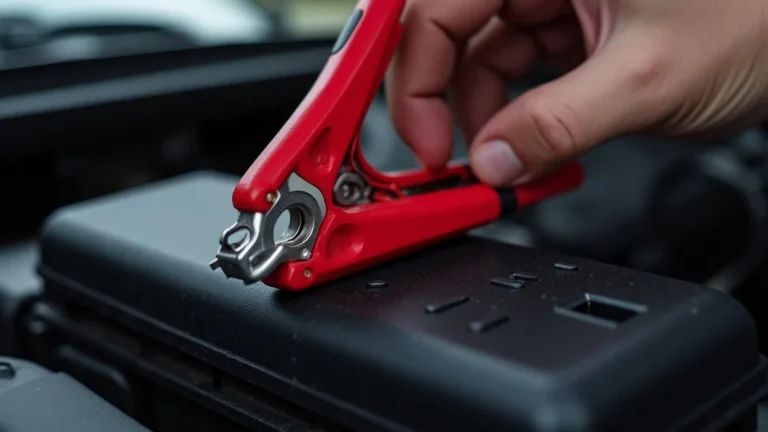
- Contact Corrosion: Corrosion on contacts is a very common issue. The best approach is to clean the contacts. Use a cotton swab dipped in rubbing alcohol to gently remove the corrosion. Make sure the device is off before you begin.
- Loose or Bent Contacts: Over time, contacts can become loose or bend out of shape. Carefully bend the contacts back into position using a small tool, like a toothpick or a small screwdriver. Be cautious not to break them.
- Debris or Dust: Small amounts of dust or debris can prevent a good connection. A small brush or compressed air can work to remove any foreign particles. Clear the area of any particles or obstructions.
- Physical Damage: Check for any physical damage to the contacts or the battery terminals. If damaged, consider replacing the battery. Also check with an expert.
Battery Orientation and Placement
Another common mistake is incorrect battery placement. Make sure you’re inserting the battery in the right direction, matching the positive (+) and negative (-) terminals with the device’s markings. The device typically shows a diagram to guide proper battery installation. Double-check this if your device is not working after you have put in a new battery. Incorrect placement might prevent the device from working, or worse, can cause damage. Read the manual for any specific instructions for your device. This can solve the problem very quickly. It prevents problems and helps keep your device safe.
- Polarity Check: Always verify that the positive (+) and negative (-) ends of the battery line up with the markings inside the device. Battery compartments usually have diagrams.
- Tight Fit: Make sure the battery fits snugly inside the compartment. A loose battery can break the connection when the device is moved.
- Spring-Loaded Contacts: Some devices use spring-loaded contacts. Make sure the springs aren’t compressed or stuck. This helps the contact stay consistent.
- Correct Battery Type: Confirm that you’re using the battery type specified by the device manufacturer. Using the wrong battery could cause problems or prevent the device from working. Also, there could be a safety risk.
Cleaning and Preparing the Battery Contacts
Cleaning is often a solution when tackling the question of how to restore battery connection. Even tiny amounts of oxidation or debris can create resistance and stop the flow of power. By cleaning the contacts, you improve conductivity and increase the chance of your device working again. Proper cleaning is a simple, but important, task. A small amount of attention can make a huge difference in the way your device operates. This step can remove most problems without having to buy any new equipment. Simple cleaning is often all you need.
Materials Needed for Cleaning Battery Contacts
Gathering the right materials will make cleaning your battery contacts easier and more effective. You’ll need items that can safely remove corrosion and debris without damaging the components. This process is straightforward, and the required supplies are usually readily available. Preparing your workspace and gathering these items beforehand will make the job much faster. These few items make the work easy.
- Rubbing Alcohol: This is a key cleaning agent. Use a concentration of at least 70% isopropyl alcohol to remove residue and corrosion. Alcohol evaporates quickly. This avoids leaving any residue behind.
- Cotton Swabs: These are great for applying rubbing alcohol and cleaning the small contact areas. They can reach tight spots without causing damage. Use several, and change them when they become dirty.
- Soft Brush: A small brush, such as an old toothbrush or a specialized electronics brush, is useful for removing stubborn debris and loosening particles. Choose a soft brush to avoid scratching the contacts.
- Small Screwdriver or Tool: A small, flat-head screwdriver or a non-metallic tool can help scrape off corrosion. Be careful not to cause damage. Use a plastic tool to prevent scratching.
- Compressed Air: This is great for blowing away loose particles and dust. Keep the can upright to prevent liquid discharge, which could cause damage.
Step-by-Step Contact Cleaning Process
Now, let’s go over how to do the cleaning itself. Follow this process to clean the battery contacts. Careful execution is key. You’ll ensure proper contact and restore power. Keep it simple and patient. Don’t rush the process, and you should bring your device back to life.
- Power Off and Remove the Battery: Before starting, make sure the device is off. Remove the battery to get to the contacts. This protects you and the device from any electric shock or damage.
- Apply Rubbing Alcohol: Dip a cotton swab in rubbing alcohol and gently apply it to the battery contacts. Make sure all contact areas are covered. The alcohol dissolves corrosion.
- Scrub Gently: Use a cotton swab or a soft brush to gently scrub the contacts. For tougher corrosion, you might use a non-metallic tool. Make sure to be gentle.
- Remove Debris: Use compressed air or a soft brush to remove any loose debris from the contacts. Check that there are no particles or small items left behind.
- Dry the Contacts: Let the contacts air dry completely before putting the battery back in. This step prevents short-circuiting. After drying, you can now check the device.
Troubleshooting Common Battery Connection Issues
Sometimes, the problem isn’t obvious, so you need to look at other possible issues. Battery connection problems can have different causes. Common issues include old batteries, faulty chargers, and internal device problems. You might need to check multiple parts of the system. This section guides you through these steps. You will learn to find and fix the problem. This will help you get your device working again.
Battery Testing and Replacement
Batteries have a lifespan, and sometimes, they simply stop working. Battery issues can lead to all sorts of problems. Testing can help you decide whether you need to replace a battery. Testing and swapping can solve the problem quickly. It’s often one of the first things you check when a device won’t turn on or hold a charge. This is a very easy test. Also, replacing the battery can be a quick fix.
- Use a Multimeter: A multimeter is an easy tool to test battery voltage. Measure the voltage to see if it matches what the battery should deliver. The battery might be failing if the voltage is low.
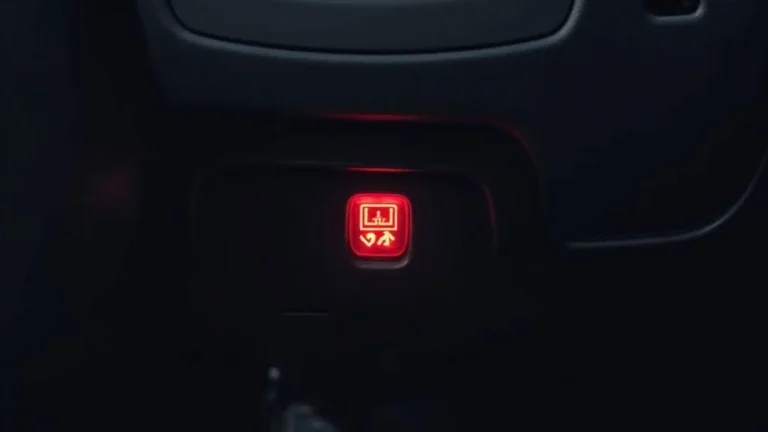
- Check for Swelling or Leaks: Look for any signs of battery damage, like swelling or leaks. Swelling indicates a chemical reaction within the battery. Leaking batteries are often unsafe.
- Test with a Known-Good Battery: If possible, use a known-good battery to see if the device works. If the device turns on, you know the original battery is the problem.
- Battery Compatibility: Make sure you are using the right battery for your device. Check the device manual or online details for the correct type and model.
Charger and Power Supply Problems
Often the battery isn’t the problem; it’s the charging system that isn’t working. A defective charger might not deliver the required power to charge the battery. This could prevent your device from turning on. Chargers are simple, but sometimes, they fail. Checking the charger and power supply is very important. This helps you identify whether the charger is working properly. Simple charger issues are often easy to fix. Checking the charger can often be the answer.
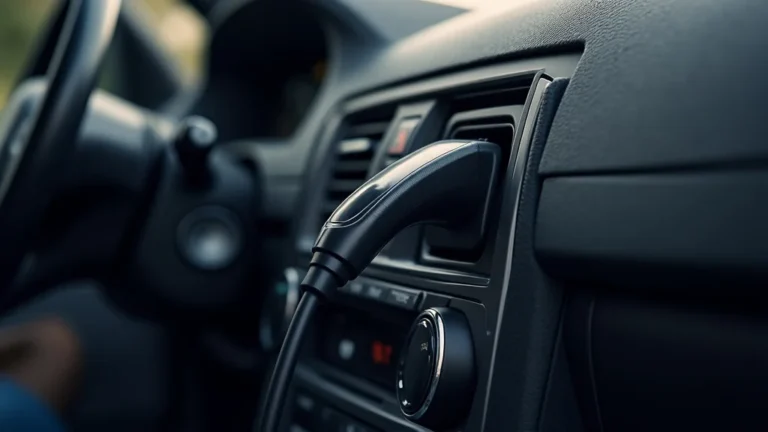
- Inspect the Charger: Check the charger for any damage to the cable, connectors, or the power adapter. Any physical damage may impact performance.
- Test with Another Charger: Try using a different charger that is compatible with your device. This will help you know if the issue is with the charger.
- Check the Power Outlet: Make sure the power outlet is working correctly. Plug another device into the outlet to make sure there is power.
- Test the Charging Port: Make sure the charging port on the device is clean and free of debris. Use compressed air to clear any obstructions.
Advanced Techniques to Restore Battery Connection
If the steps so far haven’t worked, there might be deeper issues within the device or the battery itself. These advanced techniques help you address more complex battery connection problems. These steps require more care and awareness. You may need to take your device to an expert if you aren’t comfortable doing these steps yourself. They are more involved, but you may find the solution.
Soldering Battery Terminals
Soldering is a method to restore the electrical connection. Soldering the battery terminals can solve problems where the contacts are loose or detached. This process connects the components. You must be skilled to do it safely. Soldering can also fix breaks and helps secure connections. It’s often required in more complex battery connection issues. This should only be done if you have experience with soldering.
- Safety First: Ensure the device is turned off and the battery is removed. Make sure your area is well-ventilated and that you use safety glasses. Proper preparation is very important.
- Gather Materials: You’ll need a soldering iron, solder, flux, and a small screwdriver. Make sure you also have your safety items. It is critical to have all of these items.
- Prepare the Surfaces: Clean the battery terminals and the contacts on the device with a small brush and rubbing alcohol. Apply flux to improve solder adhesion. This step is critical to make the solder stick.
- Solder the Connections: Use the soldering iron to apply solder to the contact points. Make sure you don’t use too much heat. The connections should be clean and smooth.
- Test and Reassemble: After the solder has cooled, put the battery back and test the device. Once you finish, make sure you put everything back together.
Internal Device Inspection and Repair
Inside the device, things can be damaged, causing battery connection failures. The circuit board and internal wiring are very delicate. You may need to open the device to look for any broken wires or damaged components. This may require some technical skills. Only do this if you are comfortable working with electronics. This internal inspection might fix the problem.
- Disassembly and Inspection: Open the device carefully. Look for signs of damage, such as corrosion, burnt components, or broken wires. Document where each part is.
- Check Circuit Board: Look over the circuit board for any cracks or damaged traces. Use a magnifying glass to check small items. Small problems can cause major issues.
- Wire Connections: Check for any disconnected or damaged wires related to the battery. You may need to reattach or replace them. Make sure the wires stay connected.
- Professional Help: If you are not familiar with electronics repair, take your device to a professional. Avoid causing more damage. A professional might be needed for help.
According to a report by Statista, approximately 69% of smartphone users reported experiencing battery life issues in . This shows the common nature of these problems.
| Problem | Percent of Smartphone Users Affected |
|---|---|
| Battery Drains Too Quickly | 69% |
| Charging Issues | 45% |
| Device Freezes or Shuts Down Unexpectedly | 38% |
Frequently Asked Questions
Question: What causes battery connection problems?
Answer: Problems can happen because of corrosion, loose contacts, battery issues, or charger problems.
Question: Can I clean the contacts on my device?
Answer: Yes, you can clean the contacts with rubbing alcohol and a cotton swab. Make sure to turn the device off first.
Question: What should I do if my battery is swollen?
Answer: Immediately stop using a swollen battery, remove it from your device, and dispose of it at a battery recycling center.
Question: How do I test the battery voltage?
Answer: Use a multimeter to measure the voltage of the battery. Compare it with the voltage required by your device.
Question: When should I seek professional help?
Answer: When you’re uncomfortable opening your device or attempting repairs like soldering, seek professional help.
Final Thoughts
We’ve explored several methods to address the issue of how to restore battery connection. Remember to start with a visual inspection, looking closely at contacts and placement. Cleaning contacts with rubbing alcohol can often solve the problem. If simple cleaning does not work, it’s often a good idea to check the battery and charger. More complex problems might require soldering or internal device repair, and always prioritize safety. By following these steps, you will usually be able to get your device working again. The next time your device shows a connection issue, you’ll be well-prepared to troubleshoot the problem. Keep your devices going!