Radio Not Working After Battery Change? Troubleshooting Guide
It’s frustrating when your radio not working after battery change. This often happens because of a simple issue, but it can feel tricky, especially if you’re not an expert. Don’t worry, many people face this. We’ll explore the common causes and how to fix them. From checking connections to resetting your device, we’ll provide a straightforward, step-by-step approach. Get ready to listen to your favorite tunes again!
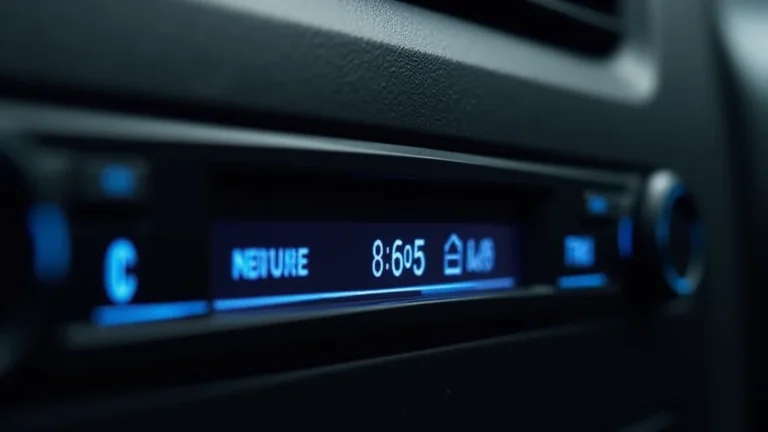
Checking the Basics: Power and Connections
Often, when the radio not working after battery change, the problem is simple. Start by looking at the power source and the connections within your radio. This step involves visually inspecting and making sure everything is properly seated. Many times, something is loose or not fully connected, preventing the radio from turning on or receiving a signal. Getting this right saves time and effort before exploring more complicated fixes.
Power Source Examination
The first step is to ensure that your radio has a reliable power source. This means making sure that the new batteries are inserted correctly and that they have a charge. Incorrect battery insertion is one of the most common issues that leads to the radio not working. Even new batteries can be faulty, so it’s wise to confirm they’re functioning. If your radio uses an external power supply, make sure it’s properly connected and delivering the needed voltage.
- Battery Orientation: Double-check the plus (+) and minus (-) symbols inside the battery compartment. They indicate how the batteries must be positioned. Incorrect placement will prevent the radio from powering on.
- Battery Type: Verify you’re using the correct type of batteries. Some radios require alkaline batteries, while others may work with rechargeable ones. Using the wrong type can damage the radio or prevent it from functioning properly.
- Battery Testing: Use a battery tester to confirm your batteries have power. These are inexpensive and can save a lot of guesswork. A multimeter is another tool for checking the voltage of the batteries.
- External Power Supply: If your radio uses an adapter, ensure it is plugged into a working outlet. Also, confirm that the adapter’s voltage matches your radio’s requirements. Look for the voltage information on the radio or in the owner’s manual.
Internal Component Checks
After verifying the power, the next place to look is at the internal connections. Sometimes, a wire can come loose during a battery change. Or, there might be corrosion on the battery contacts, preventing a good connection. This step involves a bit more care but is vital for a correct diagnosis. Make sure your radio is off and unplugged from any power source before attempting any internal examination.
- Battery Contacts: Look closely at the battery contacts in the radio. They can corrode over time, preventing good contact with the batteries. Clean them gently with a cotton swab dipped in rubbing alcohol. Ensure the contacts spring back and make solid contact.
- Loose Wires: If you feel comfortable, carefully open the radio to see if any wires have come loose. Note their initial positions beforehand. Reseat any disconnected wires. If you aren’t comfortable doing this, seek professional support.
- Fuse Inspection: Some radios have a fuse that protects against power surges. If the fuse is blown, the radio will not work. Locate the fuse (often near the battery compartment), remove it, and visually inspect it. If it is blown (the wire inside is broken),
- Speaker Connection: Check the speaker connection. The speaker may not work if there’s an issue with the speaker wire. Gently examine the wires leading to the speaker. Ensure they’re securely connected to both the speaker and the radio’s circuit board.
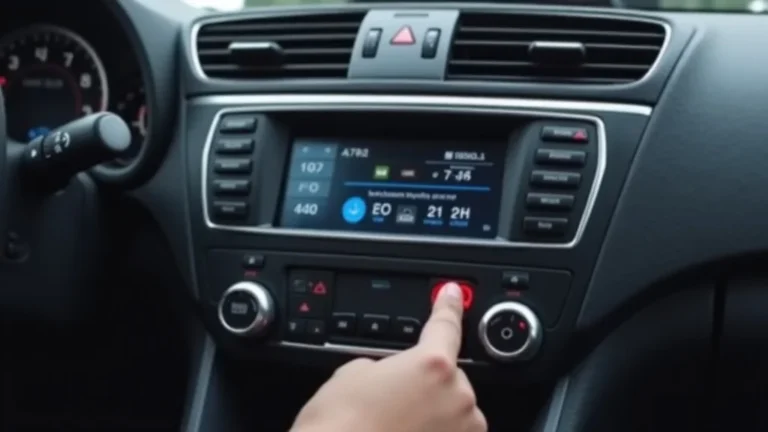
Dealing with Radio Reset Procedures
If the radio not working persists after checking the basics, a reset might be necessary. This process can resolve minor software glitches that can occur during a battery change. Each radio has a distinct reset procedure. It’s wise to consult your radio’s manual for specific instructions. Before you reset, make sure to document any of your favorite radio stations; you might need to reprogram them after.
Soft Reset Methods
A soft reset is generally the simplest reset to try first. This type of reset doesn’t delete your personalized settings. It’s intended to clear minor glitches. Soft resets are often a quick fix for problems that happen after a power interruption. You can usually perform a soft reset by removing the battery or unplugging the power cord for a few minutes. Here’s a deeper look at the methods.
- Power Cycle: This is the most common soft reset. Remove the batteries or unplug the power supply of your radio. Wait for at least 30 seconds. Then, reinsert the batteries or plug the power supply back in and switch the radio on.
- Button Combination: Some radios may need a specific button combination to reset. Refer to your owner’s manual. The manual should describe what button combinations to use to reset the radio.
- Factory Reset Button: Some radios include a dedicated reset button. Often, it is a small, recessed button that requires a pin or paperclip to press. Locate this button, and press it gently for a few seconds. This can restore the radio to its original settings.
- Volume Reset: In some cases, adjusting the volume control can restore functionality. Ensure the volume isn’t turned all the way down. Try increasing the volume gradually to check if sound returns.
Hard Reset Procedures
A hard reset will restore your radio to its factory default settings. This wipes all your saved presets and customized settings. Perform a hard reset only if the soft reset doesn’t work. The hard reset helps to eliminate more serious software issues. It’s often necessary if the radio freezes or won’t turn on. Be prepared to set up your radio again after this procedure.
- Finding the Reset Option: The specific steps for a hard reset vary by the radio. Find the correct procedure by checking the radio’s manual. The manual contains a step-by-step procedure.
- Removing Power: Before you begin a hard reset, remove the batteries or unplug the radio. This ensures the radio fully resets. This step is a necessary precaution.
- Holding the Right Buttons: Many hard resets involve holding down specific buttons while you re-insert the power source or batteries. Typical buttons used for hard resets are the power button, the preset buttons, or the volume buttons.
- Waiting and Restarting: Hold down the buttons for 10-30 seconds. Put the batteries back in or plug the radio back in. If the radio turns on, release the buttons and test the functions.
Troubleshooting Common Radio Issues
Sometimes, the issues go beyond power and resets. It can be a question of interference, faulty components, or signal reception. Understanding these common problems can help you diagnose and fix your radio when it isn’t working after a battery change. Explore these issues to find the real source of the problem.
Antenna Troubles
The antenna is very important for receiving radio signals. If your radio not working after battery change, a problem with the antenna could be the cause. Check the antenna’s condition, and ensure it’s correctly positioned. Damage to the antenna or poor signal reception can result in a loss of radio signals.
- Antenna Inspection: Inspect the antenna for physical damage. Look for bends, breaks, or loose connections. If the antenna is damaged,
- Antenna Position: The position of the antenna is vital. Experiment with different positions and orientations to obtain the best reception. Try moving the radio to a different location.
- External Antennas: If possible, consider using an external antenna for improved signal quality. An external antenna can greatly enhance the radio’s ability to receive signals.
- Antenna Connector: Check the connection between the antenna and the radio. Ensure it’s securely attached. A loose connection can cause a loss of signal.
Speaker Issues and Radio Failure
The speakers may be the root of the problem if your radio not working after battery change. The speakers are a vital part of the system that translates electrical signals into sound. Troubleshooting speaker problems includes examining the speaker connections, and the speaker itself. If there’s an issue with the speakers, the radio might appear non-functional.
- Speaker Connection: Double-check the speaker wires. Ensure they’re securely connected to the speaker and the radio’s circuit board. A loose connection will prevent sound output.
- Speaker Damage: Listen closely for distortion or any unusual noises. This can signify speaker damage. Test the radio with another speaker if possible.
- Volume Control: Verify the volume is not set to zero. Sometimes, adjusting the volume can resolve the issue. Gradually increase the volume to make sure the audio is not muted.
- Headphone Jack: If the radio has a headphone jack, try plugging in headphones. If you hear sound, the problem might be with the built-in speaker. A headphone test can pinpoint the problem location.
Internal Component Analysis
If the radio still doesn’t work, there might be a problem with the internal components. This requires more advanced troubleshooting. This includes checking the circuitry for damage or replacing specific parts. This is a complex area, and it’s best to seek professional help unless you have experience with electronics repairs.
- Circuit Board Inspection: Check the circuit board for any visible damage, such as burnt components or broken traces. Use a magnifying glass for detailed inspection. Be careful as the components are very small.
- Component Replacement: If you identify a faulty component, consider replacing it. This often requires knowledge of electronics and soldering skills. Make sure to use the correct replacement part.
- IC Chip Testing: Internal chips can cause problems with radio function. Testing the Integrated Circuit (IC) chips often requires specialized equipment, such as a multimeter. Use these to find any problem areas.
- Professional Help: When dealing with internal components, consider getting professional help. A technician can accurately diagnose and fix internal issues. They can also use specialized tools.
Frequently Asked Questions
Question: Why does my radio stop working after changing the batteries?
Answer: It’s often due to a simple issue, such as incorrectly inserted batteries, a loose connection, or a need to reset the radio’s software. Always check these basics first.
Question: How do I check the battery contacts inside my radio?
Answer: Carefully open the battery compartment and visually inspect the contacts. Look for corrosion or any signs of damage. Use a cotton swab with rubbing alcohol to clean any corrosion gently.
Question: What’s a soft reset, and how do I do it?
Answer: A soft reset clears minor glitches without deleting your settings. It usually involves removing the batteries or unplugging the power cord for a few seconds, then reconnecting it.
Question: What if my radio needs a hard reset?
Answer: A hard reset restores your radio to factory settings, which wipes all saved presets. Consult your radio’s manual for specific instructions on how to perform a hard reset. This usually involves holding down certain buttons while powering up the radio.
Question: What if my radio is still not working after these steps?
Answer: If you’ve tried everything, it might be an internal component failure. In this case, it’s best to contact a qualified technician or consider replacing the radio.
Final Thoughts
When you find your radio not working after battery change, the issue can often be fixed at home. Start by checking the power source and connections, ensuring your batteries are properly installed and have a charge. Then, proceed to try a soft reset, and if that doesn’t work, a hard reset. These simple steps often resolve the issue. Should the problem persist, explore antenna issues, speaker problems, or internal component issues. Remember, seeking professional help is always an option if you’re unsure. By following this guidance, you can diagnose and hopefully restore the functionality of your radio. Time to enjoy the music!