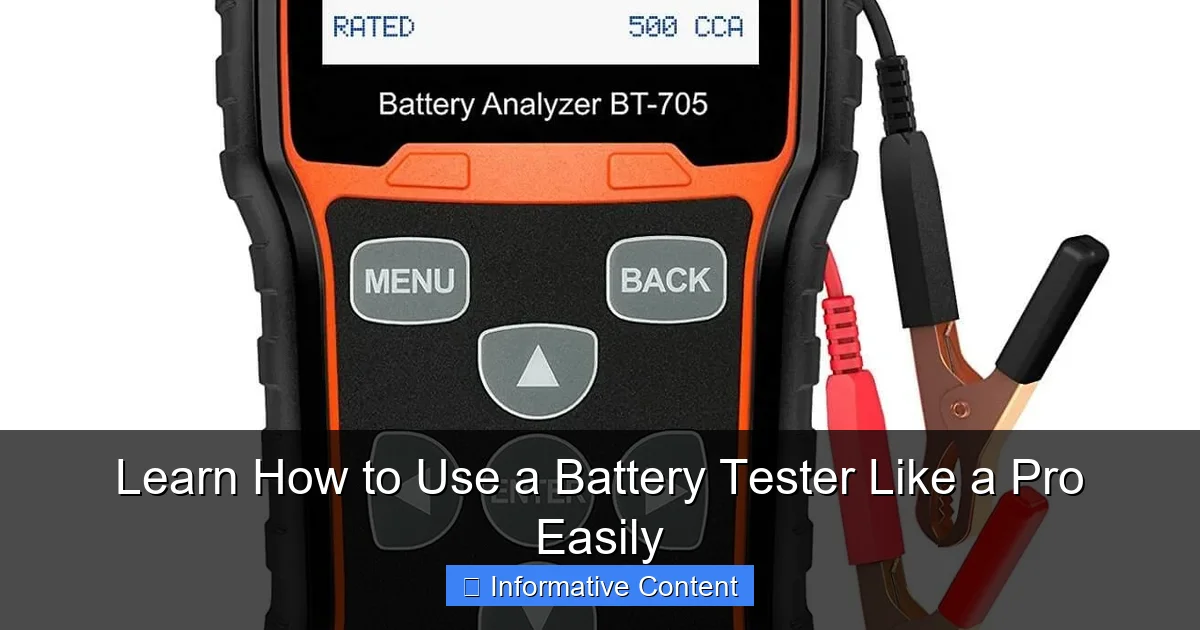
Learn How to Use a Battery Tester Like a Pro Easily
Featured image for how to use a battery tester
Image source: autospore.com
Mastering your battery tester is crucial for quickly determining battery health and avoiding unnecessary replacements. Learn to select the correct battery type, safely connect the positive and negative terminals, and interpret readings like voltage and CCA to confidently identify good, weak, or dead batteries. This simple skill empowers you to optimize device performance and save money effectively.
Hey there, ever grabbed a remote control, pressed a button, and… nothing? Or perhaps tried to start a flashlight only to be met with darkness? We’ve all been there. That dreaded moment when you suspect a battery is dead, but you’re not quite sure which one. Is it the device itself, or just a tired power cell? Instead of playing a frustrating guessing game, wouldn’t it be great to know for sure?
That’s where a simple yet incredibly useful tool comes into play: the battery tester. It’s like having a little detective in your pocket, ready to tell you the true state of your batteries. Learning how to use a battery tester isn’t just for mechanics or tech gurus; it’s a super practical skill for anyone who uses battery-powered devices (which is pretty much everyone!). It saves you time, money, and a whole lot of head-scratching.
In this guide, we’re going to walk through everything you need to know about using a battery tester. We’ll demystify the process, explain what the readings mean, and share some pro tips to help you become a battery testing whiz. Get ready to easily check your batteries and keep your devices running smoothly!
Key Takeaways
- Prioritize Safety: Always wear PPE and ensure ventilation before testing.
- Know Your Tester: Read the manual to understand its specific functions and limits.
- Prepare the Battery: Clean terminals and visually inspect for damage before connecting.
- Connect Correctly: Always match positive to positive, negative to negative for accuracy.
- Interpret Results: Understand readings (voltage, CCA, load) to assess battery health.
- Match Tester Type: Use the correct tester for your battery chemistry (e.g., alkaline, Li-ion).
- Document Findings: Record test results to track battery performance over time.
📑 Table of Contents
Why a Battery Tester is Your DIY Best Friend
You might wonder if a battery tester is truly necessary. Can’t you just swap out batteries until something works? Sure, you can, but that approach can be wasteful and frustrating. A good battery tester offers several compelling benefits.
Save Money and Time
Think about it: how many “good” batteries have you thrown away just because you weren’t sure if they were truly dead? Or perhaps you’ve bought new batteries only to find the old ones were fine, and the problem was elsewhere. A battery tester eliminates this guesswork. It helps you identify which batteries are still perfectly usable and which ones genuinely need to be replaced. This means fewer wasted purchases and less time spent troubleshooting.
Prevent Unexpected Failures
Imagine being on a camping trip and your headlamp suddenly dies, or a critical smoke detector stops working without warning. Using a battery tester regularly can help you catch weakening batteries before they fail completely. This proactive approach ensures your essential devices are always ready when you need them most, giving you peace of mind.
Environmental Responsibility
Every battery has a lifecycle, and proper disposal is important. By accurately testing batteries, you ensure that only truly depleted ones are recycled or disposed of, reducing unnecessary waste. It’s a small step, but it contributes to being more environmentally conscious.
Types of Battery Testers: Finding Your Match
Just like there are different types of batteries, there are also various kinds of battery testers. Choosing the right one depends on what you need to test.
Simple Analog Battery Testers
These are often the most affordable and straightforward. They usually have a needle that points to a “Good,” “Weak,” or “Replace” section on a scale. They are great for common household batteries like AA, AAA, C, D, and 9V. They measure voltage but aren’t always super precise.
Digital Battery Testers
A digital battery tester provides a more precise reading, usually showing the voltage or a percentage of remaining charge on an LCD screen. Many digital models can test a wider variety of battery types, including button cells and even some rechargeable batteries. They are generally more accurate and easier to read than analog versions.
Advanced Automotive Battery Testers
For car batteries (12V lead-acid batteries), you’ll need a more specialized battery tester. These advanced devices don’t just measure voltage; they can also check the battery’s Cold Cranking Amps (CCA) and internal resistance, giving you a comprehensive picture of its health. While some basic models can give a voltage reading, a dedicated automotive battery tester is crucial for a reliable car battery diagnosis.
Getting Started: Preparing for Your Test
Before you even touch your battery tester, a little preparation goes a long way. It’s all about ensuring safety and getting accurate readings.
Safety First!
Batteries, especially larger ones like car batteries, can hold a significant charge. Always handle them with care. Avoid short-circuiting terminals (touching the positive and negative ends together), which can cause sparks, heat, or even explosions. For automotive batteries, wearing safety glasses and gloves is a smart idea. For household batteries, the risks are much lower, but good practice is always a plus.
Gather Your Tools
You’ll need your trusty battery tester, of course. Also, have the batteries you want to test ready. It’s a good idea to have a clean, dry cloth nearby to wipe off any dirt or corrosion from battery terminals, as this can interfere with accurate readings.
Identify Battery Type and Voltage
Before connecting your battery tester, take a quick look at the battery itself. Note its type (AA, AAA, 9V, etc.) and its nominal voltage (e.g., 1.5V for AA, 9V for a 9V battery, 12V for a car battery). Most battery testers are designed for specific voltage ranges, and knowing what you’re testing helps ensure you use the tester correctly and interpret results accurately.
Step-by-Step Guide to Using a Battery Tester
Now, let’s get to the fun part: actually testing those batteries! The process is quite simple once you know the basic steps.
For Household Batteries (AA, AAA, C, D, 9V)
- Locate Terminals: Identify the positive (+) and negative (-) terminals on both your battery and your battery tester. Most testers have spring-loaded contacts.
- Connect Battery: Place the battery between the tester’s contacts, ensuring the positive terminal of the battery connects to the positive contact of the tester, and the negative to the negative. For 9V batteries, you’ll typically align the male and female snaps.
- Read the Display:
- Analog Tester: The needle will move across a colored scale. “Good” or “Green” means the battery is healthy. “Weak” or “Yellow” means it’s partially drained. “Replace” or “Red” means it’s dead or nearly dead.
- Digital Tester: A digital battery tester will show a voltage reading (e.g., 1.5V, 1.2V) or a percentage (e.g., 100%, 50%).
- Interpret Results: We’ll dive deeper into this next, but generally, a full voltage reading (e.g., close to 1.5V for an AA) means it’s good. A significantly lower voltage or a “Replace” indicator means it’s time for a new one.
For Button Cell Batteries
Many digital battery testers have a specific slot or smaller contacts for button cell (coin cell) batteries. The process is similar: align positive to positive, negative to negative. The tester will then show the voltage or status.
For Automotive Batteries
Using a specialized automotive battery tester is slightly different. You’ll typically connect clamps (red for positive, black for negative) directly to the car battery terminals. Follow the instructions on the tester, which will often guide you through a sequence of tests to measure voltage, CCA, and overall health. Some advanced models even test the car’s charging system.
Interpreting Your Battery Tester Results: What Do the Numbers Mean?
Getting a reading from your battery tester is only half the battle; understanding what it tells you is key. Don’t worry, it’s not rocket science!
Understanding Voltage Readings
For most household batteries, the “nominal” voltage is what you expect when the battery is new. For instance, a new AA, AAA, C, or D alkaline battery starts at about 1.5 to 1.6 volts. A new 9V battery will be around 9.0 to 9.6 volts. As batteries discharge, their voltage drops. Here’s a quick guide:
| Battery Type | New/Full Voltage | Low/Replace Voltage |
|---|---|---|
| AA, AAA, C, D (Alkaline) | 1.5V – 1.6V | Below 1.2V |
| 9V (Alkaline) | 9.0V – 9.6V | Below 7.8V |
| Coin Cell (CR2032) | 3.0V – 3.2V | Below 2.5V |
| NiMH/NiCd (Rechargeable) | 1.2V – 1.3V | Below 1.0V |
Keep in mind that rechargeable batteries (like NiMH) have a nominal voltage of 1.2V, not 1.5V. So, a reading of 1.25V on a rechargeable AA is excellent!
The “Good,” “Weak,” and “Replace” Indicators
Many simple battery testers will give you these straightforward indicators. If it says “Good,” the battery has sufficient power. “Weak” means it’s partially drained and might work in low-power devices but not high-drain ones. “Replace” means it’s essentially dead and should be discarded (or recharged, if applicable).
When to Trust Your Gut (and Retest)
Sometimes, a battery might show a good voltage on the battery tester but still fail in a device. This can happen, especially with old or cheap batteries, if they can’t deliver enough current (amperage) when needed. If a battery tests “good” but a device still doesn’t work, try a brand-new battery. Also, if you’re ever unsure, retest the battery or test a known good battery to calibrate your understanding of your battery tester.
Pro Tips for Battery Testing and Maintenance
You’re now on your way to becoming a battery testing pro. Here are a few extra tips to elevate your game and keep your batteries happy and healthy.
Test Under Load (for advanced users)
Some more advanced battery testers (especially for automotive or specific rechargeable types) can test a battery “under load.” This means they draw a small amount of current from the battery during the test, mimicking how a device would use it. A battery might show good voltage with no load, but drop significantly when current is drawn. This gives a more accurate picture of its real-world performance.
Store Batteries Properly
To maximize battery life and ensure they’re ready when you test them, store batteries in a cool, dry place. Avoid extreme temperatures, as heat can accelerate discharge and cold can temporarily reduce performance. Keep them in their original packaging or a battery organizer to prevent terminals from touching and short-circuiting.
Regularly Check Critical Devices
Make it a habit to check the batteries in essential items like smoke detectors, carbon monoxide alarms, emergency flashlights, and medical devices. A quick check with your battery tester every few months can prevent dangerous situations.
Don’t Mix Old and New Batteries
When replacing batteries in a device that uses more than one (like a four-AA flashlight), always replace all of them at once with fresh ones. Mixing old and new batteries can cause the weaker battery to leak or drain faster, and it can also damage the device.
There you have it! From understanding the different types of battery testers to interpreting those crucial voltage readings, you’re now equipped with the knowledge to tackle almost any battery dilemma. Using a battery tester isn’t just about saving a few bucks; it’s about empowerment, efficiency, and a little less frustration in your daily life. Go forth, test your batteries, and keep your gadgets humming!
Frequently Asked Questions
What is a battery tester and why should I use one?
A battery tester is a device designed to measure the remaining capacity or overall health of a battery. Using one helps you quickly identify dead or weak batteries, preventing frustrating power failures and saving you money by not replacing good batteries.
How do I properly connect a battery to the tester?
Most basic battery testers have two probes or clamps, typically red for positive (+) and black for negative (-). Carefully align these with the corresponding terminals on your battery, ensuring a firm, clean connection for accurate results.
What types of batteries can I test with a standard battery tester?
Standard battery testers are usually designed for common household batteries like AA, AAA, C, D, and 9V. Some advanced battery testers can also evaluate car batteries or other rechargeable types, so always check your specific model’s compatibility.
How do I interpret the readings from my battery tester?
Battery testers typically show results on a simple gauge, LED lights (green for good, yellow for weak, red for replace), or a digital display with a voltage reading. A higher voltage or a “good” indication means the battery has sufficient power for its intended use.
What does it mean if my battery tester shows a “weak” or “replace” reading?
A “weak” reading indicates the battery has low power and might not function reliably, while “replace” means it’s essentially dead or nearing the end of its life. These readings suggest it’s time to either recharge (if applicable) or dispose of the battery properly.
Are there any safety precautions I should take when using a battery tester?
Always ensure you connect the positive and negative terminals correctly to avoid short circuits, especially with larger batteries. It’s also wise to test in a well-ventilated area and avoid testing visibly damaged or leaking batteries to prevent potential hazards.