Master How To Use A Car Battery Charger Safely
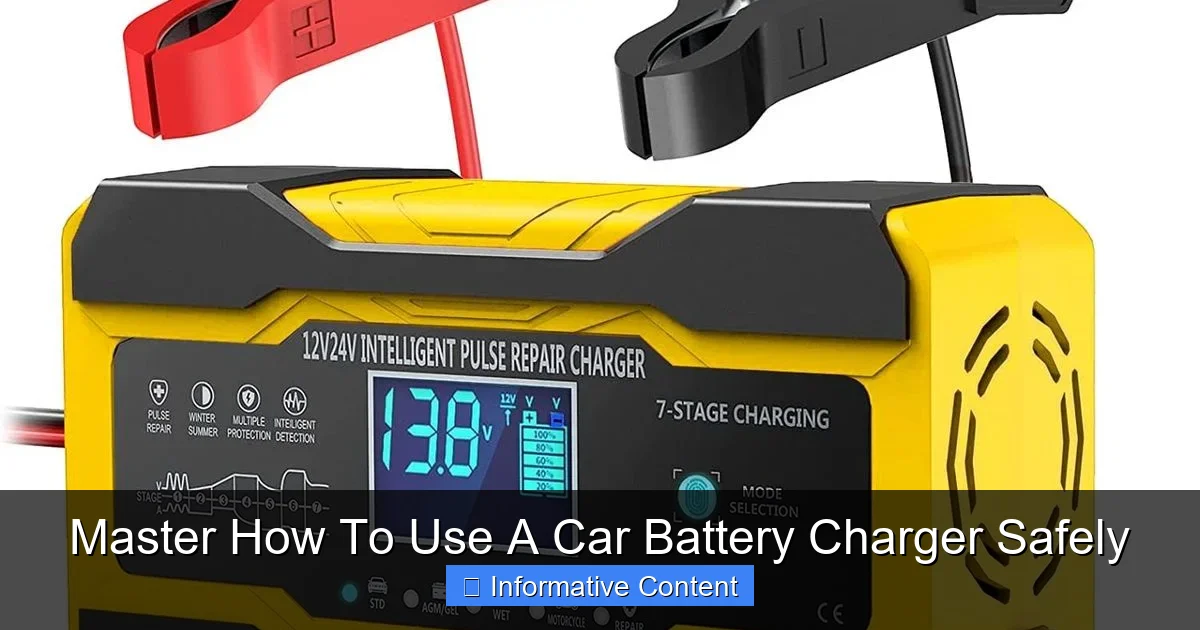
Featured image for how to use a car battery charger
Image source: media.takealot.com
Always prioritize safety when charging a car battery by ensuring proper ventilation and wearing protective gear. Correctly connect the positive (red) clamp to the battery’s positive terminal first, then the negative (black) clamp to a metal part of the car chassis away from the battery, or directly to the negative terminal if removed. Finally, plug in and turn on your charger, following the reverse disconnection sequence to prevent hazards and extend battery life.
Hey there, fellow drivers! We’ve all been there, right? You turn the key, eager to start your day, and… nothing. Just that heart-sinking click or complete silence. A dead car battery can feel like a huge hurdle, especially when you’re in a hurry. For many years, my go-to was always calling for a jump start, but let me tell you, that’s not always convenient or even possible. And honestly, it often just delays the inevitable.
That’s when I decided to take matters into my own hands and learn how to use a car battery charger. It sounded intimidating at first – all those cables, the electricity, the worry about doing something wrong. But once I got the hang of it, I realized it’s a super empowering skill that every car owner should have. Not only can a good car battery charger rescue you from a frustrating situation, but it also helps extend the life of your battery by keeping it properly maintained. Think of it as preventative care for your car’s heart!
So, if you’ve ever felt a bit daunted by the idea of charging your own car battery, you’re in the right place. We’re going to walk through everything you need to know, from picking the right car battery charger to connecting it safely and effectively. My goal here is to demystify the process and make you feel confident enough to tackle a dead battery with ease. Let’s get your car powered up and ready to go!
Key Takeaways
- Prioritize Safety: Always wear protective gear and ensure good ventilation.
- Connect Safely: Attach red to positive terminal, then black to engine block or chassis.
- Disconnect Safely: Remove black clamp first, then the red positive clamp.
- Power Off Charger: Unplug the charger before connecting or disconnecting clamps.
- Match Settings: Select correct voltage and battery type on your charger.
- Read Manual First: Always consult your specific charger’s user manual.
📑 Table of Contents
- Understanding Your Car Battery Charger: Types and Features
- Safety First: Crucial Precautions Before You Start
- Prepping Your Vehicle and Battery for a Safe Charge
- Connecting Your Car Battery Charger: A Step-by-Step Guide
- Monitoring the Charge and Knowing When You’re Done
- Disconnecting Safely and Keeping Your Battery Healthy
Understanding Your Car Battery Charger: Types and Features
Before we dive into the nitty-gritty of charging, let’s quickly talk about what kind of car battery charger you might encounter. Knowing the differences can really help you make an informed choice and use your specific unit correctly.
Manual vs. Automatic Chargers
- Manual Car Battery Chargers: These require you to monitor the charging process closely and disconnect the charger once the battery is full. If left connected too long, they can overcharge and damage your battery. Think of them as the “old school” option.
- Automatic Car Battery Chargers: Most modern chargers fall into this category. They have built-in microprocessors that sense the battery’s voltage and charge level, adjusting the charging rate as needed. Once the battery is fully charged, they often switch to a “float” or “maintenance” mode to prevent overcharging. This is usually what I recommend for convenience and safety.
Trickle Chargers vs. Fast Chargers vs. Smart Chargers
- Trickle Chargers/Battery Maintainers: These deliver a low, steady charge over a long period. They’re perfect for keeping batteries topped off in vehicles stored for extended periods (like an RV or a classic car during winter). They don’t quickly revive a dead battery but are excellent for maintenance.
- Fast Chargers/Booster Chargers: These deliver a high amperage to quickly bring a very dead battery back to life or even provide enough power to start your car immediately (like a jump starter). Use these with caution, as high amperage can stress the battery if not used correctly.
- Smart Chargers: These are usually automatic and multi-stage, meaning they go through different phases (desulfation, bulk charge, absorption, float) to optimize the battery’s health and charge it efficiently. Many modern car battery chargers are “smart.”
Most home users will benefit most from an automatic, smart car battery charger that offers both charging and maintenance capabilities.
Safety First: Crucial Precautions Before You Start
Alright, let’s get serious for a moment about safety. Working with car batteries and electricity means taking a few important steps to protect yourself and your vehicle. I learned early on that skipping these steps is just asking for trouble.
Protect Yourself
- Eye Protection: Always, always wear safety glasses. Batteries can produce hydrogen gas, which is highly flammable, and sulfuric acid, which is corrosive. A splash in the eye is a nightmare scenario.
- Hand Protection: Wear sturdy gloves. Not only will they protect your hands from acid, but they also offer some insulation against electrical shocks.
- Avoid Metal Jewelry: Take off any rings, watches, or bracelets. Metal can conduct electricity and cause a short circuit if it accidentally touches battery terminals, leading to severe burns or damage.
Protect Your Environment
- Ventilation is Key: Charge your battery in a well-ventilated area. As mentioned, batteries can off-gas hydrogen. This gas is explosive, and you don’t want it building up in an enclosed space. An open garage door or outdoors is ideal.
- No Sparks, Flames, or Smoking: This is critically important. Any spark, open flame, or cigarette can ignite the hydrogen gas, leading to an explosion. Keep all ignition sources far away from the battery during charging.
- Check for Damage: Before connecting, inspect the battery for any cracks, leaks, or swelling. A damaged battery should not be charged and needs to be replaced immediately.
Prepping Your Vehicle and Battery for a Safe Charge
Now that we’ve covered safety, let’s get your car and its battery ready. A little preparation goes a long way in ensuring a smooth and effective charge with your car battery charger.
Locating and Accessing Your Battery
Most batteries are under the hood, but some cars (especially newer models) might have them in the trunk, under the back seat, or even in the wheel well. Consult your car’s owner’s manual if you can’t find it. Once found, make sure you have easy, clear access to the battery terminals.
Cleaning the Battery Terminals
Corrosion (that fuzzy, greenish-white stuff) on battery terminals can prevent a good electrical connection. Use a wire brush designed for battery terminals or a mixture of baking soda and water to gently clean them. Rinse with clean water and dry thoroughly before connecting your car battery charger.
Identifying Terminals and Battery Type
- Positive (+) and Negative (-): The positive terminal is usually larger and marked with a plus sign (+), often with a red cap or cable. The negative terminal is marked with a minus sign (-) and often has a black cap or cable. Memorize these!
- Battery Type: Most car batteries are 12-volt lead-acid batteries. Ensure your car battery charger is compatible with this voltage. Some chargers also have settings for different battery types (e.g., AGM, Gel, Lead-Acid). Select the correct setting if your charger offers them.
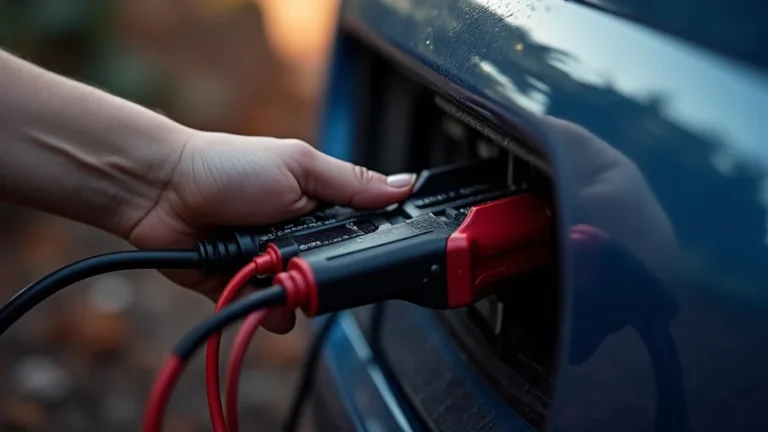
Connecting Your Car Battery Charger: A Step-by-Step Guide
This is where the magic happens! Follow these steps carefully to connect your car battery charger correctly and safely.
Step 1: Turn Off Everything
Make sure your car’s ignition is off, and all accessories (lights, radio, etc.) are turned off. Unplug the car battery charger from the wall outlet.
Step 2: Connect the Positive Clamp
Take the red (positive) clamp from your car battery charger and securely attach it to the positive (+) terminal of your car battery. Ensure a strong, firm connection, not just a loose clip.
Step 3: Connect the Negative Clamp
This is a critical safety step! Do not connect the black (negative) clamp directly to the negative (-) terminal of the battery itself. Instead, connect it to a clean, unpainted metal part of the car’s engine block or chassis, away from the battery, fuel lines, and moving parts. This provides a ground connection and minimizes the risk of sparks near the battery, which could ignite hydrogen gas.
Personal tip: I usually look for a sturdy bolt or bracket on the engine. Just make sure it’s bare metal for a good connection.
Step 4: Plug in the Charger
Only after both clamps are securely attached should you plug your car battery charger into a working electrical outlet. This prevents sparks at the battery terminals, which could be dangerous.
Monitoring the Charge and Knowing When You’re Done
Once your car battery charger is connected and plugged in, the charging process begins. Now it’s time to monitor and understand what’s happening.
What to Expect During Charging
- Indicator Lights: Most modern car battery chargers have indicator lights that show the charging status (e.g., “charging,” “charged,” “fault”). Pay attention to these!
- Charging Time: How long it takes depends on your charger’s amperage, the battery’s size, and how deeply discharged it is. A small trickle charger might take overnight or even days to fully charge a very dead battery, while a higher-amperage charger could do it in a few hours. Your charger’s manual usually gives estimates.
- Temperature: The battery might get slightly warm during charging, which is normal. However, if it gets excessively hot or starts to swell, disconnect the charger immediately. This could indicate a serious battery fault.
When is the Battery Fully Charged?
For automatic car battery chargers, they will typically indicate “charged” or switch to “float” or “maintenance” mode when done. For manual chargers, you might need a multimeter to check the voltage. A fully charged 12-volt car battery should read around 12.6 to 12.8 volts (after sitting for a while, allowing the surface charge to dissipate). Do not overcharge a manual charger.
Common Car Battery Charger Types & Their Uses
| Charger Type | Primary Use | Typical Amperage | Notes |
|---|---|---|---|
| Trickle/Maintainer | Long-term storage, preventing self-discharge | < 2 amps | Slowest, safest for extended periods. |
| Standard Automatic | Recharging moderately drained batteries | 4-15 amps | Most common for home use, good balance. |
| Fast/Booster | Quick recharge for dead batteries, jump-starting | > 20 amps (can be 100+ for boost) | Use with caution, can stress battery if overused. |
| Smart/Multi-stage | Optimized charging for battery health | Variable (often 4-20 amps) | Automatically adjusts, best for battery longevity. |
Disconnecting Safely and Keeping Your Battery Healthy
You’ve successfully charged your battery – great job! Now, let’s make sure you disconnect your car battery charger safely and correctly.
Disconnecting in the Reverse Order
This is crucial to prevent sparks:
- Unplug the charger: First, unplug the car battery charger from the wall outlet.
- Remove the negative clamp: Next, carefully remove the black (negative) clamp from the engine block or chassis.
- Remove the positive clamp: Finally, remove the red (positive) clamp from the battery’s positive terminal.
You’re all done! Carefully close your hood and enjoy your now-charged car.
Post-Charging Tips and Battery Maintenance
- Check Battery Water Levels (if applicable): If you have a flooded lead-acid battery (most modern cars have sealed, maintenance-free batteries), check the electrolyte levels a few days after charging and top up with distilled water if needed.
- Keep Terminals Clean: Regularly inspect your battery terminals for corrosion and clean them as needed. A clean connection is a happy connection.
- Regular Driving: The best way to keep your battery charged is by regularly driving your car. Short trips might not fully replenish the charge, so occasional longer drives are beneficial.
- Consider a Maintainer: If you often store your car for weeks or months, a trickle charger or battery maintainer can be a fantastic investment to keep your battery in prime condition.
And there you have it! From a dead battery scare to confidently using a car battery charger, you now have the knowledge and steps to tackle it like a pro. Remember, a little caution and preparation go a long way in keeping you and your vehicle safe. Learning to use a car battery charger not only saves you from those frustrating moments but also helps you take better care of your car’s vital components. Happy driving!
Frequently Asked Questions
How do I safely connect a car battery charger to my vehicle’s battery?
It’s crucial to connect the charger in the correct sequence to prevent dangerous sparks. First, connect the red positive (+) clamp of the car battery charger to the positive terminal on your battery, then connect the black negative (-) clamp to an unpainted metal surface on the engine block or frame, away from the battery itself.
How long does it typically take to fully charge a car battery using a charger?
The charging time depends largely on your battery’s state of discharge and the amperage of your car battery charger. A deeply discharged battery could take anywhere from 4 to 24 hours to reach a full charge with a standard charger. Always consult your charger’s manual, as smart chargers often indicate when the process is complete.
What essential safety precautions should I take when using a car battery charger?
Always work in a well-ventilated area to dissipate any hydrogen gas produced by the battery and wear appropriate safety gear, such as gloves and eye protection. Ensure the car battery charger is turned off and unplugged before connecting or disconnecting the clamps. Additionally, avoid smoking or open flames near the battery to prevent ignition of explosive gases.
Can I leave my car battery charger connected overnight or for extended periods?
Whether you can leave your car battery charger connected depends on its type. “Smart” or “automatic” car battery chargers are designed to monitor the battery and switch to a maintenance or float mode once fully charged, making them safe for extended connection. Older, manual chargers, however, can overcharge and damage the battery if left connected for too long, so monitor them closely.
When should I consider using a car battery charger on my vehicle’s battery?
You should use a car battery charger if your vehicle is slow to crank, the headlights appear dim, or you know the battery has been drained from leaving accessories on. Regular charging can also help extend the life of batteries in vehicles that are stored for long periods or used infrequently, preventing deep discharge.
Can a car battery charger revive a completely dead car battery?
A car battery charger can often revive a completely dead battery, provided the battery is not internally damaged, frozen, or short-circuited. However, some very deeply discharged batteries might require a specialized charger with a “desulfation” or “repair” mode to accept a charge again. If, after charging, the battery still won’t hold a charge, it likely needs replacement.