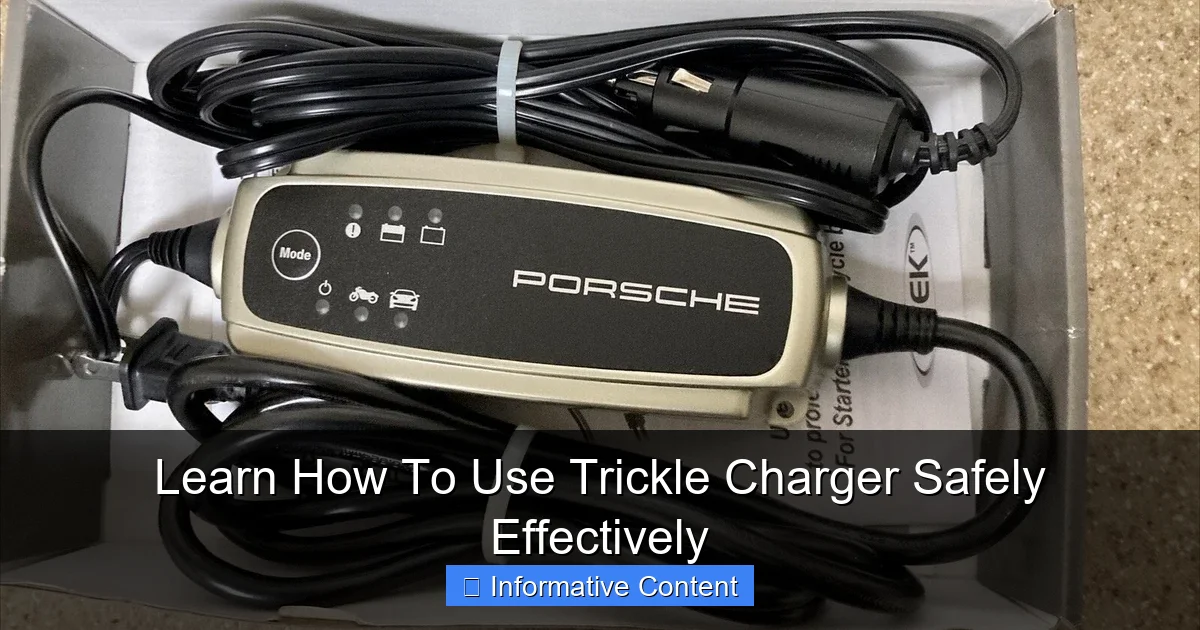
Learn How To Use Trickle Charger Safely Effectively
Featured image for how to use trickle charger
Image source: i.ebayimg.com
Safely and effectively using a trickle charger is crucial for extending battery life and preventing damage. Always prioritize safety by ensuring proper ventilation and correct terminal connections (positive to positive, negative to negative) before plugging in. Understand your battery type and choose the appropriate charger to avoid overcharging, which can be dangerous and detrimental to battery health.
Learn How To Use Trickle Charger Safely Effectively
Ever experienced that heart-sinking moment when your vehicle refuses to start? The dreaded click-click-click of a dead battery is frustrating, inconvenient, and often preventable. Whether it’s your classic car, motorcycle, RV, or even just a secondary family vehicle, batteries can lose charge over time, especially when left unused. But what if there was a simple, effective way to keep your battery in top shape, ready to go whenever you are?
Enter the trickle charger – a small yet powerful tool that can save you a lot of headaches and expense. It’s like a gentle guardian for your battery, providing just enough power to counteract natural discharge without overcharging. However, knowing how to use a trickle charger safely and effectively is crucial. Don’t worry, friend, I’m here to guide you through everything you need to know.
In this guide, we’ll demystify the trickle charger, covering essential safety precautions, step-by-step connection instructions, monitoring tips, and even some common troubleshooting. Let’s make dead battery days a thing of the past!
Key Takeaways
- Understand Its Role: Trickle chargers *maintain* battery charge, not quickly revive dead ones.
- Match Charger Voltage: Always use a trickle charger that matches your battery’s voltage.
- Connect Safely: Attach positive first, then negative; disconnect negative first.
- Ensure Ventilation: Charge in a well-ventilated area to prevent gas buildup and hazards.
- Prevent Overcharging: Disconnect once fully charged or use a “smart” maintainer for safety.
- Inspect Battery Regularly: Check battery fluid levels and terminals for corrosion before charging.
- Follow Manufacturer Specs: Always read and adhere to both battery and charger instructions.
📑 Table of Contents
- What is a Trickle Charger and Why Do You Need One?
- Safety First: Essential Precautions Before You Begin
- Connecting Your Trickle Charger: A Step-by-Step Guide
- Monitoring and Disconnecting Your Trickle Charger
- Troubleshooting Common Trickle Charger Issues
- Understanding Different Charger Types
- Conclusion
What is a Trickle Charger and Why Do You Need One?
Simply put, a trickle charger provides a low, consistent current to maintain a battery’s charge. Unlike a standard charger that rapidly recharges a dead battery, a trickle charger is designed for long-term maintenance. Think of it as a slow, steady drip keeping a pond full, rather than a gushing hose trying to fill an empty one quickly.
Understanding Battery Drain
Batteries naturally lose charge over time (self-discharge), and modern vehicles draw small amounts of power constantly (parasitic drain). If your vehicle sits for weeks or months, these drains can lead to a completely flat battery, potentially shortening its lifespan.
Trickle Charger vs. Smart Charger/Maintainer
While the term “trickle charger” is often used broadly, it’s worth noting the distinction. Older, basic trickle chargers deliver a continuous low current, which could overcharge if left connected too long. Modern versions, often called “smart chargers” or “battery maintainers,” are microprocessor-controlled. They monitor battery voltage and automatically switch between charging and “float” (maintenance) modes, preventing overcharge and making them safe for indefinite connection.
Benefits of Using a Battery Maintainer
- Extends Battery Life: Prevents sulfation, a common cause of battery failure.
- Ensures Reliability: Your vehicle will be ready when you are, eliminating frustrating no-starts.
- Cost-Effective: Replacing batteries is expensive. A maintainer is a small investment that saves money.
- Ideal for Stored Vehicles: Perfect for motorcycles, boats, RVs, classic cars, or any vehicle not used daily.
Safety First: Essential Precautions Before You Begin
Working with batteries involves electricity and corrosive chemicals, so safety is paramount. Never skip these steps!
Read Your Manuals
Always consult your vehicle’s owner’s manual and the instructions for your specific trickle charger. They contain vital, model-specific safety information.
Ventilation and PPE
Batteries can release flammable hydrogen gas. Always work in a well-ventilated area. Protect yourself by wearing safety glasses or goggles to shield your eyes from potential acid splashes or sparks. Gloves are also recommended.
Inspecting Your Battery
Before connecting, visually inspect your battery for:
- Cracks, damage, or swelling in the casing.
- Leaks or excessive corrosion around the terminals.
If you see significant damage, do not charge the battery; it may be unsafe or beyond repair. Ensure battery caps (if present) are secure.
Connecting Your Trickle Charger: A Step-by-Step Guide
The connection sequence is crucial to prevent sparks and ensure safe charging. Follow these steps carefully.
Preparation
You’ll need your trickle charger. A wire brush might be useful for cleaning corroded terminals. Ensure the charger is UNPLUGGED from any power source before touching battery terminals.
The Right Order Matters
- Identify Terminals: Locate the positive (+) terminal (usually red, larger) and the negative (-) terminal (usually black, smaller).
- Connect Positive First: Attach the red (positive) clamp from the trickle charger to the battery’s positive (+) terminal. Ensure a firm, secure connection.
- Connect Negative Second: Attach the black (negative) clamp.
- For batteries IN the vehicle: Connect to a clean, unpainted metal part of the vehicle’s chassis or engine block, away from the battery and fuel lines. This creates a safe ground.
- For batteries OUT of the vehicle: Connect directly to the battery’s negative (-) terminal.
- Plug in the Charger: ONLY after both clamps are securely connected should you plug the trickle charger into an AC outlet.
Monitoring and Disconnecting Your Trickle Charger
Once connected, your trickle charger will begin its work. Here’s how to monitor its progress and disconnect safely.
Understanding Indicator Lights
Most modern trickle chargers have indicator lights:
- Red/Orange: Often indicates charging in progress.
- Green: Usually means the battery is fully charged, and the charger is in maintenance mode.
- Flashing Lights: May indicate a fault, reversed polarity, or a battery issue (consult your charger’s manual).
Smart maintainers can remain connected indefinitely, constantly monitoring and topping off the charge.
The Disconnection Process
When it’s time to disconnect, reverse the connection order to prevent sparks:
- UNPLUG the Charger: Always unplug the trickle charger from the AC outlet first.
- Remove Negative Clamp: Disconnect the black (negative) clamp from the chassis/engine block or the battery’s negative terminal.
- Remove Positive Clamp: Disconnect the red (positive) clamp from the battery’s positive terminal.
- Store Charger: Coil cables neatly and store your charger in a dry, safe place.
Troubleshooting Common Trickle Charger Issues
Even with careful use, you might encounter a snag. Here are a few common issues and what to check:
Charger Not Turning On or Indicating Charge
- Check Power & Connections: Ensure the charger is plugged into a working outlet and that clamps have secure, clean connections to the battery.
- Reversed Polarity: Many smart chargers won’t operate if clamps are reversed. Double-check positive and negative.
- Blown Fuse: Some chargers have an internal fuse. Refer to your manual.
Battery Not Holding Charge
If your battery still drains quickly after being on a trickle charger, it might be at the end of its life. A maintainer can keep a healthy battery charged, but it can’t revive a damaged one. Consider having your battery tested professionally. A significant parasitic drain in your vehicle could also be the culprit, requiring a mechanic’s diagnosis.
Overcharging Concerns (with Smart Maintainers)
Modern smart trickle chargers are designed to prevent overcharging by switching to a float mode. With these units, leaving them connected long-term is safe and recommended for battery maintenance. Older, basic trickle chargers, however, should be monitored and disconnected once the battery is full.
Understanding Different Charger Types
To put the trickle charger in perspective, here’s a quick overview of common battery charger types:
- Basic Trickle Charger: Delivers a low, constant current. Needs monitoring to prevent overcharge, especially with older models. Best for short-term maintenance.
- Smart Charger/Maintainer: Microprocessor-controlled. Monitors battery voltage, adjusts current, and switches to a “float” or maintenance mode once full. Safe for long-term, indefinite connection.
- Standard/Fast Charger: High current output. Designed for rapid recharging of significantly discharged batteries. Requires careful monitoring and is not suitable for long-term connection.
- Jump Starter: Provides a quick burst of power to start a vehicle with a dead battery. It does not charge the battery; it only provides enough power to get the engine turning over.
Conclusion
Using a trickle charger, especially a smart maintainer, is a simple yet incredibly effective way to extend the life of your vehicle’s battery and prevent frustrating dead-battery incidents. By prioritizing safety, understanding the connection process, and knowing what to expect, you’ll become a battery maintenance pro.
Remember, a well-maintained battery ensures reliability and peace of mind. So, whether for your cherished classic or your everyday ride, take a few minutes for battery care with your trickle charger. Happy charging!
Frequently Asked Questions
What is a trickle charger and when should I use one?
A trickle charger is a device designed to slowly charge and maintain a battery’s charge over extended periods. You should use it when storing a vehicle or equipment for weeks or months, such as cars, motorcycles, or boats, to prevent battery drain and ensure it’s ready for use.
How do I safely connect a trickle charger to my battery?
First, ensure your vehicle is off and the charger is unplugged. Connect the red positive (+) clamp to the positive battery terminal, then connect the black negative (-) clamp to a grounded metal part of the vehicle’s chassis, away from the battery itself. Once connected, you can plug the trickle charger into a power outlet.
Can I leave a trickle charger connected to my battery indefinitely?
Yes, modern smart trickle chargers, often referred to as battery maintainers, are designed to be left connected for long durations without risk of overcharging. They monitor the battery’s voltage and automatically switch to a float or maintenance mode, only supplying power as needed to keep the battery at full capacity.
What are the crucial safety precautions when using a trickle charger?
Always work in a well-ventilated area to dissipate any hydrogen gas produced by the battery and wear eye protection. Ensure the trickle charger is unplugged from the wall outlet before connecting or disconnecting the clamps to prevent sparks. Never touch the positive and negative clamps together when the charger is plugged in.
How long does it take for a trickle charger to fully charge a dead battery?
The time it takes for a trickle charger to fully charge a dead battery can vary significantly, ranging from several hours to a full day, or even longer. This depends on the battery’s size (Ah rating) and its initial state of discharge, as trickle chargers deliver a very low amperage output.
What’s the main difference between a standard battery charger and a trickle charger?
The primary difference lies in their charging speed and purpose. A standard battery charger delivers a higher current to quickly recharge a deeply discharged or dead battery, while a trickle charger provides a much lower, constant current mainly for maintaining a battery’s charge over long periods, preventing self-discharge.