Jump Starter Beeping and Won’t Start Help for Drivers
If your jump starter beeping and won’t start, you’re not alone. It can be frustrating when you’re stuck with a dead car battery. Lots of folks face this, especially if they’re new to using these tools. This guide will walk you through what’s likely happening and how to fix it, making things super easy to follow. Get ready to explore the reasons behind the issue and get your car running again.
Possible Issues When Your Jump Starter Fails
When you attempt to use a jump starter, and it gives you a series of beeps before refusing to start your car, a few things could be happening. These problems can be a mix of simple fixes and a bit more detective work. Figuring out what’s causing the trouble will help you get back on the road. The system built into the jump starter checks various things before delivering power to your car’s battery.
Low Voltage Situation Explained
One primary reason for a jump starter to beep and not work is a low voltage situation. This happens when the jump starter detects that your car battery’s voltage is critically low, often below a certain threshold. Modern jump starters have built-in safety features to avoid damaging your car’s electronics or the jump starter itself. A very low battery voltage can sometimes signal a more serious underlying problem, such as a dead short in the car’s electrical system, which the jump starter will try to protect you from. A low voltage can also mean that the jump starter is struggling to supply enough energy because it needs to recharge. It’s important to rule out the basic causes first.
- Battery Condition: If your car battery is old, damaged, or has internal issues, it may not be able to accept a charge from the jump starter. This can trigger the beeping.
- Improper Connections: Loose or incorrect connections to the car battery terminals can prevent the jump starter from working. This can cause the jump starter to beep, signaling that it is not making a proper connection to the battery.
- Internal Issues with the Jump Starter: Sometimes, the jump starter itself may have problems. This can include a dead battery in the jump starter, issues with the internal circuits, or faults in the connection cables.
An old or damaged battery has lost its ability to hold a charge. This internal damage might cause the voltage to drop quickly, making it seem like the battery is dead. The jump starter won’t attempt to jump a car if it detects that the car battery is too damaged. This safety feature keeps the jump starter from being damaged.
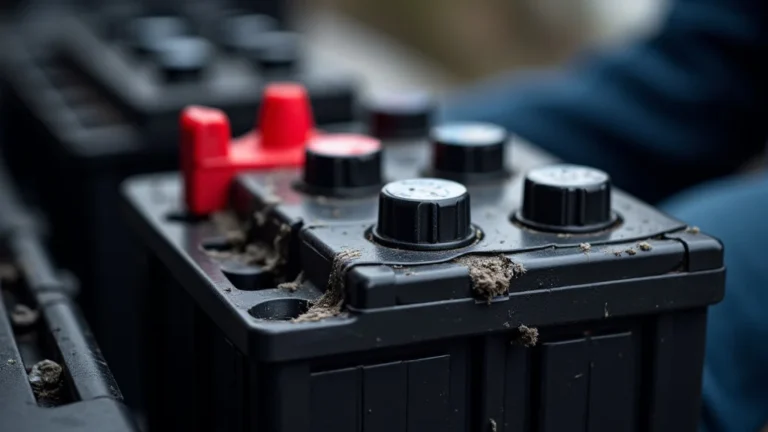
Make certain you attach the red clamp (positive) to the positive terminal of the car battery and the black clamp (negative) to the negative terminal. Any rust or corrosion on the terminals may prevent a solid connection. Ensure the clamps have a solid grip on the battery terminals. If the jump starter is not making the correct connection, the safety mechanisms may kick in, leading to the beeping sound.
A dead battery within the jump starter means it can’t deliver any power to your car. Circuits can be damaged from misuse or age. Cable issues can prevent the flow of power, which results in the failure to jump start a vehicle. It’s always good to test it on another vehicle if possible to help identify the problem.
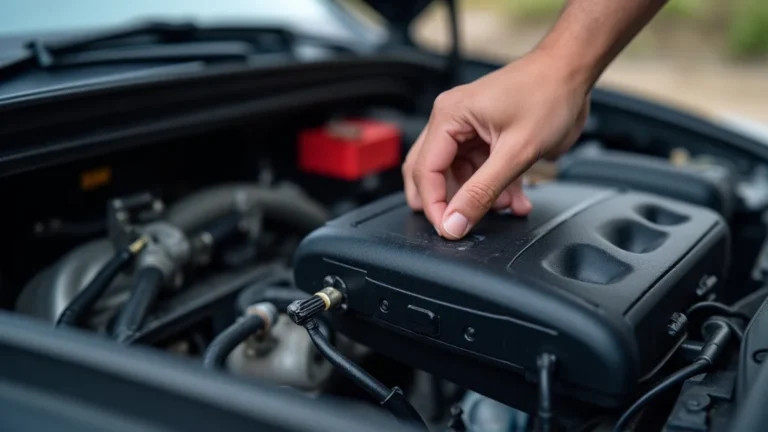
Checking the Jump Starter’s Power Level
Before assuming anything about your car, you must check the power of the jump starter. Jump starters are helpful tools but require regular care. A flat jump starter is useless. Many come with indicators like LED lights that show the charge level. If your jump starter is depleted, it won’t be able to provide the necessary power to start your car. Always check that the jump starter is fully charged before you plan to use it.
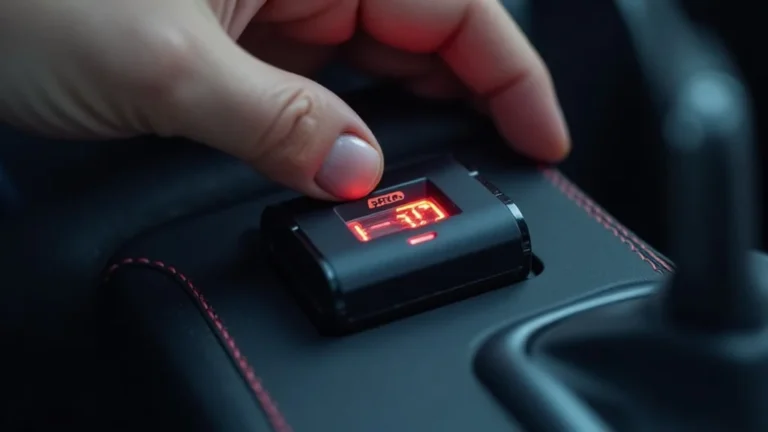
- Battery Level Indicator: Most jump starters have a series of lights or a digital display to show how much charge they have left. Check this indicator. If the indicator shows a low charge, the jump starter will often beep and refuse to start the car.
- Charging Time: Jump starters need time to charge. Follow the manufacturer’s directions regarding charging times.
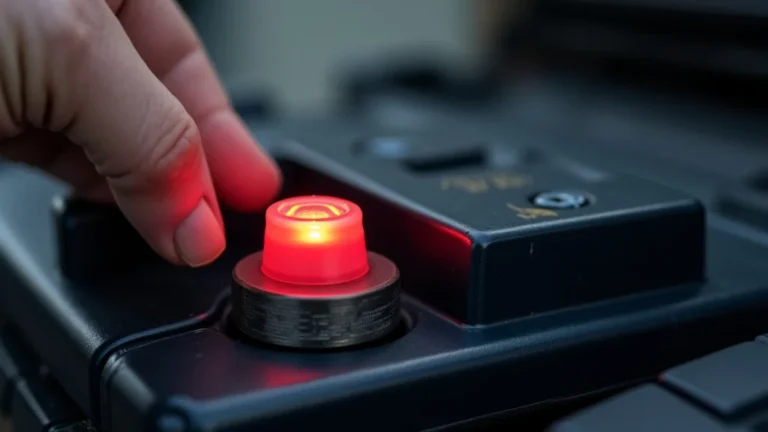
- Testing the Power Output: Some jump starters have a test function to show how much power they can deliver. Use this function to check the power output.
The indicator can be in the form of LED lights or a digital percentage reading. These indicators are there to inform the user of the current charge level of the jump starter. Low battery indicators are often accompanied by a beeping noise, signaling a low charge state. Regularly recharging your jump starter will help ensure that it’s ready when you need it.
The charging time varies based on the jump starter’s capacity and the charger it uses. Fully charging a jump starter can take several hours, so it’s best to charge it before you think you will need it. If you try to use it with a low charge, you could run into the beeping problem.
This test function can give you a better idea of how well the jump starter is performing. If it shows a low power output, that may indicate a charging or internal problem. This also serves as a check to make certain that the jump starter works correctly before you need it.
The Jump Starter and Car Compatibility Problems
Even though most jump starters can work with many cars, it’s good to consider compatibility problems. Some cars might need a more powerful jump starter. It’s important to know the power requirements of your vehicle to ensure the jump starter does the job. A jump starter that isn’t strong enough might beep and not work, even if the car battery isn’t completely dead.
- Vehicle Requirements: Different vehicles need different amounts of power. Larger engines often need more powerful jump starters.
- Jump Starter Capacity: The capacity of a jump starter is usually measured in “peak amps”. Make certain the jump starter you’re using can supply the right peak amps for your car.
- Battery Type Compatibility: Consider whether the jump starter is compatible with your car’s battery. Modern cars sometimes have batteries that need specific jump-starting procedures.
Look at your car’s manual to discover the battery requirements. Cars with larger engines, such as trucks and SUVs, need more power than small sedans. Matching your jump starter’s power to your vehicle’s needs is important for successful jump-starting. If the jump starter does not meet those needs, it will likely give a beeping warning.
Peak amps is the maximum amount of power the jump starter can deliver. Choose a jump starter with a high enough peak amp rating to start your vehicle. Underpowered jump starters might beep when you try to use them because they cannot deliver the power needed.
Not all jump starters work with every type of car battery. For example, some jump starters are not compatible with lithium-ion batteries. Always read the jump starter’s instructions to ensure it’s safe to use with your car’s battery type. Using the wrong jump starter can damage your car’s electrical systems.
How to Troubleshoot a Beeping Jump Starter
When you hear that dreaded beeping sound, and your jump starter won’t start the car, it’s time to troubleshoot. This process involves checking the basics and then moving on to more specific tests. Starting at the beginning and going methodically helps to find the source of the problem. This will help you identify the root cause, whether it’s the car or the jump starter itself.
Step-by-Step Diagnostic Procedures
The first step is a systematic approach to figure out what’s causing your jump starter beeping and won’t start issue. This process will help you locate the problem methodically. By systematically inspecting each component, you can narrow down the potential issues and find a solution.
- Check the Jump Starter’s Charge: Before anything else, ensure the jump starter has enough power. If the battery is low, it will usually beep. Recharge the jump starter completely.
- Inspect the Clamps and Connections: Make certain the clamps are connected firmly to the battery terminals. Look for corrosion or rust that might be blocking the connection. If the clamps are not connected well, the jump starter may beep.
- Test on a Different Vehicle: If possible, try the jump starter on another car. This will help you know if the issue is with the jump starter or the original car.
- Check the Car Battery Voltage: If possible, use a multimeter to check the voltage of the car battery. This will help you see if the battery is too low to start the car.
- Follow the Jump Starter’s Instructions: Read the user manual of the jump starter. It often has special troubleshooting tips specific to the device.
Start by looking at the battery level indicator. If the indicator shows low, you will want to charge the jump starter completely. Do not try to jump your car until the jump starter is fully charged. This is the first thing to check, because if the jump starter is not charged, it will not be able to do its job.
Poor connections are a very common reason for a jump starter to fail. The red clamp goes on the positive (+) terminal, and the black clamp goes on the negative (-) terminal. Make sure the clamps are making good contact. Clean the battery terminals with a wire brush or baking soda solution to remove any corrosion.
Trying the jump starter on another vehicle will instantly show if the jump starter is the issue. If the jump starter works on another car, then the issue is more than likely with the original vehicle. This helps rule out a problem with the jump starter itself.
Use a multimeter to measure the voltage across the battery terminals. A reading below 12 volts usually means the battery is too low. This will help you determine if the problem is in the battery or elsewhere. Make sure you use the correct settings on the multimeter for checking DC voltage.
Every jump starter has its own specific features and safety features. Consult the manual for specific instructions on how to troubleshoot your jump starter. This will give you the most accurate advice for your specific model. The user manual often contains valuable information.
Resolving Common Issues
After you have tried the basic steps to figure out why your jump starter beeping and won’t start, there are more specific solutions to try. The solutions will depend on the problem you have found. These solutions range from fixing a bad connection to replacing parts.
- Cleaning Battery Terminals: Remove any corrosion from the car battery terminals. This improves the connection. Use a wire brush or a baking soda and water mixture.
- Checking and Tightening Connections: Make sure the clamps are attached securely to the battery terminals. Tighten any loose connections.
- Charging the Jump Starter: Charge the jump starter fully before attempting to jump-start the car. A low charge can cause it to beep and fail to work.
- Testing the Jump Starter’s Internal Fuse: Some jump starters have an internal fuse that can blow if there is an electrical problem. Check the fuse and replace it if necessary.
- Consulting a Professional: If the above steps do not work, it might be time to take your car to a mechanic. They can check your car’s electrical system for problems that could be triggering the issue.
Corrosion on the battery terminals can block the flow of electricity, preventing the jump starter from providing enough power. The baking soda solution will neutralize the acid buildup and allow for a better connection. Ensure you rinse the terminals after cleaning to prevent any residue.
If the clamps are loose, the jump starter may not be able to deliver power effectively. Make sure the clamps are making secure contact with the terminals. Inspect the cable connections to the clamps to make certain that they are also secure.
The jump starter won’t be able to provide the necessary power to the car if it’s not fully charged. Make it a habit to charge your jump starter regularly, so it’s ready when you need it. This will greatly increase the likelihood that it will work when needed.
The fuse protects the jump starter from electrical surges or overloads. If the fuse is blown, the jump starter won’t work. The location of the fuse will vary by model. Refer to the jump starter’s manual to find the fuse location and the correct replacement fuse.
A professional mechanic has the knowledge and tools to diagnose complex electrical issues in your car. This is often the best option if you are not experienced with car electrical systems. Professional mechanics are trained to identify and repair a wide range of electrical problems.
Preventive Care to Keep Your Jump Starter Ready
Preventative steps will help to ensure your jump starter is ready when you need it. Keeping your jump starter in good shape is easy. You can prevent potential problems by taking care of the jump starter correctly. With the right care, you can extend the life and usefulness of your jump starter. That way, you’re not caught off guard with a dead battery and a beeping jump starter.
Regular Maintenance Tips
Proper care is necessary for the performance and longevity of your jump starter. Follow these maintenance tips to keep your jump starter in top shape. Regular maintenance will help prevent many common problems.
- Regular Charging Cycles: Recharge your jump starter often, even if you haven’t used it. This stops the battery from going flat.
- Proper Storage Conditions: Keep your jump starter in a cool, dry place. Avoid extreme temperatures and direct sunlight.
- Checking Cables and Clamps: Inspect the cables and clamps for any damage or corrosion. Replace parts if needed.
- Following Manufacturer Guidelines: Always follow the manufacturer’s instructions for charging, storing, and using the jump starter.
- Regular Testing: Test your jump starter every few months to ensure it works. This helps you to identify any issues early.
Recharging your jump starter every few months, or according to the manufacturer’s advice, helps to keep the battery in good condition. Regularly charging ensures that the jump starter is always ready for use. By preventing the battery from discharging too far, you can extend the battery’s life.
Extreme temperatures can damage the battery. Direct sunlight can cause the components to deteriorate. Storing your jump starter properly will help to maintain the performance of the jump starter and prevent damage. This is important to ensure it lasts as long as possible.
Check the cables and clamps before each use. Make sure the cables are not cracked, cut, or frayed. Clean the clamps to ensure they make a good connection. Replacing damaged parts will prevent electrical issues and ensure the jump starter works correctly when you need it.
Each jump starter has its specifications for care and maintenance. The manual contains important information, which helps you use the jump starter properly. Following the manufacturer’s instructions will help you get the most life out of your jump starter.
Testing your jump starter periodically is a good way to verify that it is still functional. You can test it by attempting to jump a vehicle or by using its test function, if available. Regular testing can reveal any problems before you actually need to use it. This will help you identify issues early.
Long-Term Storage Techniques
Sometimes you need to store your jump starter for longer periods. If you follow the correct storage techniques, you can keep your jump starter in good shape even when it’s not in use. These techniques will help protect your jump starter’s battery and components from damage.
- Preparing for Storage: Fully charge the jump starter before storing it. This keeps the battery in a good condition.
- Ideal Storage Location: Store the jump starter in a cool, dry area. Avoid places with extreme temperatures or humidity.
- Periodic Checks: Check the jump starter every few months while it’s in storage. Recharge it if necessary.
- Avoiding Fully Discharging: Do not allow the jump starter to discharge completely while in storage. This can harm the battery.
- Following Specific Manufacturer Advice: Refer to your jump starter’s manual for specific instructions on long-term storage.
Always charge the jump starter before putting it away for an extended period. A full charge helps prevent the battery from sulfating or losing capacity during storage. This preparation ensures that the jump starter is ready to go when you need it.
Extreme temperatures and humidity can negatively affect the battery and internal components. Choose a storage spot that is not exposed to direct sunlight. A garage or storage room is usually a good option.
Even when you store the jump starter, the battery will slowly lose its charge over time. Checking and recharging it will maintain the battery’s health. By periodically checking the jump starter, you can avoid any surprises when it’s time to use it.
If you allow a jump starter battery to fully discharge, it can lead to permanent damage, reducing its ability to hold a charge. Make sure you recharge the jump starter before the battery goes completely flat.
Each jump starter has its particular design and characteristics. Your manual has specific instructions about how to best store and maintain your jump starter model. Following the manufacturer’s recommendations ensures that you provide the best care for the jump starter.
Statistics reveal how often car battery issues occur. According to data from AAA, dead batteries are a common reason for road service calls. Statistics from several sources show that as many as 20–30% of calls relate to the issue of dead batteries. The average lifespan of a car battery is around three to five years. Temperature can affect batteries. Extreme heat and cold can cause the battery to fail sooner. Jump starters are often used by individuals to solve this problem. Proper maintenance of jump starters can ensure they are always ready to address this frequent problem.
| Problem | Percentage of Road Service Calls |
|---|---|
| Dead Batteries | 20–30% |
Frequently Asked Questions
Question: Why is my jump starter beeping?
Answer: Your jump starter beeps for several reasons, including low battery voltage, improper connections, or internal problems. It’s a signal that something needs your attention before it can start your car.
Question: Can I use my jump starter on any car?
Answer: Most jump starters work with a wide range of vehicles, but check your jump starter’s specifications. Make sure it provides enough power (peak amps) for your car’s engine size and battery type.
Question: How do I charge my jump starter?
Answer: Follow the manufacturer’s instructions. Usually, you plug it into a wall outlet. The charging time varies depending on the jump starter model.
Question: What do I do if my jump starter won’t start my car after a few tries?
Answer: If it fails after multiple tries, there might be a more significant issue with your car’s battery or electrical system. It’s time to seek help from a mechanic.
Question: How often should I charge my jump starter?
Answer: It’s a good practice to charge your jump starter every few months, even if you haven’t used it. This helps keep the battery in good condition.
Final Thoughts
Dealing with a jump starter beeping and won’t start situation can be annoying, but it’s usually manageable. The key is to run through the steps we covered, starting with checking the basics like power levels and connections. If your jump starter is beeping, don’t worry. Troubleshoot the issue by checking connections, cleaning terminals, and making sure the unit has enough power. Remember, prevention is key. Charge your jump starter regularly and store it properly to keep it ready. If you take care of your jump starter and follow these steps, you will quickly be back on the road. Now you have a clear approach to handling the problem.