Checking Jump Starter Battery: Simple Steps for Peak Performance
Figuring out how to check jump starter battery level can seem tricky, especially if you’re new to using one. You might worry about damaging your jump starter or not being able to use it when you need it. Don’t sweat it! This guide breaks down the process into easy-to-follow steps. We’ll show you how to quickly and easily see how much power your jump starter has, so you’re always ready to go. Let’s get started!
Knowing Your Jump Starter
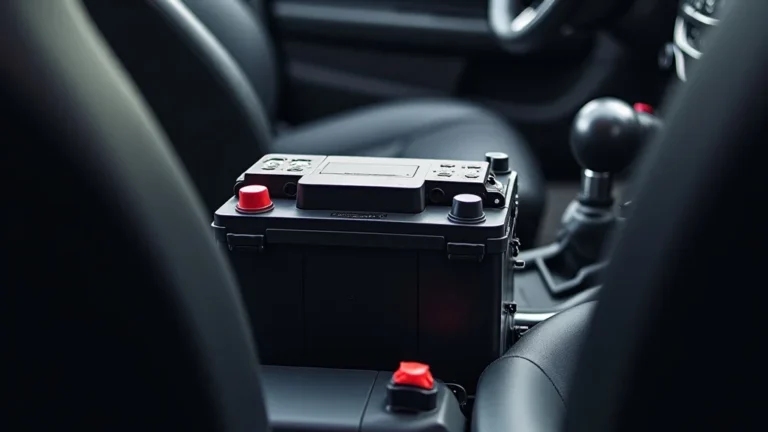
Before you learn how to check jump starter battery level, it’s important to familiarize yourself with the device. Jump starters, also called battery boosters, are portable power sources designed to start a car with a dead battery. They come in various sizes and types, from small units that fit in your glove compartment to larger, more powerful ones used by mechanics. Knowing the basic parts and features of your particular jump starter helps you use it safely and effectively. This also prevents mistakes and keeps your car and jump starter safe. Different models have different indicator systems, so it’s smart to know yours.
Examining the Features
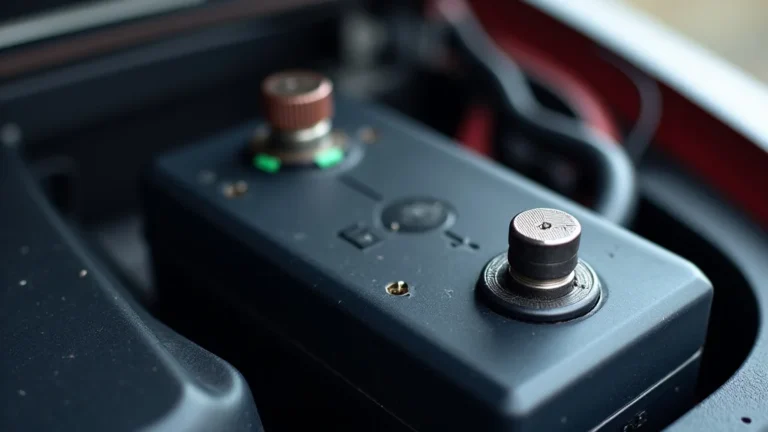
Every jump starter is a little different, but they share some common features. Generally, there’s a power button, a set of jumper cables (usually red for positive and black for negative), and a charging port. Many jump starters also have a USB port for charging phones or other devices. The indicator lights are your primary tool for how to check jump starter battery level. These lights, often LEDs, show the charge status. Some also come with a digital display that indicates the percentage of charge remaining. Also, look for safety features like reverse polarity protection, which prevents damage if you connect the jumper cables backward. A built-in flashlight is another handy feature on many models, especially for use at night or in low-light conditions.
- Power Button: This button turns the jump starter on and off. You’ll need to turn it on before attempting to start a car.
- Jumper Cables: These are the most important part! Make sure they’re in good condition, with no frayed wires or loose connections.
- Charging Port: This is where you plug in the charger to replenish the jump starter’s battery.
- Indicator Lights/Display: These show the battery’s charge level. This tells you how to check jump starter battery level.
Battery Types
Jump starters use several types of batteries. Knowing what type your jump starter uses is useful for proper care and charging. They often use lithium-ion batteries, which are lightweight and hold a charge for a long time, making them a popular choice. Some models may have lead-acid batteries, which are heavier but can deliver a lot of power quickly. Always refer to your jump starter’s manual to discover the battery type and proper charging instructions. Proper battery care extends the life of your jump starter and ensures it’s ready when you need it. Battery technology advances continuously; understanding these changes will help you decide when to update.
- Lithium-ion Batteries: These are common, known for their light weight and long charge retention.
- Lead-Acid Batteries: Heavier but can deliver high bursts of power.
- Lithium Polymer Batteries: Known for their high energy density and safety, common in advanced models.
Safety First
Before using your jump starter, make sure you follow safety precautions. Always read your jump starter’s manual for specific instructions. Place the jump starter away from the car’s battery and any flammable materials to prevent fires. Wear safety glasses and gloves to protect yourself from sparks and battery acid. Make sure the jump starter is turned off before connecting or disconnecting the jumper cables from the car’s battery. If you are unsure about any steps, do not hesitate to ask for help from a professional. Safety first keeps everyone secure, and it’s essential when handling any electrical device.
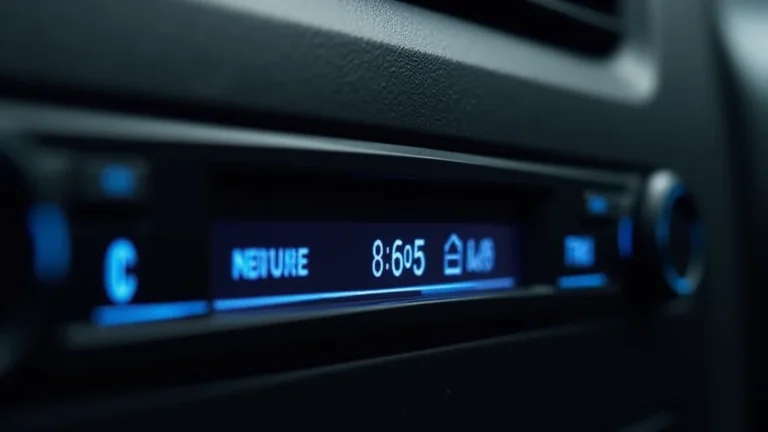
Checking Battery Level Indicators
Learning how to check jump starter battery level usually involves looking at the indicators on the device. These indicators are designed to be simple, giving you a quick understanding of the power level. There are two primary types of indicators: LED lights and digital displays. Each type shows you the charge status, helping you know when to recharge. Knowing how to read these indicators is useful. It ensures you always have a fully charged jump starter ready for use. This can prevent unexpected problems, such as a dead battery when you are far from home.
LED Indicators
Many jump starters use LED (light-emitting diode) lights to display the battery level. These are often in the form of bars or lights that illuminate in sequence. The number of lights lit up indicates how much charge is remaining. For instance, three or four lit lights usually mean the jump starter is fully charged, while one or two lights might mean it needs charging soon. The specific number of lights and their meaning can vary by model, so always check your owner’s manual. These lights offer a simple, visual indication, making it easy to know if your jump starter is ready to go or if it needs to be charged.
- Four Lights Lit: The jump starter is fully charged.
- Three Lights Lit: The jump starter has a good charge level.
- Two Lights Lit: The jump starter is getting low and should be charged soon.
- One Light Lit: The jump starter is very low and needs immediate charging.
Digital Displays
Some jump starters have a digital display that provides a more exact indication of the battery level. These displays may show a percentage (e.g., 75%) or a bar graph representing the charge. This gives you a more precise idea of how much power remains. Digital displays are often more useful than LED lights because they give you a clear sense of how close the jump starter is to needing a recharge. They also can provide additional information, such as the output voltage or any error messages. If your jump starter has a digital display, make sure you understand how to read it. Refer to your manual if you need help.
- Percentage Display: Shows the battery level as a percentage (e.g., 100% full, 25% low).
- Bar Graph: A visual representation, similar to LED lights, but with more detail.
- Voltage Display: Some displays show the current output voltage.
Interpreting the Results
Interpreting the results means knowing what to do based on the indicator readings. If the indicator shows a full charge (four LEDs or 100% on the digital display), the jump starter is ready for use. If the indicator is low (one or two LEDs, or below 25%), it’s time to recharge the jump starter. If the indicator reads something in between, you can likely still use the jump starter, but consider charging it before a long trip or when you are in a location far from help. Understanding the meaning of the indicator readings enables you to use your jump starter with confidence. This saves you from potential problems and ensures you can help if you encounter a dead battery.
Maintaining Your Jump Starter’s Battery
Maintaining your jump starter is key to keeping it working well and extending its life. Proper care includes regular charging, storage, and occasional maintenance. The battery in your jump starter can lose its charge over time, even if you don’t use it. Following these tips helps you preserve the jump starter’s battery health, giving you dependable performance whenever you need it. By taking care of your jump starter, you make sure it is ready when needed, such as when your car battery fails unexpectedly.
Regular Charging
Regular charging is essential for maintaining the health of your jump starter’s battery. Do not wait until the battery is completely drained before recharging. It’s often recommended to recharge your jump starter every 1-3 months. Check the indicator to see how to check jump starter battery level before use. If it shows a low charge, plug it into a power outlet using the provided charger. Charging a jump starter usually takes a few hours, but it depends on the model. Avoid overcharging, as this can damage the battery. Disconnect the charger when the indicator shows it’s fully charged. Keeping your jump starter charged gives you peace of mind.
- Charge Frequency: Recharge your jump starter every 1-3 months, whether you use it or not.
- Charging Time: Usually takes a few hours, depending on the model and the battery’s state.
- Avoid Overcharging: Disconnect the charger when the unit is fully charged.
Proper Storage
Where and how you store your jump starter can affect its lifespan and performance. The ideal storage location is cool and dry, away from direct sunlight and extreme temperatures. High temperatures can degrade the battery, while cold temperatures can reduce its performance. Don’t store your jump starter in your car, especially during extreme weather conditions. Avoid storing the jump starter in locations where it could be exposed to moisture or extreme heat, such as attics or garages. Following these storage suggestions helps preserve the jump starter’s battery and ensures it is ready when you need it.
- Temperature: Store in a cool, dry place, away from extreme temperatures.
- Location: Avoid storing in direct sunlight or areas with high humidity.
- Check Periodically: Inspect the jump starter every few months for signs of damage.
Avoiding Common Mistakes
There are several common mistakes to avoid. One is leaving the jump starter connected to the car battery for too long after starting the car. This can drain the jump starter’s battery. Another mistake is not charging the jump starter regularly. Also, never use a charger that is not designed for your specific jump starter model. This could damage the battery. Keep the jumper cables clean and free from corrosion. If the cables are damaged, they may not deliver power correctly. Avoiding these errors ensures your jump starter functions reliably. Be careful during use and storage to extend your jump starter’s life and ensure it’s ready when needed.
Using Your Jump Starter Safely
Safety is the most important factor when you are using a jump starter. It involves both knowing how to check jump starter battery level and using it properly. Improper use can lead to injury or damage to your car. Following these guidelines helps you use your jump starter safely and effectively. It allows you to tackle any battery problem with confidence, knowing you are doing it in a manner that’s secure for you, your vehicle, and the jump starter itself. By practicing safety measures, you ensure your experiences are always positive.
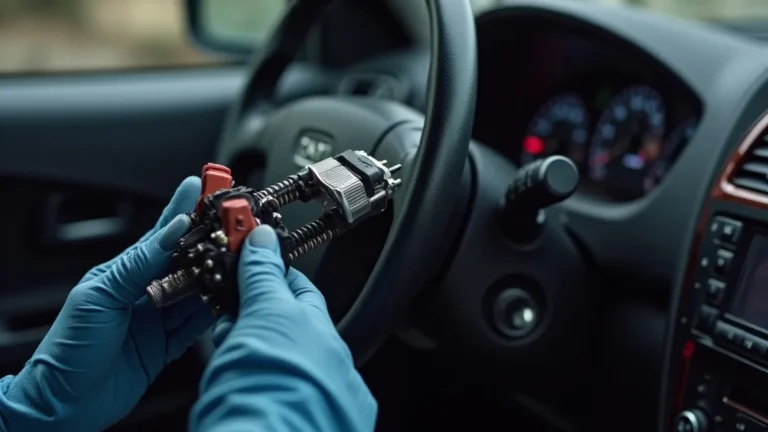
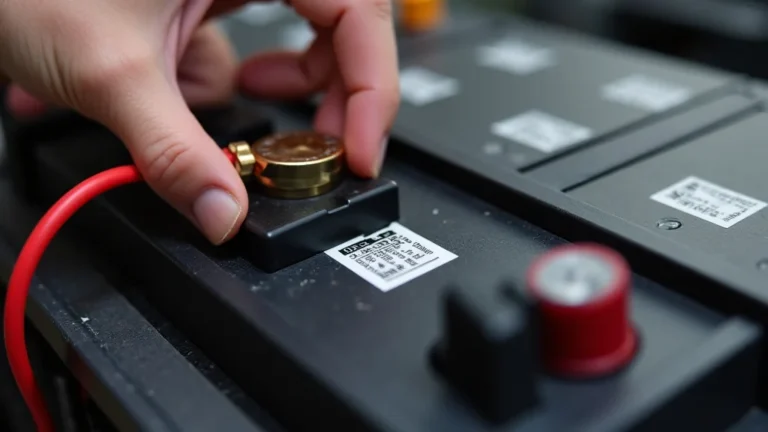
Connecting the Cables
Connecting the jumper cables correctly is essential for safe and successful jump-starting. Begin by turning off both the car with the dead battery and the jump starter. Connect the red (positive) clamp to the positive terminal of the dead battery. Then, connect the red clamp to the positive terminal of the jump starter. Next, connect the black (negative) clamp to the negative terminal of the jump starter. Finally, connect the black clamp to a bare metal part of the car’s engine block or chassis, away from the battery. This ensures a good ground and reduces the risk of sparks near the battery. Always follow these steps carefully to avoid any mishaps during the process.
- Red to Positive: Connect the red clamp to the positive (+) terminal on both batteries.
- Black to Negative: Connect the black clamp to the negative (-) terminal on the jump starter.
- Ground Connection: Connect the black clamp to a bare metal part of the car’s engine or chassis.
Starting the Car
After connecting the cables, try starting the car. Turn the ignition key as you normally would. If the car starts, disconnect the cables in the reverse order. First, remove the black clamp from the car’s chassis. Then, remove the black clamp from the jump starter. Next, remove the red clamp from the jump starter. Finally, remove the red clamp from the car’s battery. Let the car run for a few minutes to allow the alternator to recharge the car’s battery. If the car does not start, wait a few minutes and try again. If it still won’t start, the car might have a different problem, and you might need to seek professional help.
- Try Starting: Turn the ignition to start the car.
- Disconnect in Reverse: Remove cables in the opposite order they were connected.
- Run the Car: Let the car run for a while to charge the battery.
What to Do if the Car Doesn’t Start
If the car does not start, there might be a problem with the car, the jump starter, or the connection. First, double-check that the jumper cables are correctly connected. Make sure the clamps have a good, secure connection. Check how to check jump starter battery level, and ensure the jump starter has enough charge. If the jump starter is low on charge, recharge it before another attempt. If the car still won’t start, there might be an issue with the car’s battery or other systems, such as the starter motor. In that case, you may need a mechanic. Do not attempt to jump-start the car for too long, as this could damage the jump starter. A car that will not start with a jump can need professional attention.
Advanced Tips and Troubleshooting
Knowing how to check jump starter battery level is just the start. Sometimes, you’ll run into other issues, such as a jump starter that won’t charge, or the car still won’t start after jump-starting. These situations can be frustrating, but with the right knowledge, you can often solve them yourself. Here are some advanced tips and ways to fix common problems. These strategies help you deal with a wide range of issues and ensure your jump starter always works.
Troubleshooting Common Issues
Several issues can arise when using a jump starter. If your jump starter won’t charge, make sure the charger is connected correctly to both the jump starter and a working power outlet. Check the charging port for any damage. Try using a different outlet to make sure the problem is not with the outlet. If the jump starter does not hold a charge, its battery might be worn out. If the car won’t start, recheck the connections to make sure they are secure. If you hear a clicking sound when you try to start the car, the battery might be very weak, or there might be an issue with the starter motor. If you notice any smoke or sparks during the jump-start attempt, immediately disconnect the cables and seek professional assistance.
- Jump Starter Won’t Charge: Check the charger and outlet, and inspect for damage.
- Jump Starter Won’t Hold a Charge: The battery might need replacement.
- Car Won’t Start: Recheck cable connections, or seek professional help.
Understanding Error Codes and Messages
Many modern jump starters have safety features and diagnostics. They can display error codes or messages if there is a problem. These codes help identify the problem. For example, a code might indicate reverse polarity (the cables were connected backward) or a short circuit. Check the jump starter’s manual for the meaning of the error codes. Sometimes, it can be a simple fix, like reconnecting the cables correctly. Other times, the error message could mean the jump starter needs servicing. Make sure to consult the manual to understand the message and make the correct fix. Understanding error codes lets you respond effectively to problems.
- Reverse Polarity: The clamps are connected backwards. The jump starter usually prevents damage, but reconnect correctly.
- Short Circuit: A short circuit has been detected. Check the connections and the car’s electrical system.
- Overload: The jump starter is trying to deliver too much current, perhaps due to a faulty battery or starter motor.
Extending Battery Life
To extend the life of your jump starter’s battery, follow some additional tips. Use the jump starter regularly. Do not leave the jump starter in extreme temperatures. Avoid letting the battery fully discharge often. Keep the jump starter clean and store it in a dry location. Regularly check the indicator to see how to check jump starter battery level. Following these tips helps you maximize the life of your jump starter. It protects your investment and ensures your jump starter is ready when you need it.
| Factor | Impact | Best Practices |
|---|---|---|
| Temperature | High or low temperatures can reduce battery life. | Store in a cool, dry place. |
| Usage | Regular use helps maintain battery health. | Use it regularly, and don’t let it sit idle for long periods. |
| Discharge | Frequent complete discharge can harm the battery. | Recharge before it completely drains. |
Frequently Asked Questions
Question: How often should I recharge my jump starter?
Answer: It’s generally a good idea to recharge your jump starter every 1-3 months, even if you haven’t used it. This helps maintain the battery’s health.
Question: Can I leave the jump starter connected to the car’s battery for a long time?
Answer: No, it’s not recommended. After successfully starting the car, disconnect the jump starter’s cables immediately.
Question: What does it mean if the jump starter’s lights flash?
Answer: Flashing lights usually indicate a problem, such as reverse polarity or a short circuit. Check your jump starter’s manual for specific meanings.
Question: Is it safe to use a jump starter in the rain?
Answer: Avoid using the jump starter in wet conditions. Water can cause shorts and damage the device.
Question: How long does it take to charge a jump starter?
Answer: The charging time varies by model, but it usually takes a few hours to fully charge. Check your jump starter’s manual for specific details.
Final Thoughts
You now have a better handle on how to check jump starter battery level and make sure your jump starter is in top condition. By knowing the features, checking the indicators, and following charging and storage guidelines, you can ensure your device is always ready. Remember to always prioritize safety when using your jump starter, especially when dealing with electrical equipment. Regular maintenance, including checking and recharging the battery, helps to extend its life and make it a reliable tool. When you are on the road and need a boost, you will be prepared. Keep these steps in mind, and you will be ready to solve any battery issue.