Jump Starter Won’t Jump Weak Battery Troubleshooting Guide
It can be super frustrating when your car won’t start, and your jump starter won’t jump weak battery. You’re not alone! Many people find this tricky when they’re first learning about car maintenance. But don’t worry, it’s usually a simple fix. We’ll explore the reasons why this happens, breaking down the process step-by-step so you can get back on the road. We’ll show you exactly how to figure out what’s wrong and what to do about it. So, let’s get started!
What Causes Jump Starters to Fail?
One of the most common issues people face is a car battery that’s just not up to the task. A jump starter is made to provide a boost, a burst of energy to get your engine turning over. If the battery is deeply discharged or damaged, the jump starter might struggle. Another reason is user error. There are specific steps you must take to correctly connect and use a jump starter. Failing to follow these steps can lead to a failed attempt. There could also be problems with the jump starter itself. Modern jump starters have safety features, but they can sometimes malfunction. We’ll cover all these points in detail.
Deeply Discharged Batteries
A deeply discharged battery is one where the voltage has dropped significantly. A healthy car battery typically measures around 12.6 volts when fully charged. If the voltage drops to, say, 10 volts or lower, the battery is deeply discharged. This often happens if you leave your headlights on overnight or if you don’t drive your car for an extended period. A jump starter is designed to give the battery a boost, but if the battery is too far gone, it might not have enough power to accept that boost. The jump starter might try, but it won’t be able to turn the engine over.
- Battery sulfation: This is a chemical process where sulfate crystals build up on the battery plates. It happens more rapidly in deeply discharged batteries. These crystals interfere with the battery’s ability to store and release energy, making it difficult for the jump starter to provide a charge. Over time, sulfation can permanently damage a battery.
- Internal damage: Over time, the internal components of a battery can degrade. Plates may warp, and the separators can break. These problems reduce the battery’s efficiency, making it less receptive to a jump.
- Age and condition: Old batteries have less capacity and are more likely to fail. Even a healthy battery will eventually weaken with time and use.
- Incorrect usage: Incorrect use of car accessories (e.g., leaving lights on) is another common cause. This is one of the more easily avoidable reasons for a dead battery.
A car battery’s condition can be easily assessed with a multimeter. A multimeter is a hand-held electronic device that measures voltage, current, and resistance. It’s a key tool for troubleshooting electrical problems in vehicles. To check the battery voltage, set the multimeter to the DC voltage setting and place the red probe on the positive terminal (+) of the battery and the black probe on the negative terminal (-). If the reading is below 12 volts, your battery is likely discharged.
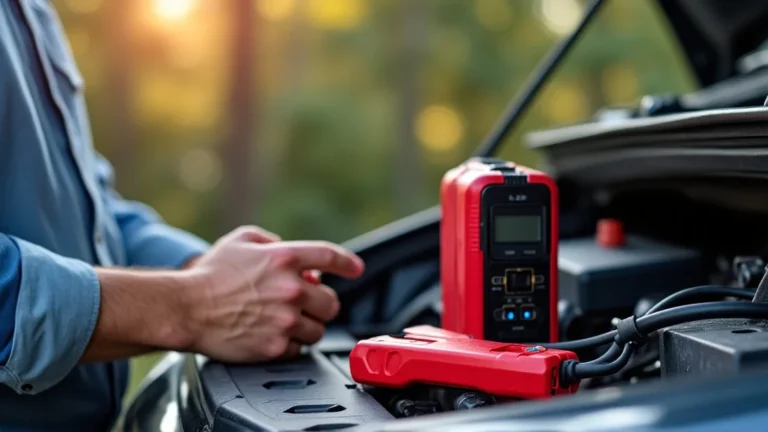
Incorrect Jump Starter Connection
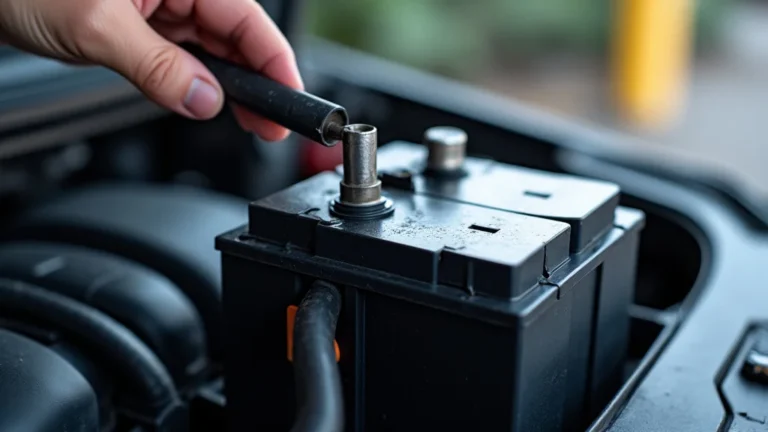
If the jump starter connection isn’t done right, it won’t work. There’s a specific sequence to follow for the jumper cables. People get the cables on the wrong terminals or don’t wait long enough for the charge to build. A good connection is essential for the jump starter to transfer its power. Poor connections can lead to sparks or even damage to the car’s electrical system. This is why proper hook-up is so vital to successfully jump-starting your car.
- Correct terminal identification: Positive (+) terminals are usually red, and negative (-) terminals are usually black. Ensure you connect the positive cable to the positive terminal on both the jump starter and the car battery. Do the same with the negative cables, connecting to negative terminals.
- Cable placement order: Always attach the positive (+) cable to the dead battery first, and then the other end to the jump starter. After that, connect the negative (-) cable to the jump starter, and the other end to a good ground, like an unpainted metal surface on your car’s engine block.
- Waiting period: After connecting the cables, wait for a few minutes (about 5-10) before trying to start the car. This allows the jump starter to transfer its charge. Avoid jumping and starting the engine immediately as it needs time to charge the dead battery.
- Safety precautions: Be sure the jump starter and the car battery aren’t touching each other. This prevents a short circuit. Avoid leaning over the battery while connecting the cables.
Many modern jump starters have built-in safety features like reverse polarity protection, which prevents damage if you connect the cables incorrectly. If the jump starter has these features, a warning light or indicator might flash, telling you to reverse the connection. These features are great, but the user is still ultimately responsible for a proper connection to ensure it works.
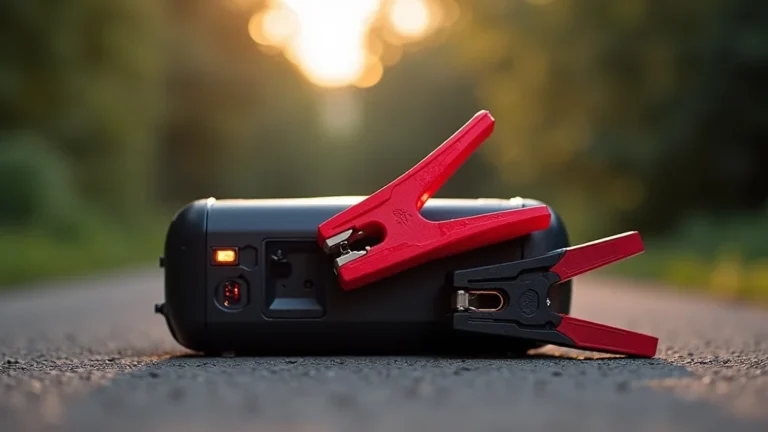
Problems with the Jump Starter
Sometimes, the problem isn’t with the car; it’s with the jump starter itself. Jump starters are electronic devices. Just like any electronic product, they can sometimes fail. A dead jump starter can be due to a flat battery, internal damage, or just plain old age. It is important to know if the jump starter is the issue before you suspect the car. Diagnosing your jump starter’s problems helps you troubleshoot accurately.
- Battery charge: Jump starters have their own batteries, usually lithium-ion. If your jump starter has been sitting unused, it might have discharged. Check the charge level before you depend on it.
- Internal damage: Jump starters have electronic circuits that can be affected by extreme temperatures or physical damage. A drop or exposure to extreme heat or cold might cause it to fail.
- Age and usage: Over time, the jump starter’s battery will lose its ability to hold a charge. Also, jump starters have a limited number of jump starts before they degrade.
- Safety features: Modern jump starters have built-in safety features like reverse polarity protection and short circuit protection. If any of these features are triggered, the jump starter may not work correctly.
Consider the jump starter’s specifications. Different jump starters are made to work with different engine sizes. Make sure your jump starter is powerful enough to start your car. Jump starters usually provide information about the engine size they can handle. This specification is in “peak amps” and “cranking amps”. Peak amps are the maximum current the jump starter can provide, and cranking amps measure the current at 0 degrees Fahrenheit (-18 degrees Celsius). You’ll usually see this information printed directly on the jump starter.
It’s estimated that 10% of car battery failures are due to the jump starter itself. This underscores the need to properly maintain your jump starter and perform regular checks. Knowing these things can prevent wasted time and effort!
Troubleshooting Steps If Your Jump Starter Fails
So, you’ve tried to use your jump starter, and it didn’t work. Before getting frustrated, there are a few simple troubleshooting steps to work through. This process will help you figure out what went wrong. You can pinpoint the actual problem and increase your chances of getting your car started. By following these steps, you’ll be able to tell if the issue is with your car, your jump starter, or maybe something else altogether. Let’s get started!
Check the Basics First
Before assuming anything major is wrong, start with the simple stuff. This helps you rule out easy fixes. By looking for the obvious problems, you can often save yourself time and effort. The basics include looking at the connection, and checking the jump starter’s power and condition.
- Jump starter charge level: First, check if your jump starter is fully charged. Many jump starters have lights or indicators that show the battery level. If it’s not charged, plug it in and charge it.
- Cable connections: Next, double-check all the cable connections. Ensure that the clamps are securely attached to the correct terminals on both the jump starter and your car’s battery. Make sure they are making good contact.
- Battery terminals: Battery terminals can get dirty and corroded. If you see white or green buildup, that’s corrosion. Use a wire brush or baking soda solution to clean the terminals before connecting the jump starter.
- Power button/switch: Some jump starters have an on/off switch or power button. Make sure that the jump starter is turned on before you try to start the car.
Did you know that corroded battery terminals can reduce the current flow by as much as 30%? Regular cleaning can prevent this and improve your chances of starting your car. To get rid of corrosion, you can use baking soda mixed with water to make a paste. Apply the paste to the terminals, let it sit for a few minutes, and then scrub it off. Rinse with water and dry. This cleaning process will help the jump starter work effectively.
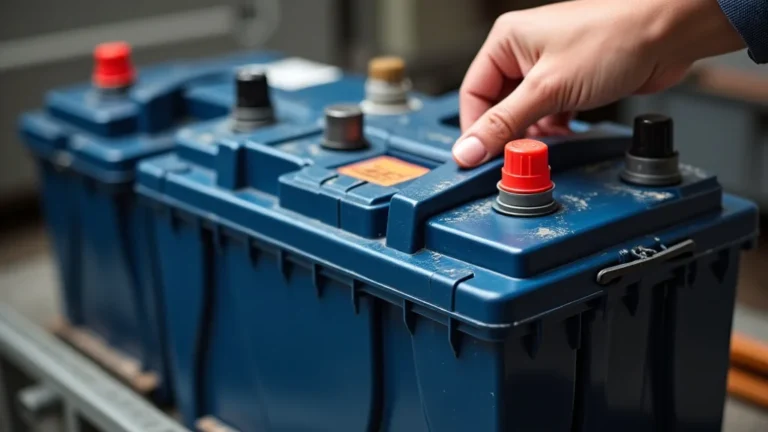
Inspect the Car Battery
Next, it’s time to check your car battery. Visual inspection can reveal a lot about the battery’s condition. While the jump starter is providing the boost, the underlying problem can be something else entirely, like a damaged or failing battery. This will help you know the real problem.
- Terminal condition: Look for corrosion on the battery terminals. Use a wire brush to remove any buildup.
- Battery case: Inspect the battery case for cracks or bulges. These are signs of physical damage and might mean the battery has failed.
- Battery age: Check when the battery was made. Most batteries have a date code printed on them. A battery older than three to five years may be past its prime.
- Fluid level: Check if the battery is a flooded lead-acid battery. Open the caps and see if the fluid level is above the plates. If the fluid level is low, you can add distilled water.
Did you know that a battery’s performance drops significantly as temperatures fall? At 32°F (0°C), a battery loses about 35% of its power. At 0°F (-18°C), it can lose up to 60%. This is another reason why a jump starter might struggle in cold weather.
Testing the Car’s Electrical System
If you’ve checked the basics and inspected the battery, it’s time to check the car’s electrical system. This step is to see if there are other electrical issues in your car. This can help you figure out if the problem is just the battery or something more involved. Checking the car’s electrical system helps you diagnose more complex issues and can save you from a bigger headache later on.
- Check for parasitic drain: A parasitic drain is when something in your car continues to draw power even when the engine is off. To check for this, use a multimeter set to measure current (amps). Disconnect the negative battery cable. Connect one probe to the negative battery terminal and the other probe to the disconnected cable. If the reading is above 50 milliamps (0.05 amps), you have a parasitic drain.
- Test the alternator: A faulty alternator might not charge the battery while the car is running. Start the car with the jump starter. Then, use a multimeter to check the battery voltage while the engine is running. The voltage should be between 13.5 and 14.5 volts. If it’s lower, your alternator might not be charging the battery.
- Inspect fuses: Check all the fuses in your car, especially the ones that protect the starting and charging systems. A blown fuse can prevent the jump starter from working correctly.
- Examine the starter motor: A starter motor is responsible for turning the engine over. A faulty starter motor might not be able to do this. A clicking sound when you turn the key could mean the starter is faulty.
Regular electrical system checks can prevent many problems down the road. Addressing issues early will save you time and money and prevent you from experiencing the same “jump starter won’t jump weak battery” scenario.
Advanced Troubleshooting When Your Jump Starter Fails
So, you’ve tried all the basic troubleshooting, and the jump starter still won’t work. Sometimes the problem is more complicated, and it calls for advanced techniques. These steps involve more in-depth checks. This is when you dig deeper into the car’s electrical system and the jump starter to determine the root issue.
Checking Battery Resistance and Capacity
Checking the battery’s resistance and capacity gives you a more detailed view of its health. A regular voltage check might not tell the whole story. These tests help determine if the battery can hold a charge and deliver the power needed to start the car. It will help you know whether you need to replace your battery.
- Using a battery tester: A battery tester measures the battery’s cranking amps (CCA). This indicates how much power the battery can provide to start the engine.
- Checking internal resistance: High internal resistance suggests a battery issue. A battery tester will measure internal resistance. If the resistance is high, the battery isn’t working properly.
- Load testing: Load testing involves putting the battery under a load to see how it performs.
A battery that has lost capacity will struggle to start a car, even with a jump. If the CCA is significantly below the battery’s rated value, it’s a sign that the battery might need to be replaced. A battery tester is a great tool, providing essential data to troubleshoot your car.
Investigating the Car’s Charging System
If the battery is not charging properly, the jump starter will continue to fail. The charging system is made up of the alternator, the battery, and the related wiring. You will want to look at the alternator, the voltage regulator, and the wiring to determine the problem.
- Alternator output test: Start the car with the jump starter. Use a multimeter to measure the battery voltage while the engine is running. If the voltage remains low, the alternator might not be charging the battery correctly.
- Voltage regulator check: The voltage regulator controls the alternator’s output. A faulty voltage regulator can either undercharge or overcharge the battery.
- Wiring inspection: Look for damaged or corroded wiring. Inspect the connections between the alternator, the battery, and the starter.
A well-functioning charging system will extend the life of your car battery. If you’re constantly jump-starting your car, it is a sign that there’s a problem with the charging system. Ignoring it can damage the battery and other electrical components.
Checking for Faulty Starter Motors
A faulty starter motor can mimic a dead battery problem. If the starter motor isn’t working correctly, your car won’t start. If you hear a clicking sound when you try to start the car, that can be a sign of a failing starter motor. This is especially true if the engine does not turn over.
- Listen for sounds: Pay attention to the sounds your car makes when you try to start it. A clicking sound often means the starter motor is not getting enough power.
- Visual inspection: Inspect the starter motor for any physical damage, such as corrosion or loose connections.
- Starter motor test: You can test the starter motor by applying a direct 12V power supply to the starter motor. Use jumper cables to make a connection.
A failing starter motor won’t allow your car to start, even if the battery is fully charged. Diagnosing the problem can save you from unnecessary battery replacement. If the starter motor fails, getting it replaced can quickly fix the problem.
Jump Starter and Weak Batteries: Common Scenarios
To better understand why a jump starter might fail, let’s explore some common scenarios. These situations will give you practical examples of how things can go wrong. By knowing these examples, you can identify issues you might encounter and learn to troubleshoot effectively.
-
Scenario 1: Leaving the Lights On.
You leave your headlights on overnight. This drains the battery, leaving it deeply discharged. The next morning, the car won’t start. You use a jump starter, but it barely cranks the engine. The jump starter’s power isn’t enough to overcome the discharged battery and get the engine going.
-
Scenario 2: Cold Weather Start.
It’s freezing outside. Your car battery is old and its power is already diminished in the cold. You go to start the car, and it barely turns over. You connect the jump starter, but the engine still struggles. In cold weather, both the battery and the jump starter will provide less power.
-
Scenario 3: Corroded Terminals.
You find corrosion on the battery terminals. Your car won’t start. You try the jump starter, but the engine won’t turn over. The corrosion prevents the jump starter from delivering power to the car.
Jump Starter and Battery Health: A Quick Comparison
When it comes to getting your car started, you need to understand both your jump starter and your battery. This comparison will give you a better understanding of their function. This comparison lets you easily see the different performance levels.
| Feature | Jump Starter | Car Battery |
|---|---|---|
| Function | Provides a temporary power boost. | Stores and delivers power to start the car and run electrical systems. |
| Power Source | Internal battery (rechargeable) | Chemical reaction (lead-acid, AGM, etc.) |
| Lifespan | Limited by the battery’s lifespan. | Usually 3-5 years (depends on type and care). |
| Maintenance | Requires charging and occasional checks. | Requires cleaning terminals and monitoring. |
Frequently Asked Questions
Question: What does “cranking amps” mean?
Answer: Cranking amps (CA) refers to the amount of current a battery can supply at 32°F (0°C). It is one measure of the battery’s ability to start an engine in cold weather.
Question: Why does my jump starter keep failing?
Answer: Several reasons. The car battery may be deeply discharged or damaged. The jump starter itself may not be fully charged. Connection may have been incorrect.
Question: Can I jump start a car with a dead battery?
Answer: Yes, but the key is how dead the battery is. If the battery is deeply discharged or damaged, the jump starter might not work.
Question: How long should I wait before trying to start the car?
Answer: After connecting the jump starter, wait about 5-10 minutes to allow the dead battery to receive a charge. This wait will increase the chances of a successful start.
Question: Is it safe to leave the jump starter connected after the car starts?
Answer: No. Disconnect the jump starter cables in the reverse order of how you connected them, once the engine is running.
Final Thoughts
Getting your car started when the jump starter won’t jump weak battery can be frustrating, but don’t give up! By exploring some common reasons for these failures, you can start troubleshooting the problem. Remember to check the basics: proper connections, and charge levels. If that doesn’t work, then you should consider checking the battery itself. You can find out if it’s damaged or needs to be replaced. Looking into the car’s charging system and potential issues can help you diagnose and fix the issue. A proper assessment of all these points will help you.
Keep in mind that car batteries don’t last forever. Regular maintenance, such as checking and cleaning the terminals, can extend their life. Always have a jump starter with you. Make sure it’s fully charged and ready to go. When facing a dead battery, take your time and follow the troubleshooting steps. The solution is often simpler than you think. You’ll become much more confident in handling car troubles. And you’ll avoid the roadside headaches!